Welcome to RennTech.org Community, Guest
There are many great features available to you once you register at RennTech.org
You are free to view posts here, but you must log in to reply to existing posts, or to start your own new topic. Like most online communities, there are costs involved to maintain a site like this - so we encourage our members to donate. All donations go to the costs operating and maintaining this site. We prefer that guests take part in our community and we offer a lot in return to those willing to join our corner of the Porsche world. This site is 99 percent member supported (less than 1 percent comes from advertising) - so please consider an annual donation to keep this site running.
Here are some of the features available - once you register at RennTech.org
- View Classified Ads
- DIY Tutorials
- Porsche TSB Listings (limited)
- VIN Decoder
- Special Offers
-
OBD II P-Codes - Paint Codes
- Registry
- Videos System
- View Reviews
- and get rid of this welcome message
It takes just a few minutes to register, and it's FREE
Contributing Members also get these additional benefits:
(you become a Contributing Member by donating money to the operation of this site)
- No ads - advertisements are removed
- Access the Contributors Only Forum
- Contributing Members Only Downloads
- Send attachments with PMs
- All image/file storage limits are substantially increased for all Contributing Members
- Option Codes Lookup
- VIN Option Lookups (limited)


bcr4d
-
Posts
37 -
Joined
-
Last visited
Content Type
Profiles
Events
Forums
External Paint Colors
Downloads
Tutorials
Links Directory
Collections
Store
Posts posted by bcr4d
-
-
I have a leaking timing chain housing that was repaired once but began leaking again. Anyone tackle this job before and is it a DIY. On a scale of 1-10 how would you rate it.
-
i tried to post the pics in my coolant question but it didnt work,heres my 2 cars,drive them every chance i get and enjoy every mile
nice cars
-
74 lbs to the cross member, 56lbs to the wheel carrier. As a note, the service manual says there are two styles of control arms, and both the control arms on a car must be of the same style.
thanks for the info
location Thread Tightening torque
Nm (ftlb.)
Carrier side section/cross member
Carrier side section to body M12 x 1.5 110 (81)
Studs for carrier side section to
body only screw-in torque M12 x 1.5 46 (34)
Cross member at rear
to carrier side section M12 x 1.5 110(81)
Cross member at front to carrier
side section M10 x 1.5 65 (48)
Brake hose holder to
carrier side section M6 10 (7.5)
Diagonal brace to body M10 x 1.5 65 (48)
Diagonal brace to cross member M12 x 1.5 110 (81)
Diagonal brace to carrier side section
(collar nut) M10 x 1.5 23 (17)
Axle strut
Control arm 2 (toe controlarm)
to wheel carrier M12 x 1.5 75 (56)
to cross member (toe eccentric) M12 x 1.5 100 (74)
Control arm (lower control arm)
to carrier side section (camber eccentric) M12 x 1.5 100 (74)
to wheel carrier M12 x 1.5 75 (56)
Diagonal control arm
to control arm M14 x 1.5 160 (118)
to carrier side section M14 x 1.5 180 (133)
Control arm 3 and control arm 4
(upper control arms)
to carrier side section M12 x 1.5 110 (81)
to wheel carrier M12 x 1.5 110 (81)
Note
When replacing tie rods, pay close attention to
the correct allocation.
Install only identical tie rods - version A or
B ~ on a vehicle.
For a detailed explanation - distinguishing
characteristics and Part No. - refer to "Tierod
replacement" (after installation).
Tie rod replacement
Only tie rods with harder rubber mounts
(optimised tie rods with spherical mounts) -
version (8) - are still available from the Parts
Service.
Introduction of the optimised tie rods in the
current model year 1999 (X) in some cases I
but generally from model year 2000 (Y).
Part No. of the optimised tie rod:
996.331.045.10.
These tie rods may be retrofitted - but only in
pairs.
In general, the following applies: Only tie
rods (toe control arms) of the same version
- A or B - may be installed in a vehicle.
In the case of replacement, replace both
tie rods if necessary (install version B).
Visual distinguishing characteristics
between tie rod versions A and B:
The cast number (refer to Fig. 292_99 and
text below the illustration).
The metal bushing of the rubber mount.
On version A, the metal bushing of the
rubber mount is flush with the tie rod.
On version B, the metal bushing of the
rubber mount projects slightly - by approx.
1 mm - at both sides (arrow).
A - Tie rods without spherical mount
Part No. 996.331.045.06/07 /08
Cast No. 996.331.245.06/07/08
292_99
B - Tie rods with the spherical mount
(optimised tie rods with harder rubber mount).
Part No. 996.331.045.10
Cast No. * 996.331.245.10 (current)or
Cast No. '" 996.331.245.08 3 (the 3 was
stamped at the end of the cast number in order
to distinguish it (arrow) and was additionally
provided with a blue dot in this area).
On tie rod version B, the metal bushing of the
rubber mount projects slightly - by approx.
1 mm - at both sides (arrow).
42
Sorry, I would post the diagrams, but for some reason I can only cut and paste the text from my service manual.
-
Broke control arm linkage on 00 C4. In the process of replacing it but unsure of the correct torque. Does anyone have the numbers or is there a site that has the settings? thanks
-
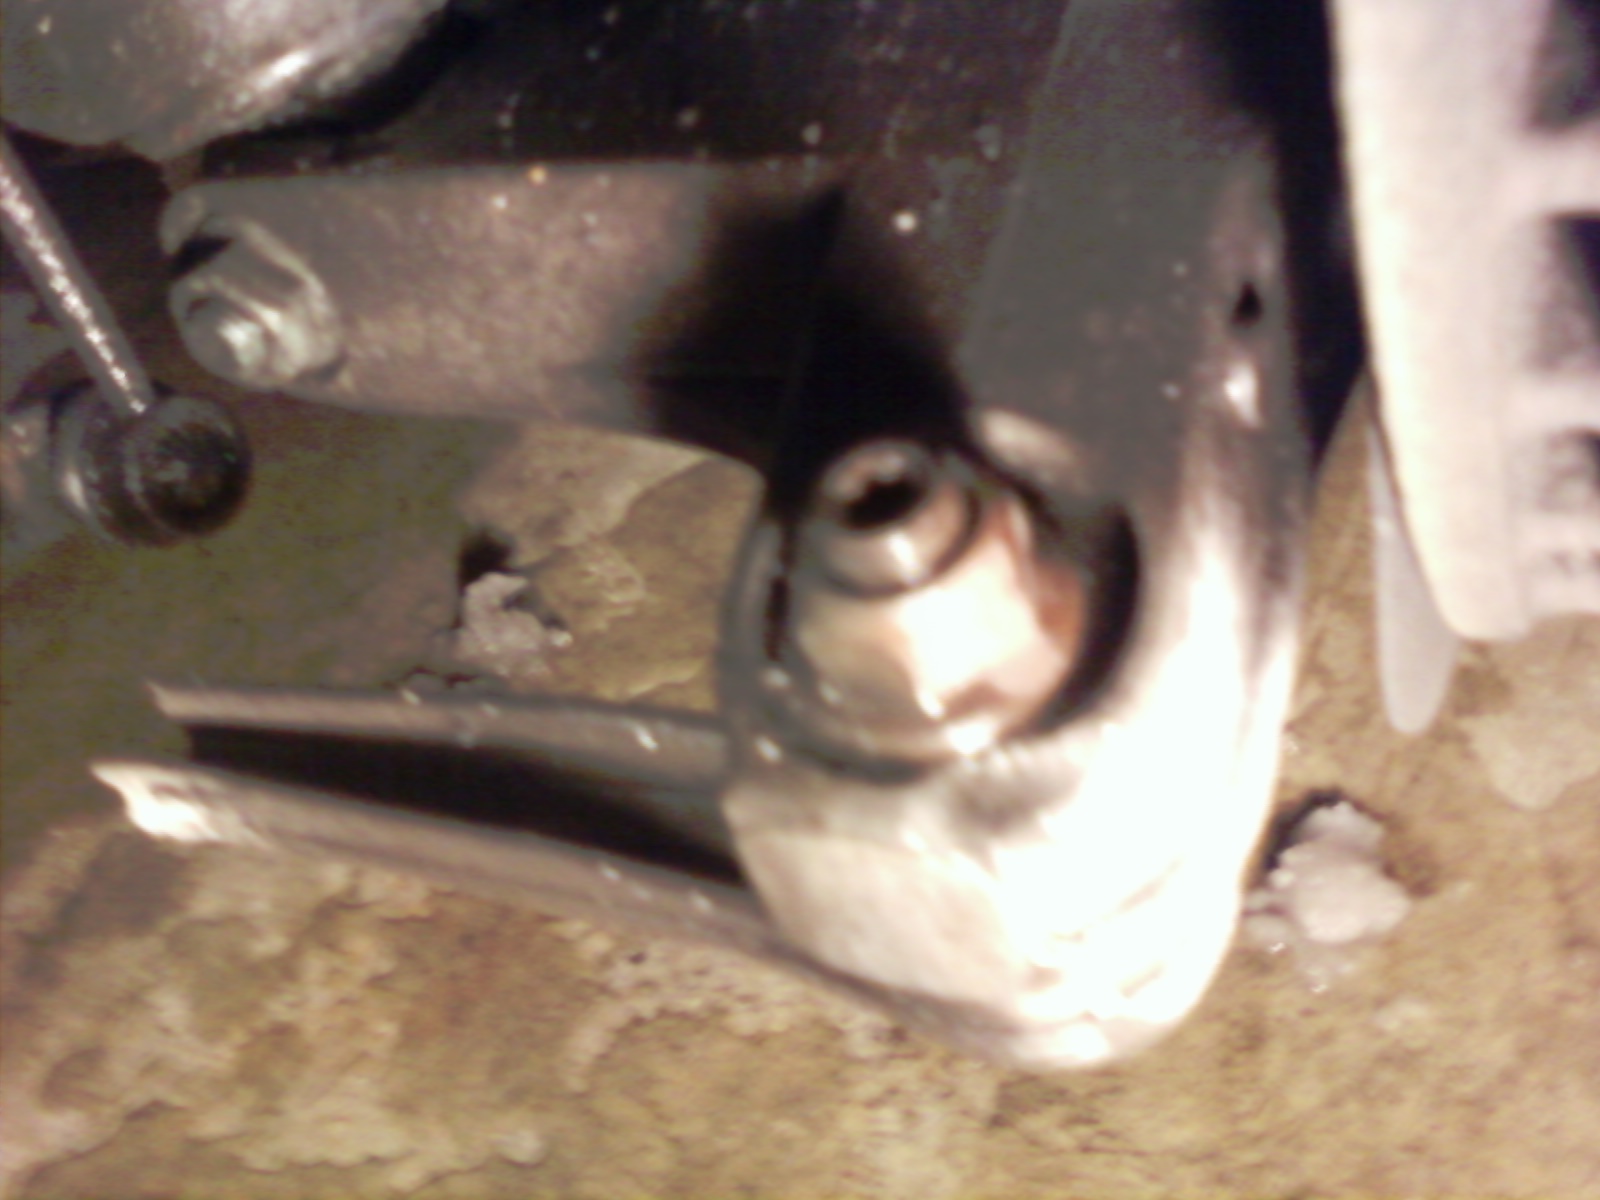
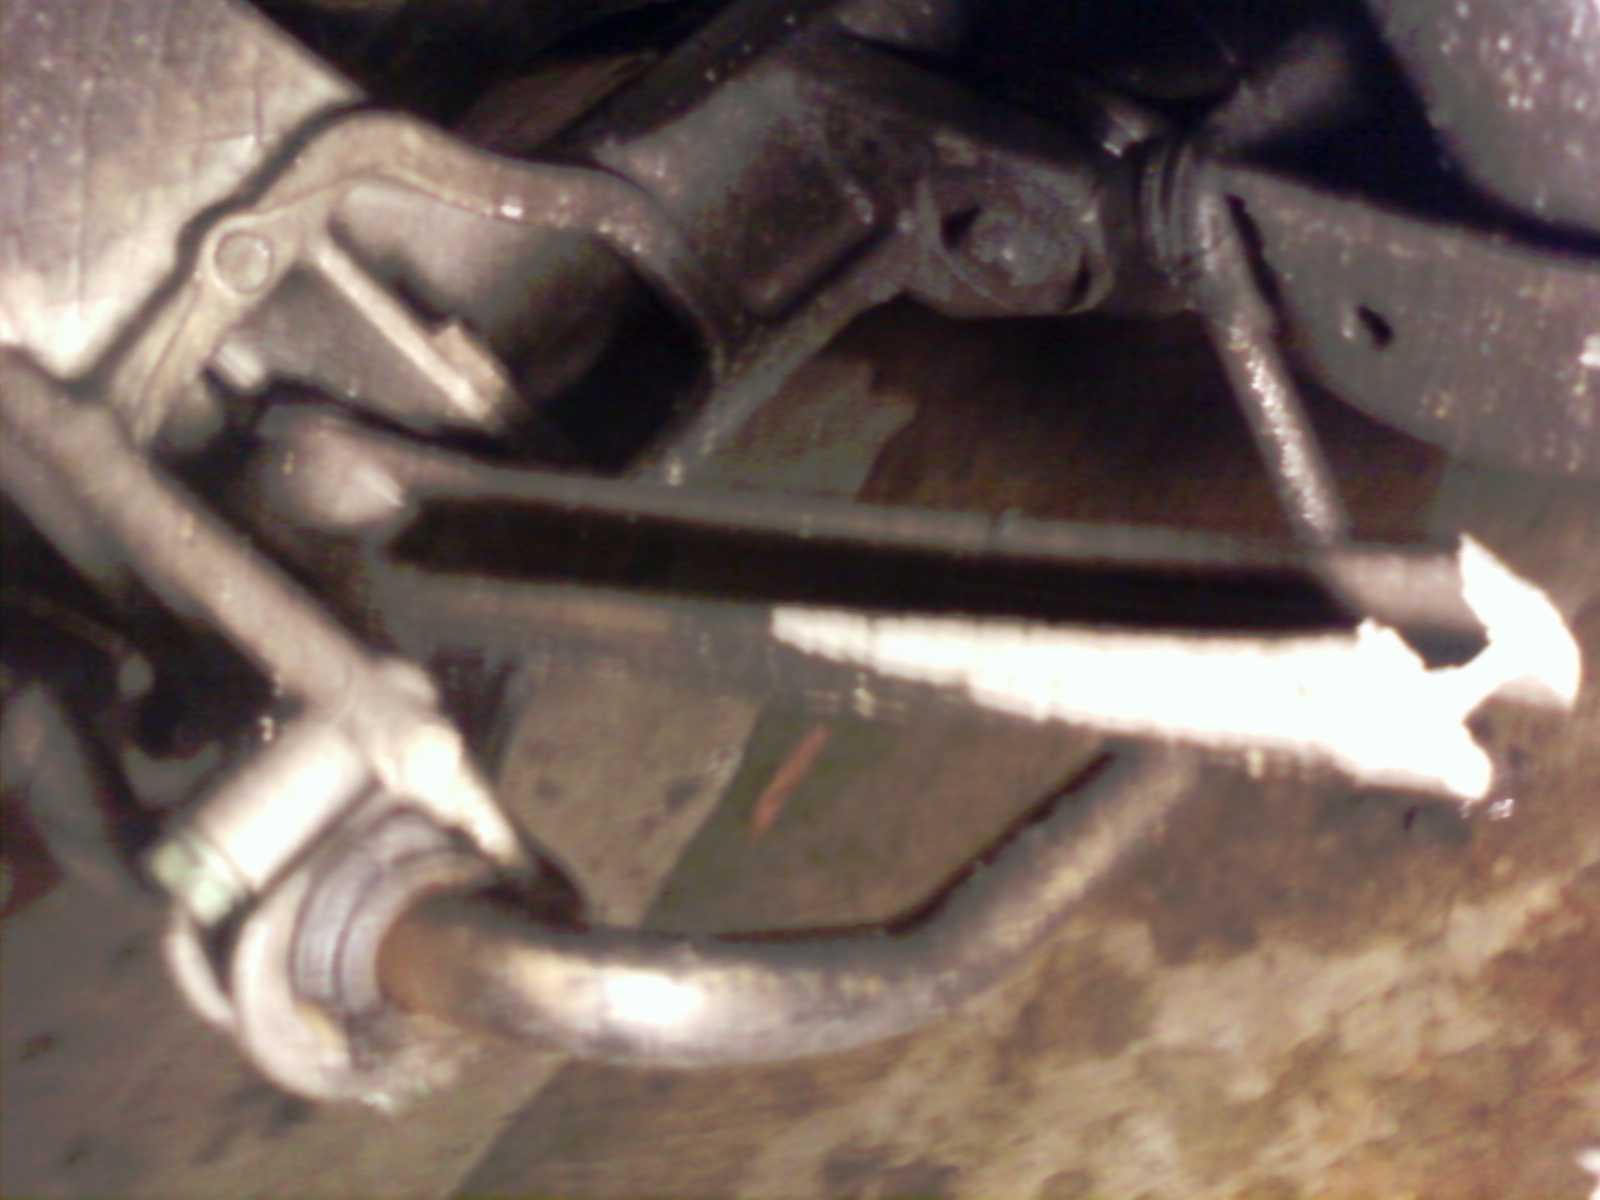
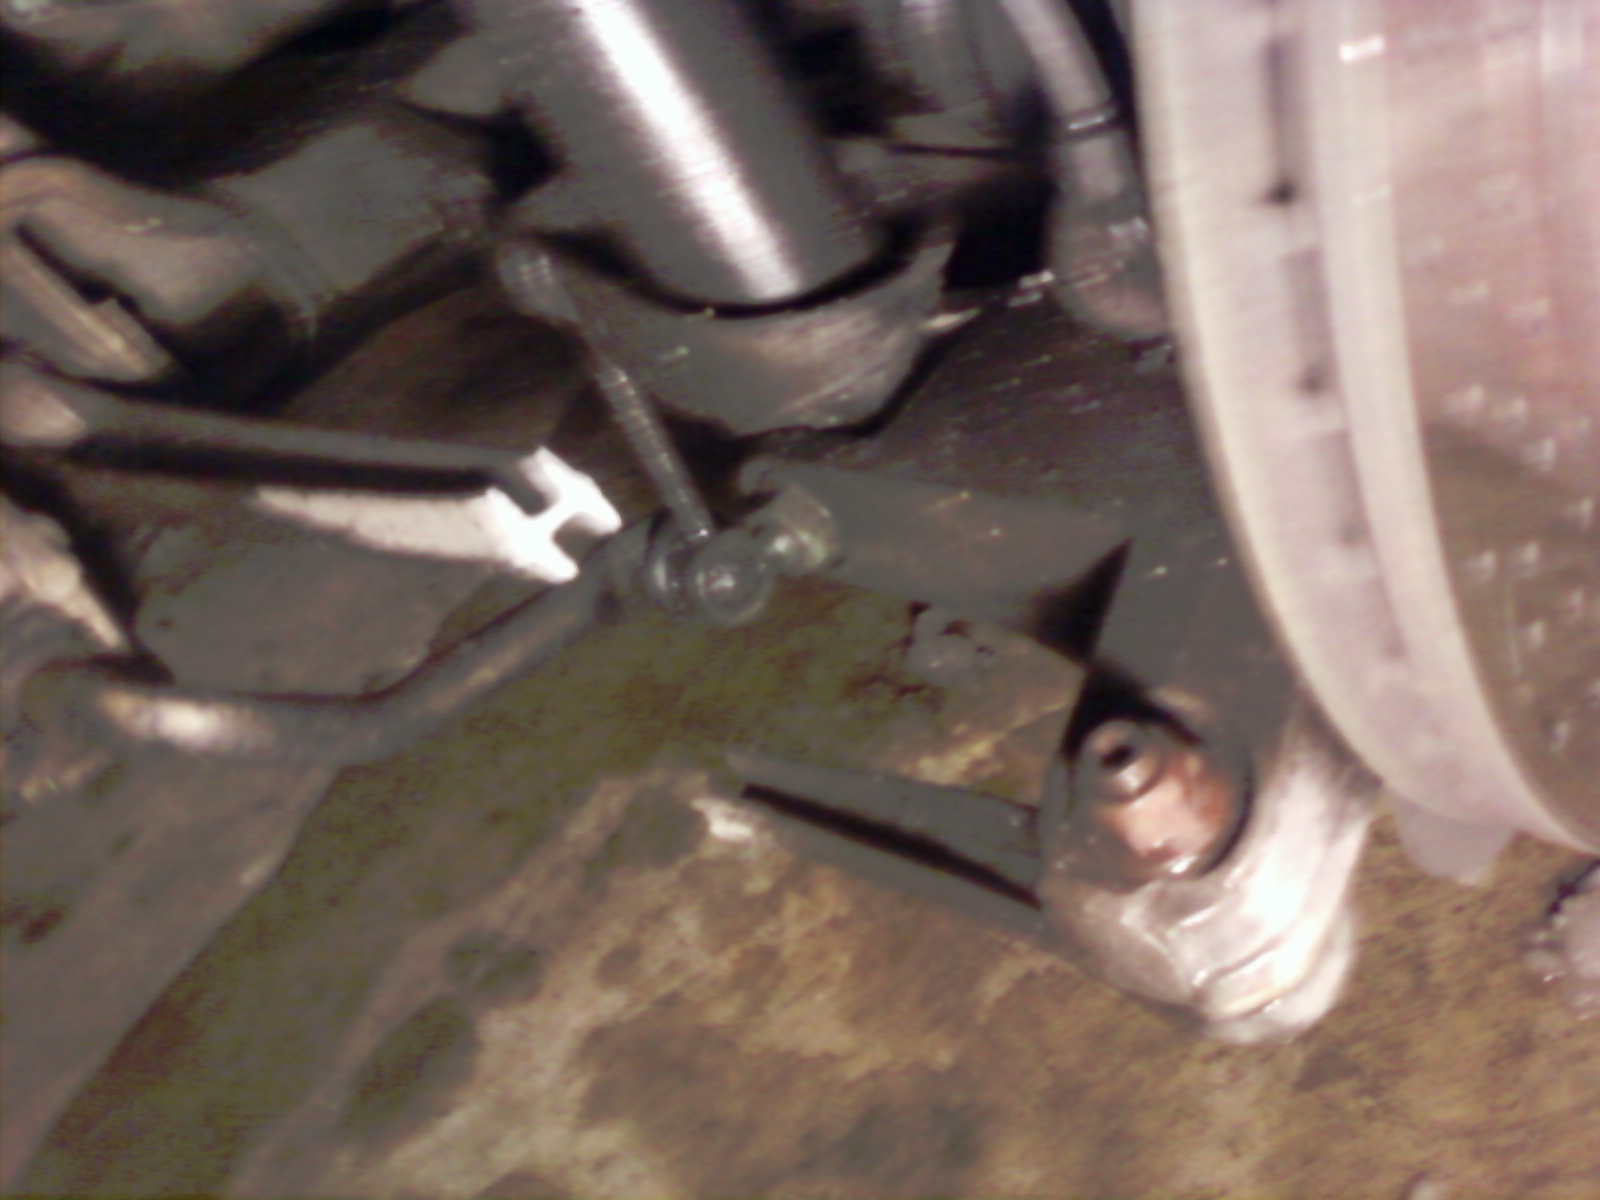
Well, first snow resulted in what I believe is a broken rear lower control arm, not really sure. Almost home and rear end slid out and hit the curb. Looked at the body, no damage but the wheel looked cocked in on one side. Got home, took the wheel off and look what I found. Could someone please tell me the correct name of this part? Doesn't look to hard to switch out. car is 00 C4.
The old part is a track rod but has been superseded by "AS STEERING TIE ROD" 997-331-045-04 per the retail price list on Renntech $171
Rick
99 996C4
87 944S
Thanks for your reply Rick. Have a Merry Christmas
-
Well, first snow resulted in what I believe is a broken rear lower control arm, not really sure. Almost home and rear end slid out and hit the curb. Looked at the body, no damage but the wheel looked cocked in on one side. Got home, took the wheel off and look what I found. Could someone please tell me the correct name of this part? Doesn't look to hard to switch out. car is 00 C4.

-
First on my list to do for tomorrow. Just hope and pray I don't have a flat in the meantime. thanks
-
As the title says, I lost the key to my wheel lugs. How is the best way to remove the key off each wheel? thanks
-
One of the best things anyone could ever do is to give up something they love to help someone else. May God bless you and your family. Also on the same note as Phillipj, If ever your're in Md, come drive mine as well
-
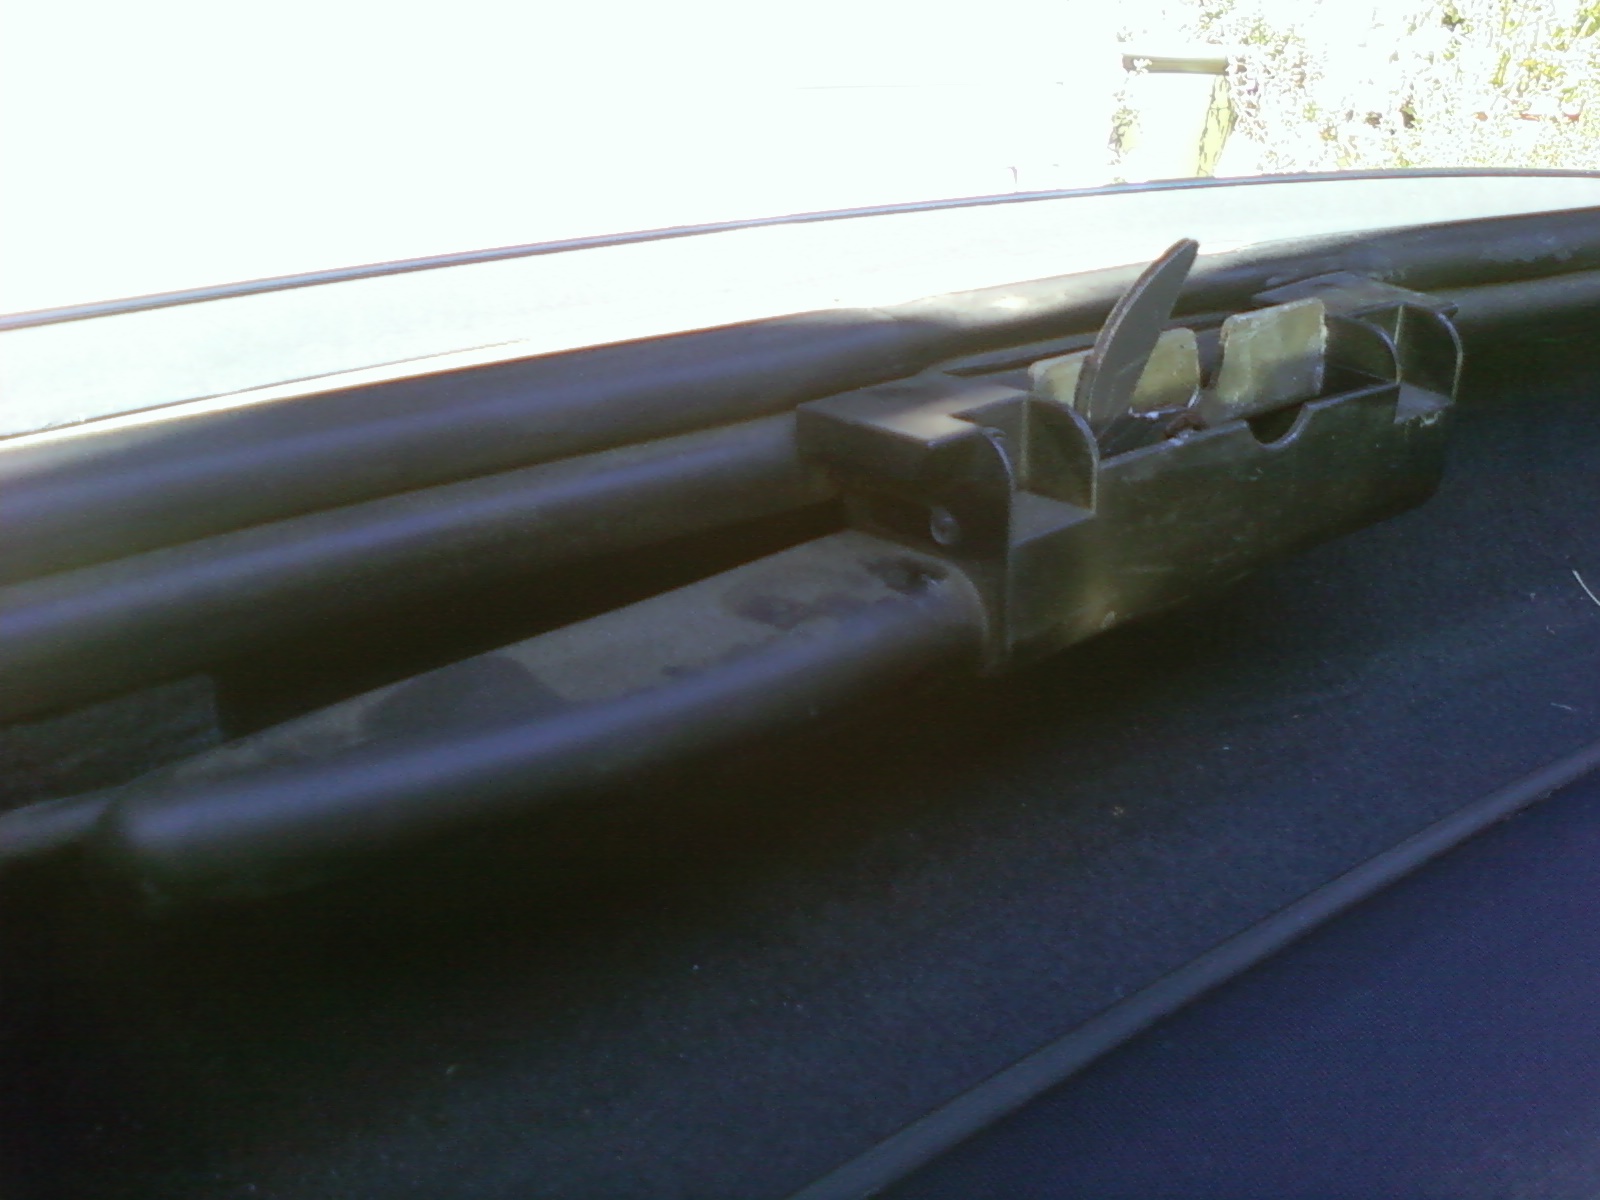
The part I need is the plastic flap that protects the convertible top from snagging when the top is being opened. I also need the part that the flap attaches to because one of the tabs is broken off. 00 C4
-
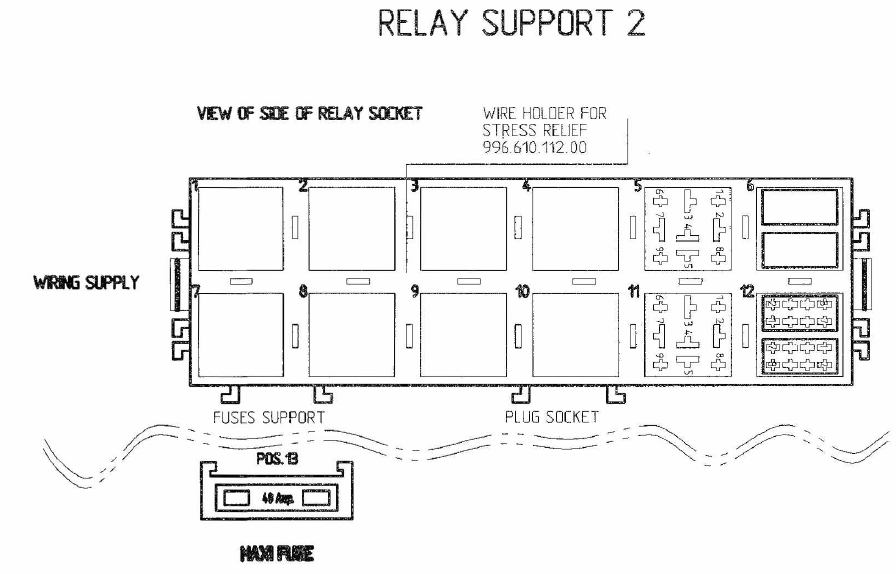
Fog Lights are relay position 12.
That would be 3rd row from the top and the second relay from the left. (p/n 141.951.253.B - the same as the horns relay position 10)
Thanks Loren
-
Front fog lights haven't been working on my car for a while. I got around to changing out the bulbs, and their still not working. I also checked the fuses and they all seem good. Is their a relay that controls the fog lights, and if it is, would it be under the dash or in the rear. Also, which relay would it be. 00 C4.
-
I post earlier about a problem with my door not locking with the key. Key turs freely, like something is not catching or something is broken. Is there a DIY for door lock replacement.
-
I changed the window regulator on my passenger side and noticed the next day the key doesn't lock or unlock the driver's door. Strange because I never touched the driver's door. When I turn the key either way, I get nothing, no resistence or anything. The key works in the ignition, but not the lock. Don't know about the remote because that stop working months ago. Any ideas?
-
In the process of gathering info for installing clamshell motor on a 00 C4. Is there any DIY write-up anywhere on this. Is this something I can do myself and then take it in to be recalabrated? thanks
-
Check the fuse first - if the motor on the secondary air pump goes bad it would likely take out the fuse.
If you do not have a tool a PST2 or PIWIS to turn the secondary air on manually then you will likely need to try a new relay.
993.615.115.01 Secondary air pump relay -- US MSRP $23.50
Thanks Loren
-
I think you mean P0410 and P1411?
Did you check the fuse?
40A fuse on the secondary relay panel (behind the rear seats)
The relay is there too - position 10
Thanks for your quick reply. I have not as of yet. I will check both tomorrow. I know how to tell if the fuse is blown by the broken contact. How do you tell if your relay is blown. And if it is blown, can it be picked up at any parts store or will I have to go to the dealer. thanks
-
00 C4 with a constant 0410 and 1141 code. I changed out the check valve /change-over valve and the codes came back. Could someone tell me where is the location of the relay for the pump located. I started the car and it appears the pump is not working. I touched it during start-up and didn't feel anything. I also removed the rubber tube which connects it to the valve and I didn't feel any air coming from the pump. I did feel a suction coming from the disconnected hose. Any ideas, I'm all ears. thanks
-
DIY, you be surprise what you can do with all the help on this board
-
Hi. On a 2000 C2, with the electrical climate control on top, radio just below it, then the extra CD holder thingy (which i don't need), then an oddments tray (AKA cubby hole). I want to install cupholders but I have a few questions. It says the electric climate control is to be relocated to the very bottom (where the cubby hole is now). but when i measure that space, it is smaller than a standard DIN slot, it doesn't look like the climate control will fit there. Also, how do you remove all this stuff? Is there a good dash trim removal DIY that shows how to remove the necessary parts? Any help is appreciated.
I just did that mod myself about a month ago. I have a 00 C4, and it fit perfect. There is a surround piece that goes around the cubby. Once that is removed, you'll have the space you need. Also, you have to re-route the wires to the climate control thru the slot in the back of the bottom cubby. Just remove the bottom cubby and you'll have a better idea of how to do it. Also, select the correct size mug or you will spill some. Not perfect, but it works well when you get the right size mug.
-
The rear driver's window on my 00 C4 went off track. Was able to get it back up by pulling and pressing the button, but it's still not working properly. Anyone have any ideas how to tackle this? thanks
-
you can really do it yourself. I just did mine a couple weeks ago. A little time consuming, but it was worth it. #1 and #4 was a pain, but you can do it. You can get the DIY right off this board.
-
I have the same exact thing going on with my top. I heard from someone that it protects the conv. top from snagging, which would result in having a new top installed. If you find out where to purchase this from, let me know. Good luck
-
thanks for your response, and it makes good sense. Off to Pelican parts


timing chain housing
in 964 Series
Posted
Only one stud is leaking and it's stripped, just keep turning and turning. I located a used housing and cover for a steal compared to what most wanted. Can't seem to find anyone who has done this. I'll try the loctite first and see if it helps. thanks