Welcome to RennTech.org Community, Guest
There are many great features available to you once you register at RennTech.org
You are free to view posts here, but you must log in to reply to existing posts, or to start your own new topic. Like most online communities, there are costs involved to maintain a site like this - so we encourage our members to donate. All donations go to the costs operating and maintaining this site. We prefer that guests take part in our community and we offer a lot in return to those willing to join our corner of the Porsche world. This site is 99 percent member supported (less than 1 percent comes from advertising) - so please consider an annual donation to keep this site running.
Here are some of the features available - once you register at RennTech.org
- View Classified Ads
- DIY Tutorials
- Porsche TSB Listings (limited)
- VIN Decoder
- Special Offers
-
OBD II P-Codes - Paint Codes
- Registry
- Videos System
- View Reviews
- and get rid of this welcome message
It takes just a few minutes to register, and it's FREE
Contributing Members also get these additional benefits:
(you become a Contributing Member by donating money to the operation of this site)
- No ads - advertisements are removed
- Access the Contributors Only Forum
- Contributing Members Only Downloads
- Send attachments with PMs
- All image/file storage limits are substantially increased for all Contributing Members
- Option Codes Lookup
- VIN Option Lookups (limited)


jmatta
-
Posts
357 -
Joined
-
Last visited
Content Type
Profiles
Events
Forums
External Paint Colors
Downloads
Tutorials
Links Directory
Collections
Store
Posts posted by jmatta
-
-
Hey 99miata,
Still working with your console? I had no problem moving the radio to the lower position; it fits right into the slot and locks in. The toughest part is fishing the wires down and the a/c control wires up. The bottom storage bin snaps right in after you remove the tab on top (I used a file). I suppose I should have taken pictures, but I always remember that after the job is done.
-
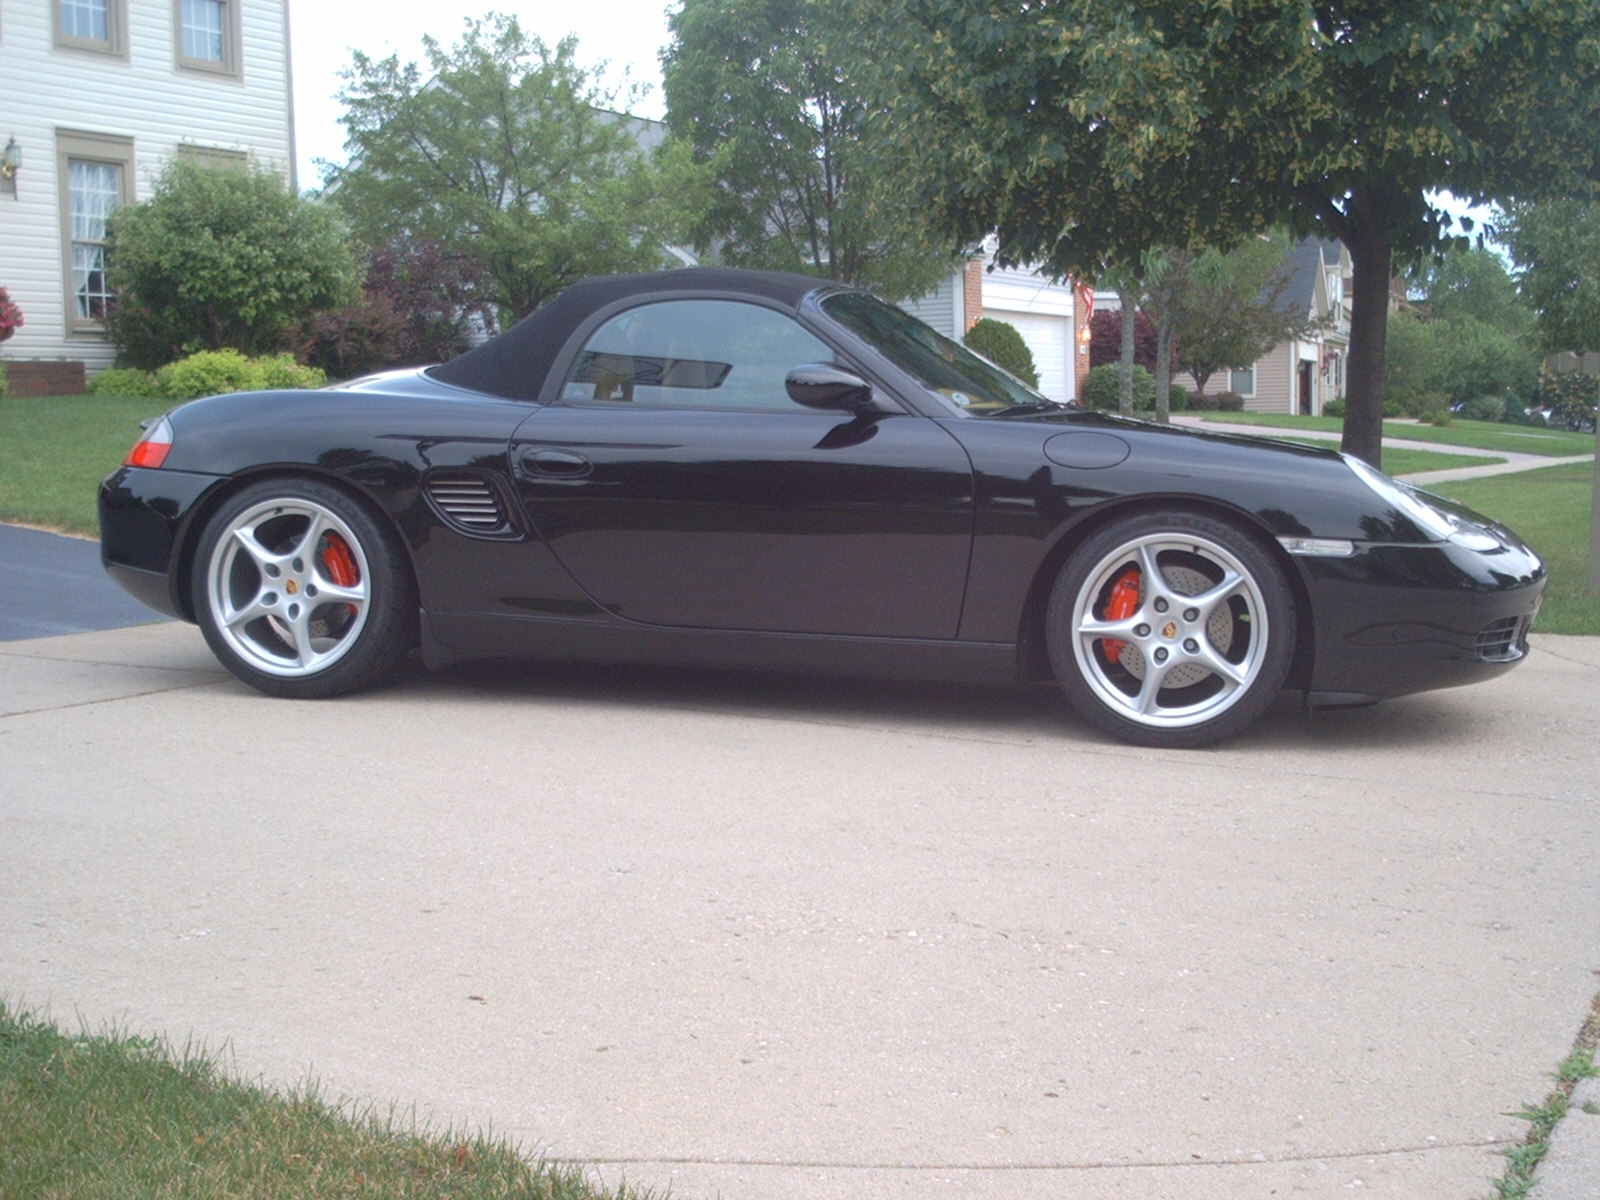
I thought my car was low...some of those pics showed REALLY LOW cars. I have have enough trouble with steep drives (H&R sports, lowered about 1.4")
-
The Stuttgart top is far more attractive than the Cayman style top. I agree, if you want the Cayman look, buy a Cayman. I only drive my car in warm weather, so I don't require a hard top; but if I did it would be the Stuttgart.
-
insite,
Yes, that is with the H&R sports. I have not had a chance to put my car side by side with a ROW M030; only US versions (and my car was noticably lower).
I understand your dilema about the dual use tire...about the best I can recommend would be Pilot Sport Cups; fairly decent in rain, last a long time, sticky, but expensive.
-
Something else to spend money on...I still appreciate my B&M, though. Huge improvement over stock.
-
insite,
Great write-up. I do alot of track work, but not in my Boxster S. Even though, I run about -.9 camber front; rears are set at -2.5. I went the H&R sport spring route, as I have no desire to track this car. This lowered the car overall around 1.4" from the stock setup. I'd like more negative camber up front, just haven't got around to it. I drive my Boxster for street fun, reserve track time for my 911.
I'm surprised that you run street tires, as it sounds like you visit the track fairly often. The tread depth just does not lend itself to performance track driving; and why shave a perfectly good street tire? The cornering forces will blister and chunk a street tire miserably. A good compromise is a Yoko or Michelin DOT R compound; just don't expect the stick or a Hoosier or like.

-
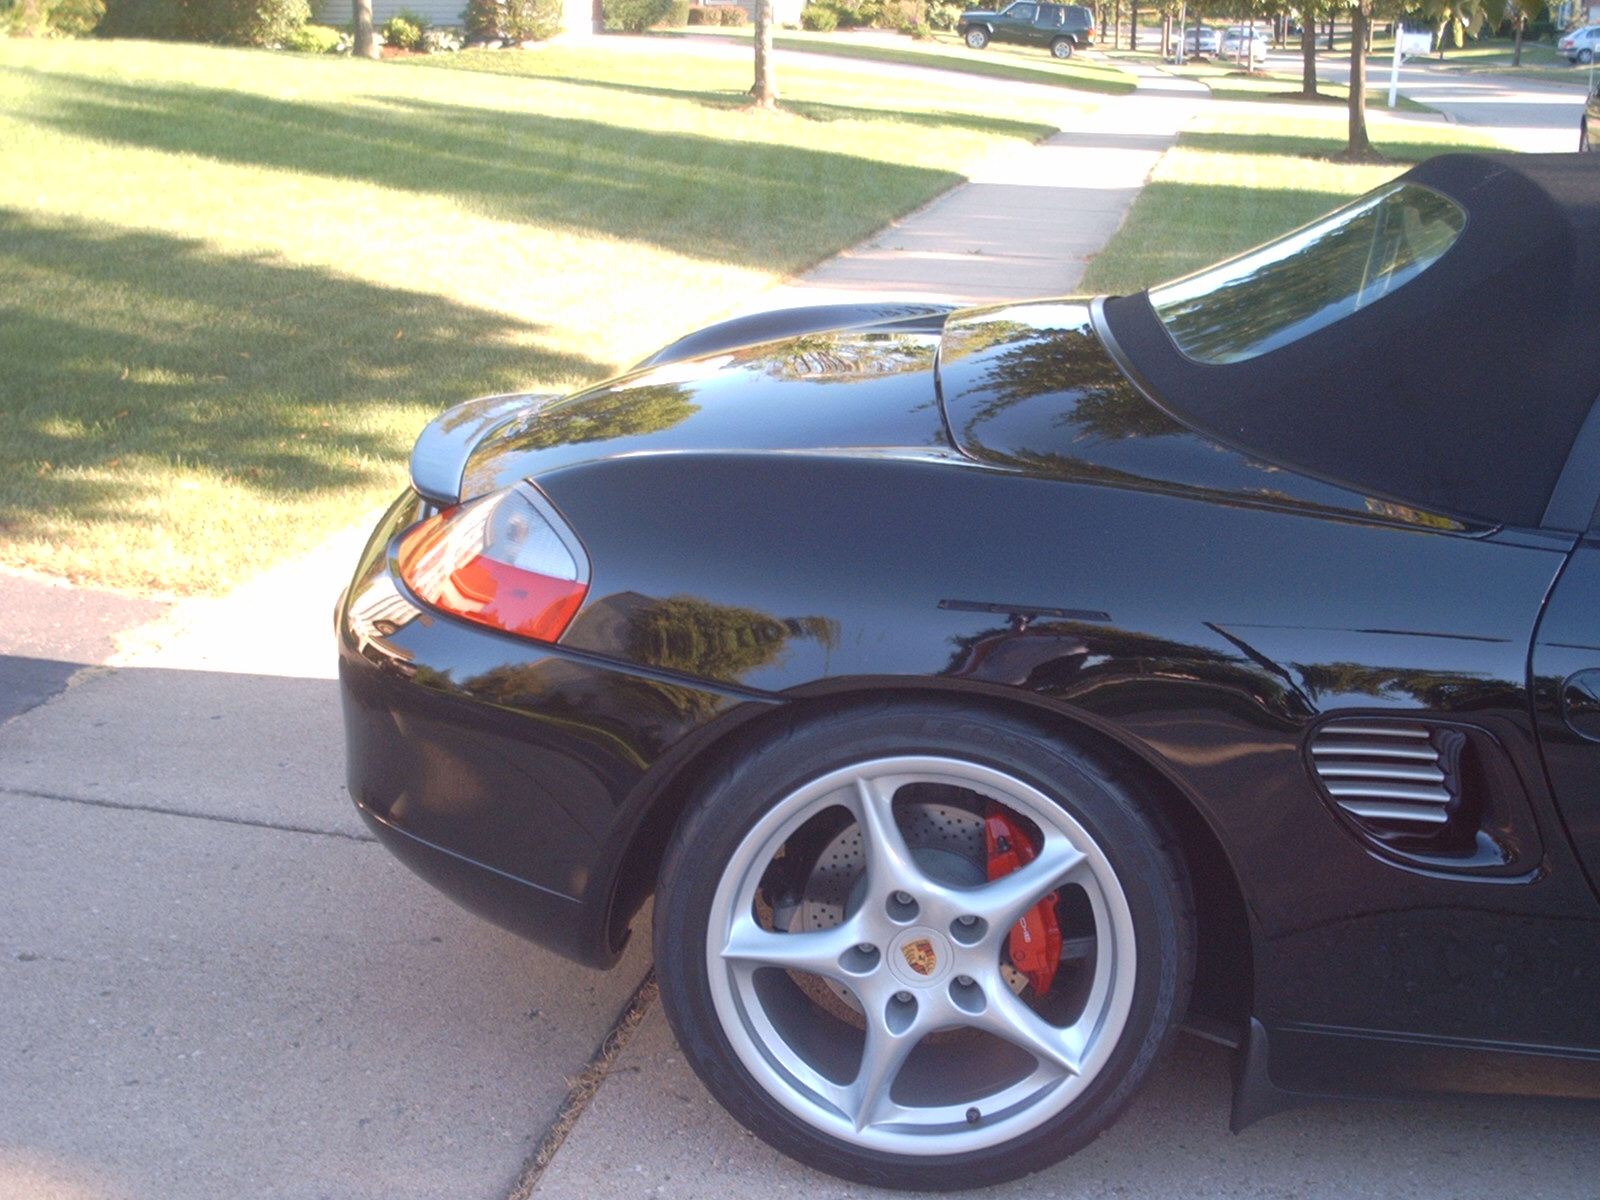
I believe the 2003 ducts/grills are one piece painted the same color as the car exterior, instead of being body color with black inserts. I, personally, like a contrast and painted the grills Artic Silver on my '02 S. Brings them out and matches the wheels nicely.
-
vvortex3,
I'm glad to hear you solved your problem, but if you keep reving the engine to redline while cold, you will need a new motor. It's got over 80k miles on it; be wise.
-
The bottom position only requires four mounting screws and a new face plate. You need to fish the harness down from above, but that's about it. I also have the bottom face plate, in perfect condition, if anybody wants it.
FrayAdjacent986: Get yourself some contact cleaner from Home Depot or Radio Shack; that should clean up the sticky mess. Somebody spill that in my car and I would knock them over the head!
-
Interesting, because my car is extremely stable with this alignment. I am sensitive to a car responding to my wheel input, thus the toe out. I have none of the twitchiness associated with the setting, as it's very minor (unlike my track 911). I'll have to see about tire wear as my car is driven about 2500 miles a year; the tires will get hard before they wear out.
-
For what it's worth, after my H&R sport springs were installed on my '02 S, the car was aligned. Looking at the printout, I see my front camber is - .8* and toe out is .05*. Rear camber is -2.6 and toe out is .10*
This is not an aggressive alignment as my car is only street driven (my 911 sees all track duty). The car is very responsive in normal/sprirted driving.
-
Very cool...I love to see the hidden parts of my car that I've yet to discover. The only time I've had the engine cover off was to install the Evo Hi Flow, but it's only traveled 11k miles at this point.
-
THANKS Jmatta!! I emailed that to myself.... now to find the parts, then get them ordered... and get the cubby things for the lower positions.
SC986 - I moved the radio down because I didn't like the look of the two storage bins together.
FrayAdjacent986 - The storage bins are parts number 996.552.253.01 Upper 996.552.243.01 Lower. All parts can be ordered through "Pelican Parts" as a special order. Mine only took about 10 days to receive.
-
Did you have to remove half your interior to get at the belt? What a PITA if so.
-
That's why I recommended finding a welder to do the mod for you. Looks simple enough. If I had to do it over again, that's what I'd do.
BTW, I didn't pay full price for mine. Bought it from a fellow who ordered it for his car, but sold the car before installation. Shipping to the states would have killed me.
-
Here is the write-up from PCA Tech...
Question:
I would like to move the a/c unit to the top and place it where the cup holders are.
Is this a problem and where could I find instructions?
Thanks,
Steve
Answer:
Yes, you can move the AC unit back up to the top, where it is normally
located on a vehicle without cupholders. First remove the side cover on
the lower console by pulling the rear of the covers towards the outside of
the car. Pull off the cover of the AC control unit and put to the side.
Unscrew the 4 screws holding the AC unit in and pull towards you. Unplug
the connectors on the rear, they only go into one of the spaces so you
don't have to memorize the locations. Next pull off the switch covers on
either side of the cupholder by using a screwdriver on the bottom of the
holder and pulling to the rear. They should pop off. Now remove the
cupholder cover by popping off the cover from the side and remove the
cupholder assembly by removing the screws holding it in. Now you will
have to fish down to get the harness for the AC head up to the top
location. To install the AC head you will have to buy 2 brackets and a
face plate. The frame is 9965576770001c and the 2 brackets to line up the
AC head are 99657350100. Just install those parts and the AC head should
just slide in the slot, install the screws and the face plate and now have
your AC up top.
Peter Smith - PCA WebSite - 6/3/2002
-
Get one of these or finder a welder that can modify yours. Should not be difficult to do. I have one on my '02 S and the sound is terrific. This is a stock factory muffler with bypass tubes welded in. Simple, but brilliant.
http://cgi.ebay.com/Porsche-Boxster-986-2-...1QQcmdZViewItem
-
Any guess how long it takes for the foam to disintegrate? Did Porsche update the door material in later models? My car is approaching 5 years old and wonder if or when this will happen. It has about 11k miles on it now; is not driven in winter.
-
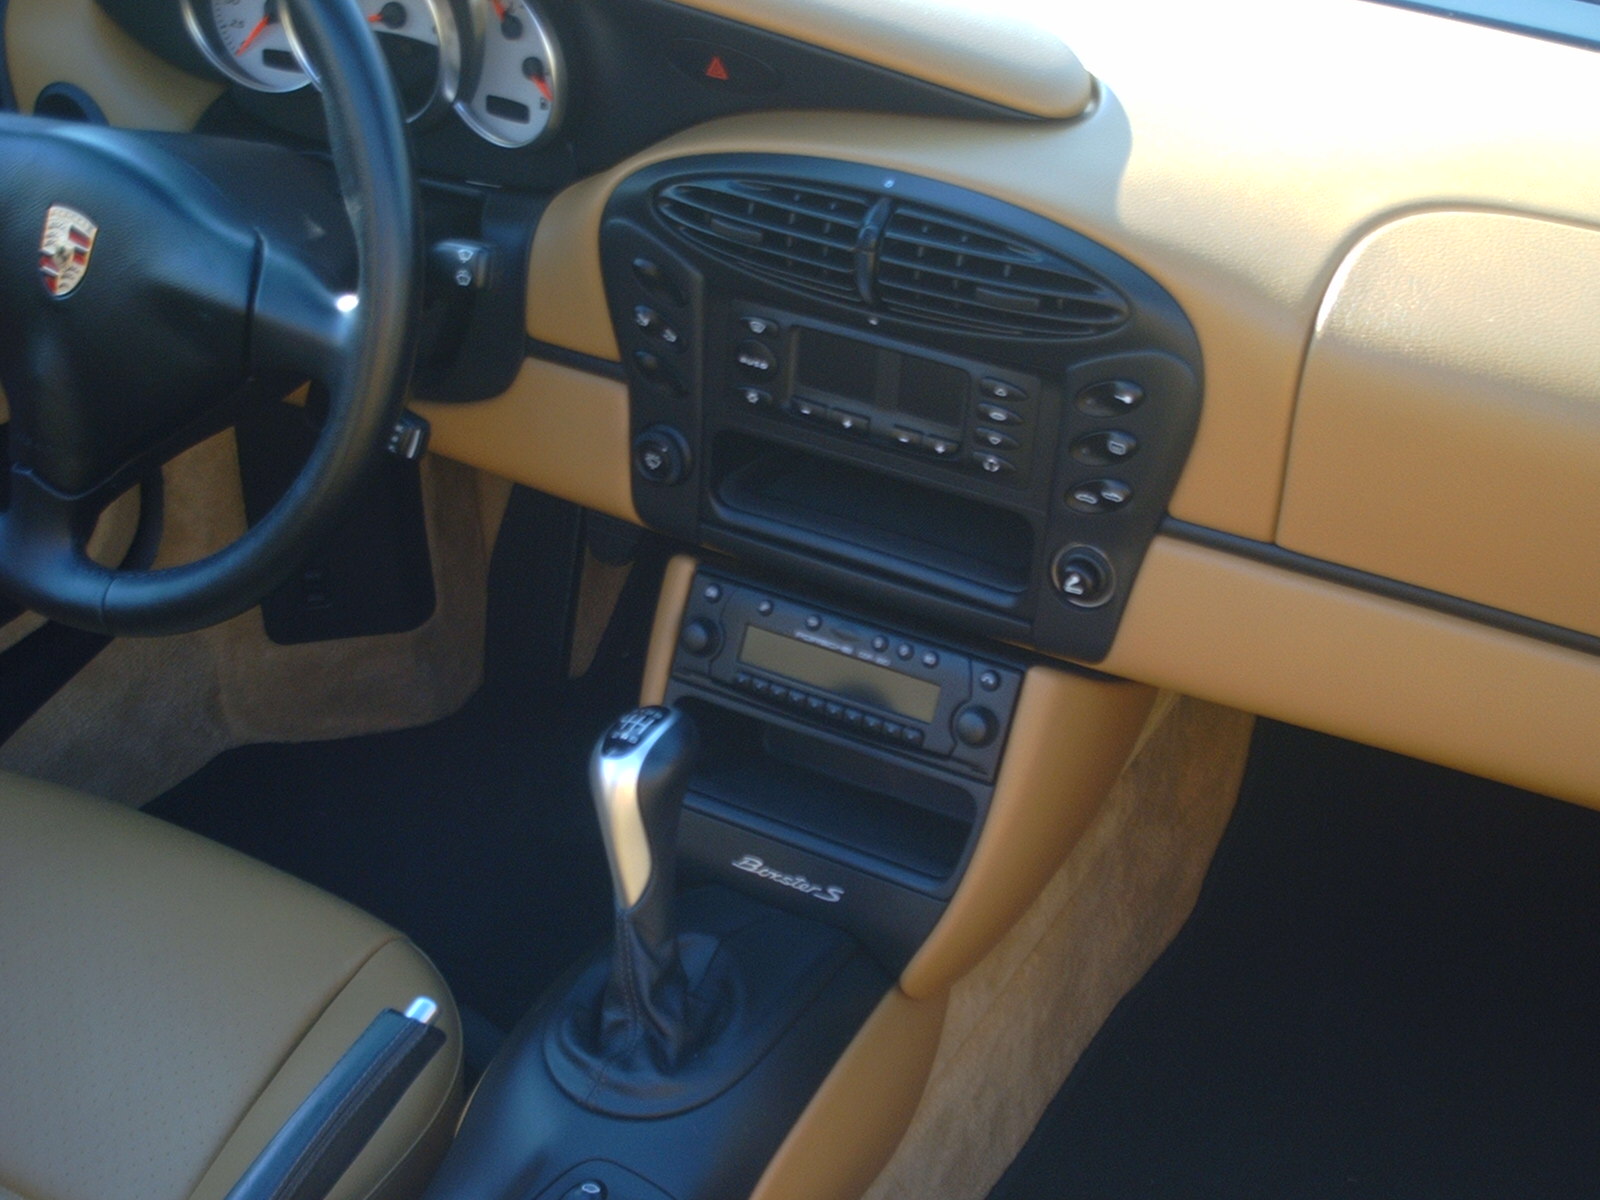
I did this; it's pretty straight forward. I even moved my stereo down to the bottom position (it's rarely used anyway). I also felt the cupholders were a waste of space. Here's a pic of my interior. I'll look up the part numbers when I get a chance. You need a couple of brackets and a new face plate for the climate control. I replaced my CD holder with another storage bin, as well. Handy for phones, etc. I think this cost me all of $10...(plus the cost of the storage bins).
-
I have the B&M in my '02 S...you get what you pay for. No cheap Chinese knockoffs in my car.
-
Just kidding nik; looking forward to seeing your car in whole. I'm sure it's going to be very attractive. Bought a new camera as this old one took fuzzy pictures. However, the car is in storage to April.
-
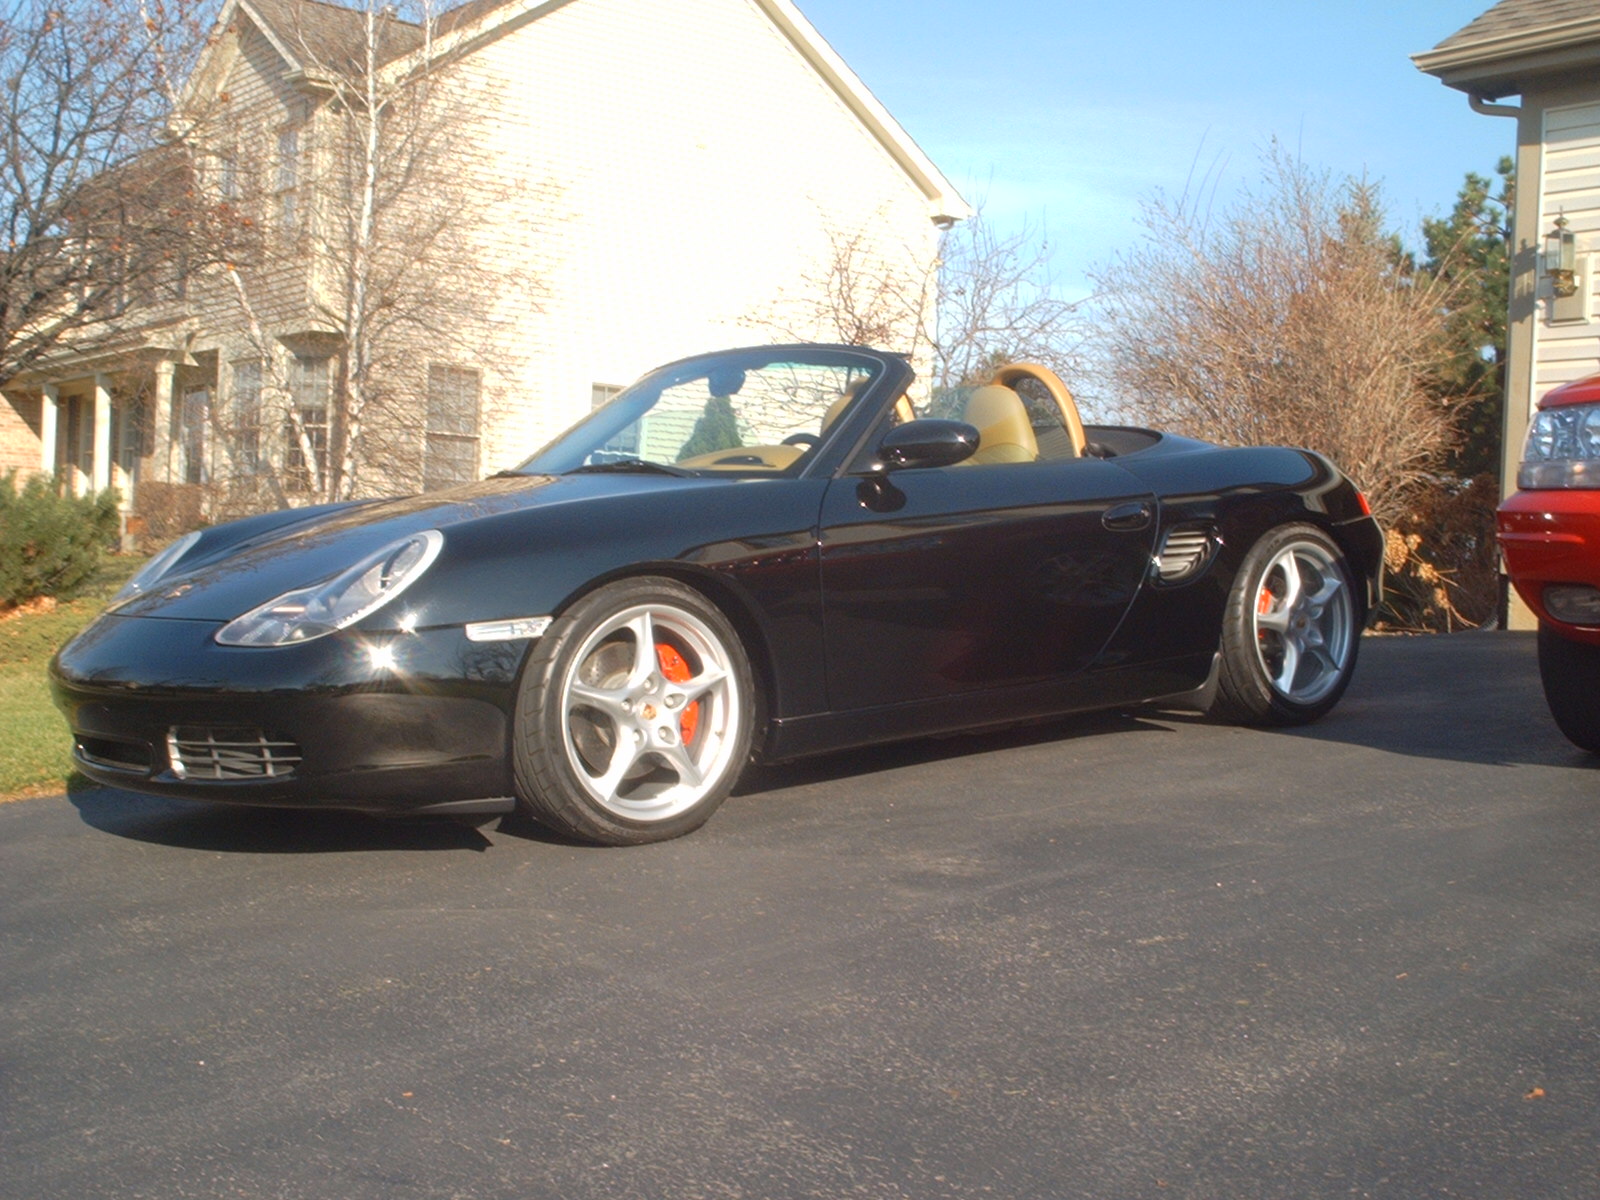
Here's mine with Carrera Classics and red calipers for LVDell...
-
Would it even be drivable? Can't wait to see the answer to this one.
-
Seems like performing brain surgery for a simple headache, to me.

What else fits in the top position of the center console?
in 986 Series (Boxster, Boxster S)
Posted · Edited by jmatta