Welcome to RennTech.org Community, Guest
There are many great features available to you once you register at RennTech.org
You are free to view posts here, but you must log in to reply to existing posts, or to start your own new topic. Like most online communities, there are costs involved to maintain a site like this - so we encourage our members to donate. All donations go to the costs operating and maintaining this site. We prefer that guests take part in our community and we offer a lot in return to those willing to join our corner of the Porsche world. This site is 99 percent member supported (less than 1 percent comes from advertising) - so please consider an annual donation to keep this site running.
Here are some of the features available - once you register at RennTech.org
- View Classified Ads
- DIY Tutorials
- Porsche TSB Listings (limited)
- VIN Decoder
- Special Offers
-
OBD II P-Codes - Paint Codes
- Registry
- Videos System
- View Reviews
- and get rid of this welcome message
It takes just a few minutes to register, and it's FREE
Contributing Members also get these additional benefits:
(you become a Contributing Member by donating money to the operation of this site)
- No ads - advertisements are removed
- Access the Contributors Only Forum
- Contributing Members Only Downloads
- Send attachments with PMs
- All image/file storage limits are substantially increased for all Contributing Members
- Option Codes Lookup
- VIN Option Lookups (limited)


vbhagwan
-
Posts
34 -
Joined
-
Last visited
Content Type
Profiles
Events
Forums
External Paint Colors
Downloads
Tutorials
Links Directory
Collections
Store
Posts posted by vbhagwan
-
-
I don't know why Toolpants singled out the 2001 2.7 as the one where the OBC hack does not work.
The OBC hack works (both the 4 stalk and the button hack) on 2001 2.7. I have the button hack on my base 2001, and interestingly enough, TP helped me install it!
Here is proof:

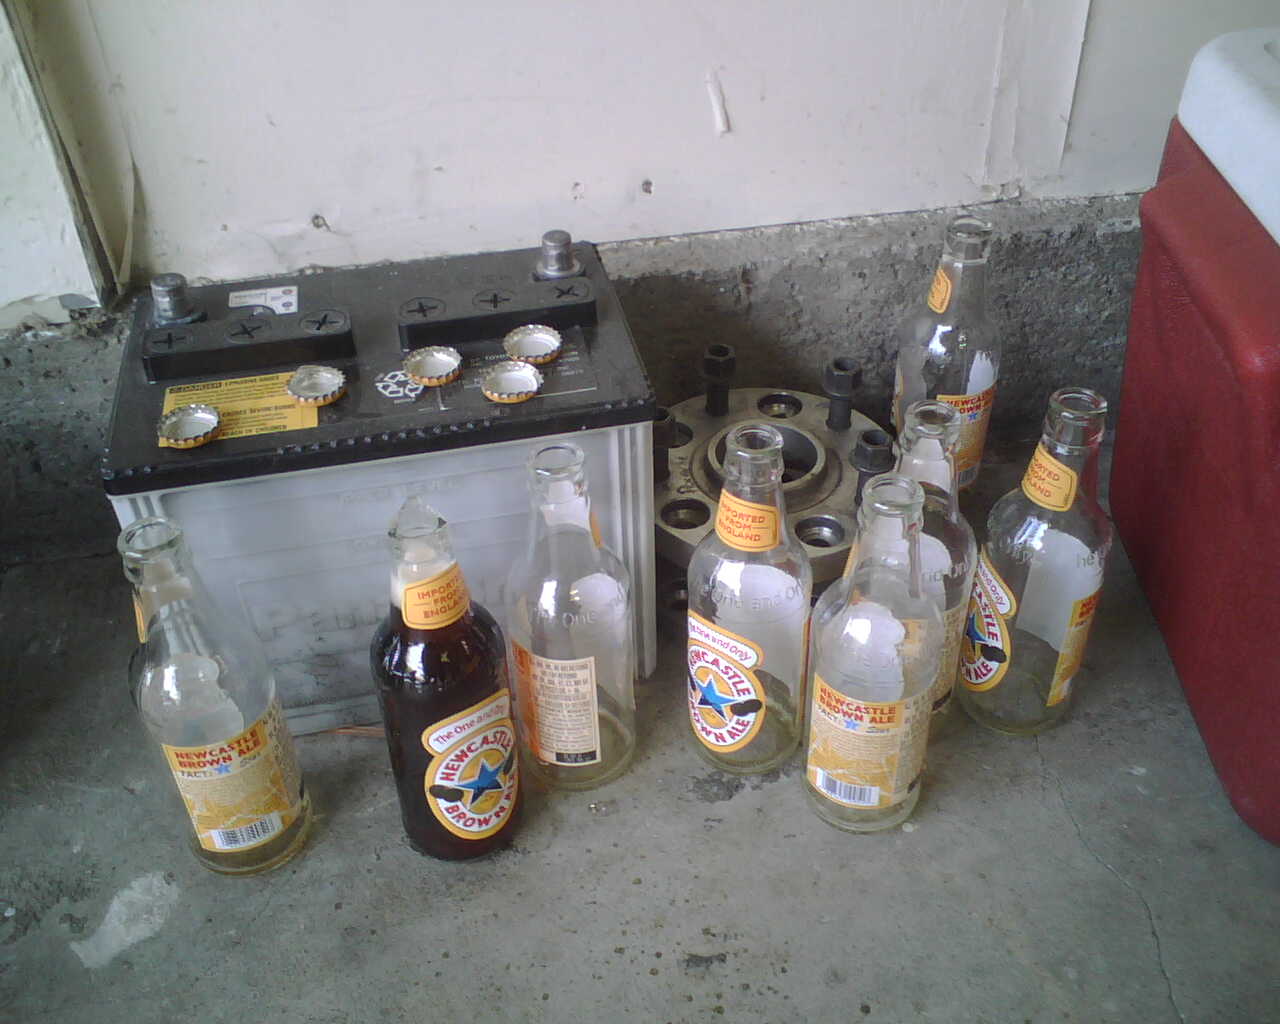
Maybe TP forgot because of all the beer he had that day :D :
-
Hmm, opened up the assembly, took out the bulbs, put them back in etc. Was unable to locate the vent :( - looked all around the casing, and couldn't find anything that looked like a vent. Anyone with a 986 try this? Have a pic of the vent that you could point me to? Thanks!
-
This picture that you refer to is looking at the inside of the rear cover of the headlight assembly, this is the cover that you would remove to replace a bulb or gain access to the internals. With careful thought, some good double sided tape and some small tie straps I managed to neatly mount everything into that cover. The first picture below shows all of the wires and connectors installed, the 2 wires near the top with exposed spade connectors are for power, the black connects into the ground wire of the original OEM socket, the red to the wire to the lead fed through the vent tube and to the relay supplying power from the battery (I used an insulated 'bullet style' connector for easy removal). The blue and red wires to the right connect to the HID bulb.
The breather (vent) tube I am referring to is on the main assembly, it is about 1/4" or 5mm in diameter so one wire passing through it will not completely block it, there is a small piece of foam in the tube (to prevent insects from entering I suspect) that I removed and saved for replacement if/when I sell the car and want to remove the HID kit. (see yellow arrow)
Everything I did to mount this kit can be removed in very short order, my theory is never take short cuts and make it so when things are removed you can not tell that it was ever there. Why take chances on your pride and joy!? B)
Thank you for the speedy response! Completely agree with keeping things as stock as possible. The pics (esp. the one with the arrow) helped a bunch - I am sure my 2001 halogens will be a bit different, but with my Bentley and the pics here I should be able to figure out what goes where :)
One quick question - I am considering the 4300K/5000K H7 Kit found here: http://www.xenonexpert.com/ddm_kit_sale.html
Is that the 'correct one'? As I understand, my halogen housing should require D2R as opposed to the projector beams' D2S type (IMO needed for 987 models since their non-xenon low-beam was also a projector one).
-
I fit everything into the stock housing, no drilling of the back cover. The only thing outside of the housing is the relay I used to supply power to the system. I used the stock ground and the positive line is fed through the vent tube, a quick disconnect on this wire is all that you see attached to the housing. If you have a 986 there should be no reason you couldn't use the stock wiring, my 987 required separate power to bypass a different problem (see my post).
Thank you for the response and for the link, Al! I need to understand what you mean by the vent tube, and (going by its name) whether I will be 'blocking' it if I pass wiring through it. This pic of yours (http://www.renntech.org/forums/index.php?act=attach&type=post&id=8197) is helpful, but leaves me with a couple of questions:
* Is that a pic of the inside (towards the bulb) side of the black plastic cover, or the outside of it? I haven't opened mine yet, but my guess would be inside.
* I don't see any vent tube in the above pic - is that vent tube built into the plastic cover, or is it located someplace else?
Thanks again!
-
Great writeup and followup commentary. I too interested in doing the HID retrofit, but without having to drill any holes in the plastic cover. I have seen online items at vertexauto which come with pre-drilled covers but are a bit expensive, and no one here appears to have used them. I saw a post on pg 7 with a kit from Xenon Expert that doesn't require any drilling and claims of everything fitting well, but their site doesn't mention anything of that nature.
The question is - has anyone successfully done the HID retrofit while keeping everything as stock as possible (in other words, without having to drill a hole into the plastic cover)? All input appreciated.
-
We have 5 confirmed, 2 probable, and 3 maybes for the Wax-your-car day. Saturday looks to be beautiful. If anyone here is interested, please post so we have an idea for how many might be making it. Thanks :)
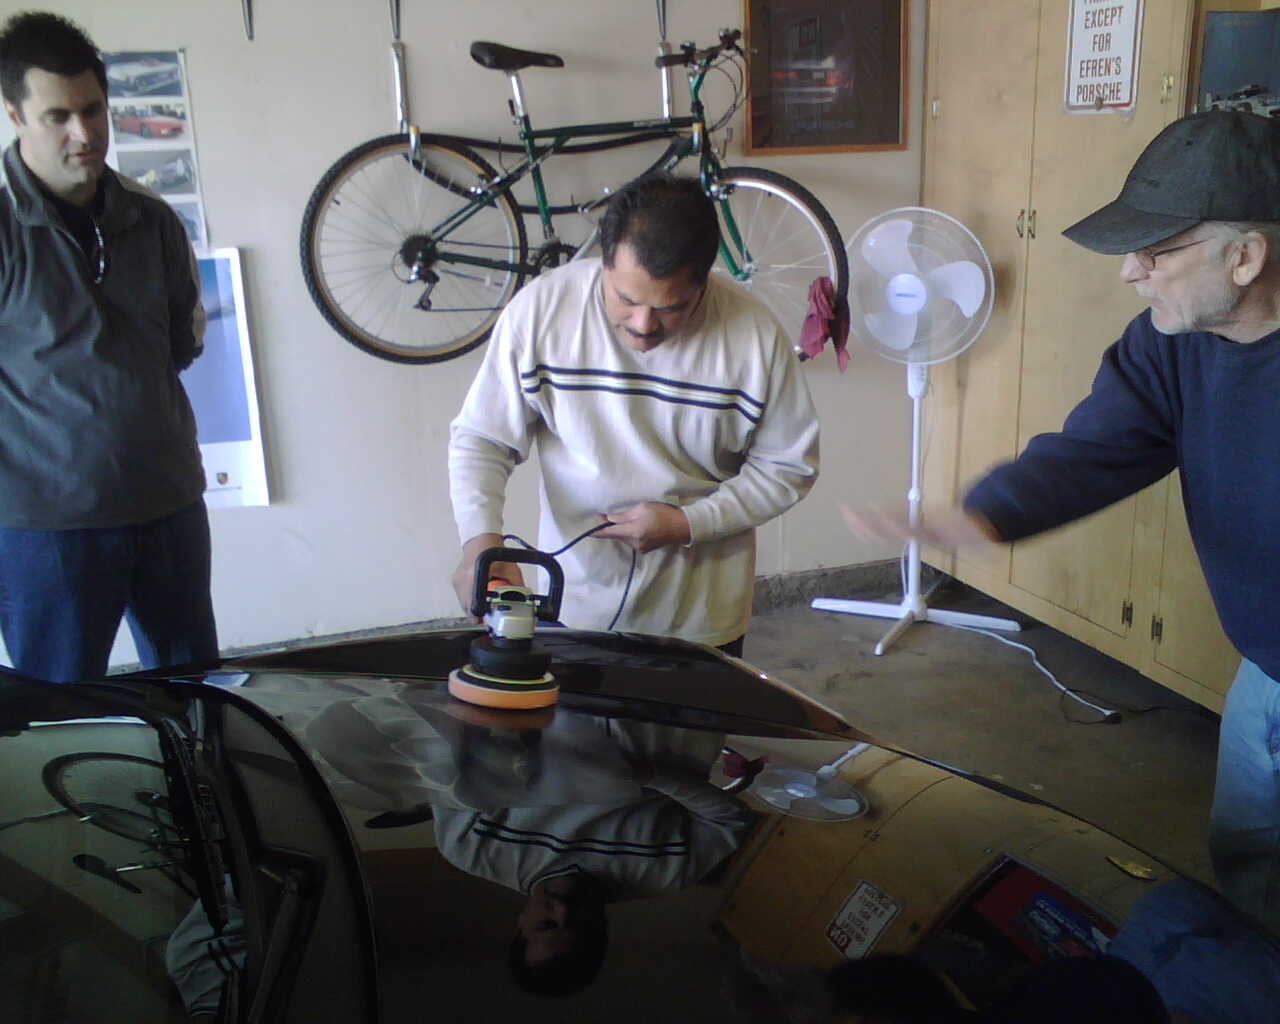
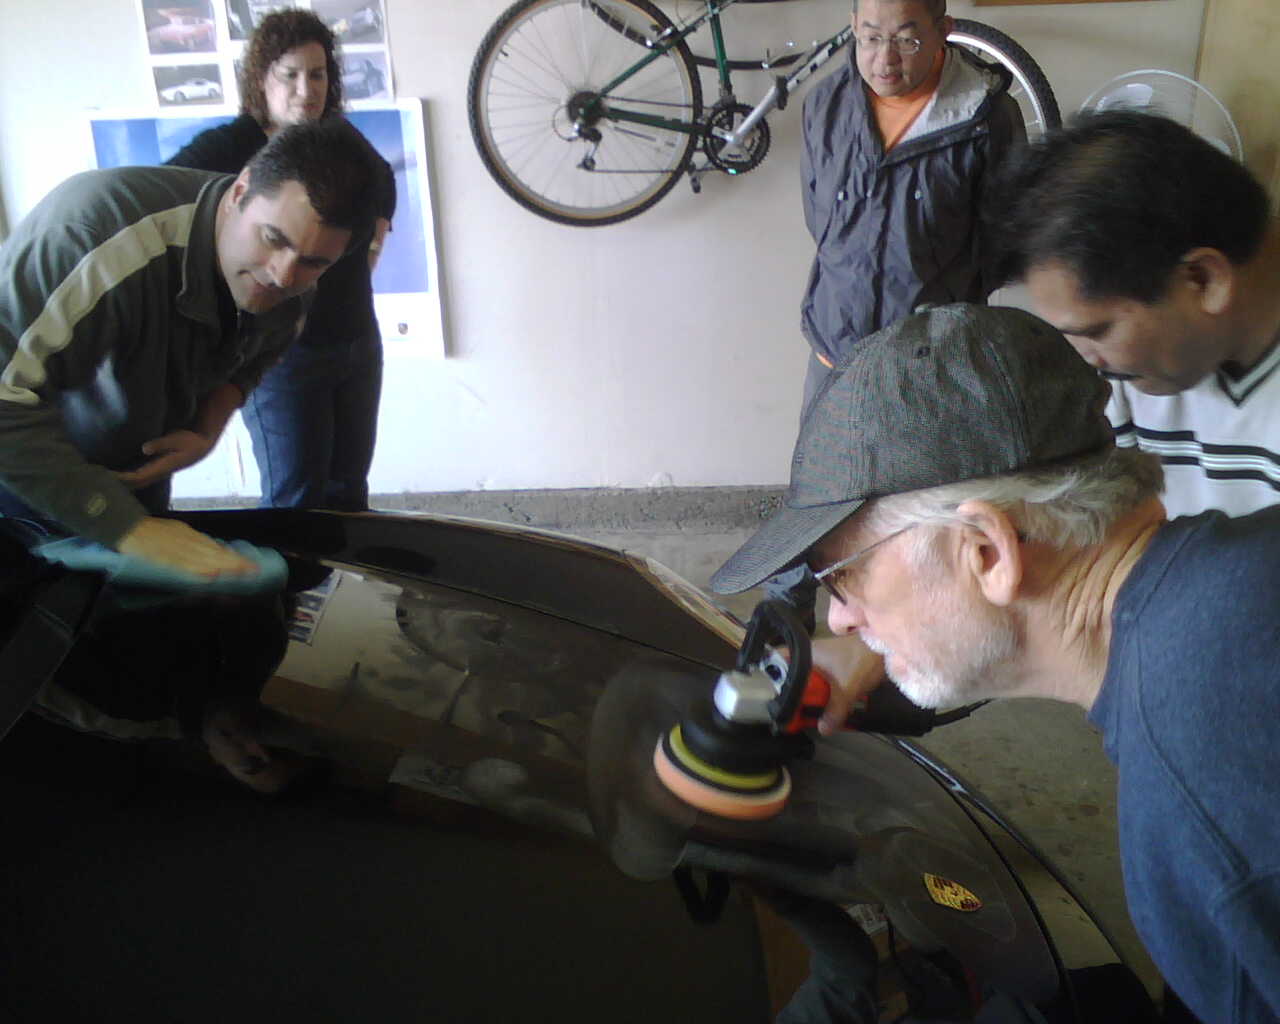
Decent turnout, including one Cayman S! We all went for lunch to Santana Row afterwards. Here are some low-quality camera-phone pics.
Wing, George, Rhonda and Steve:
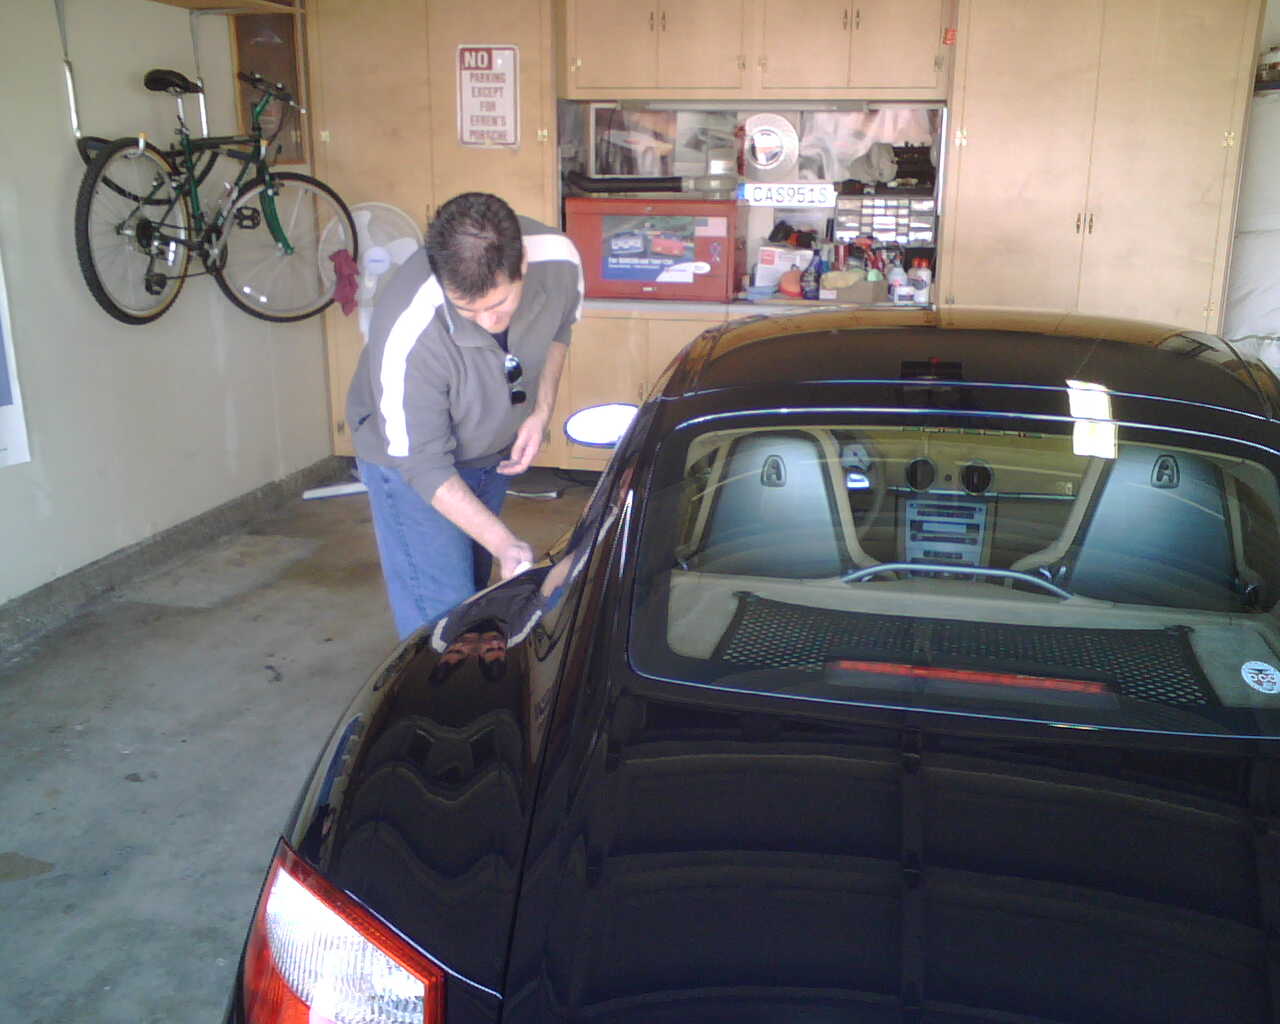
Steve working on his Cayman:
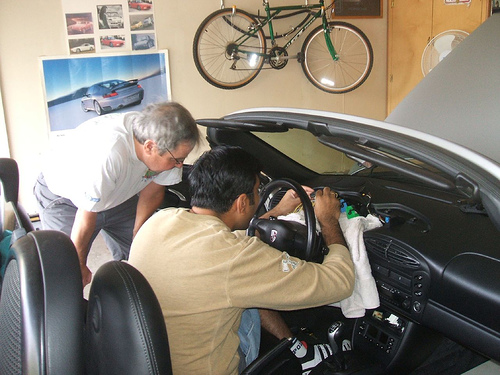
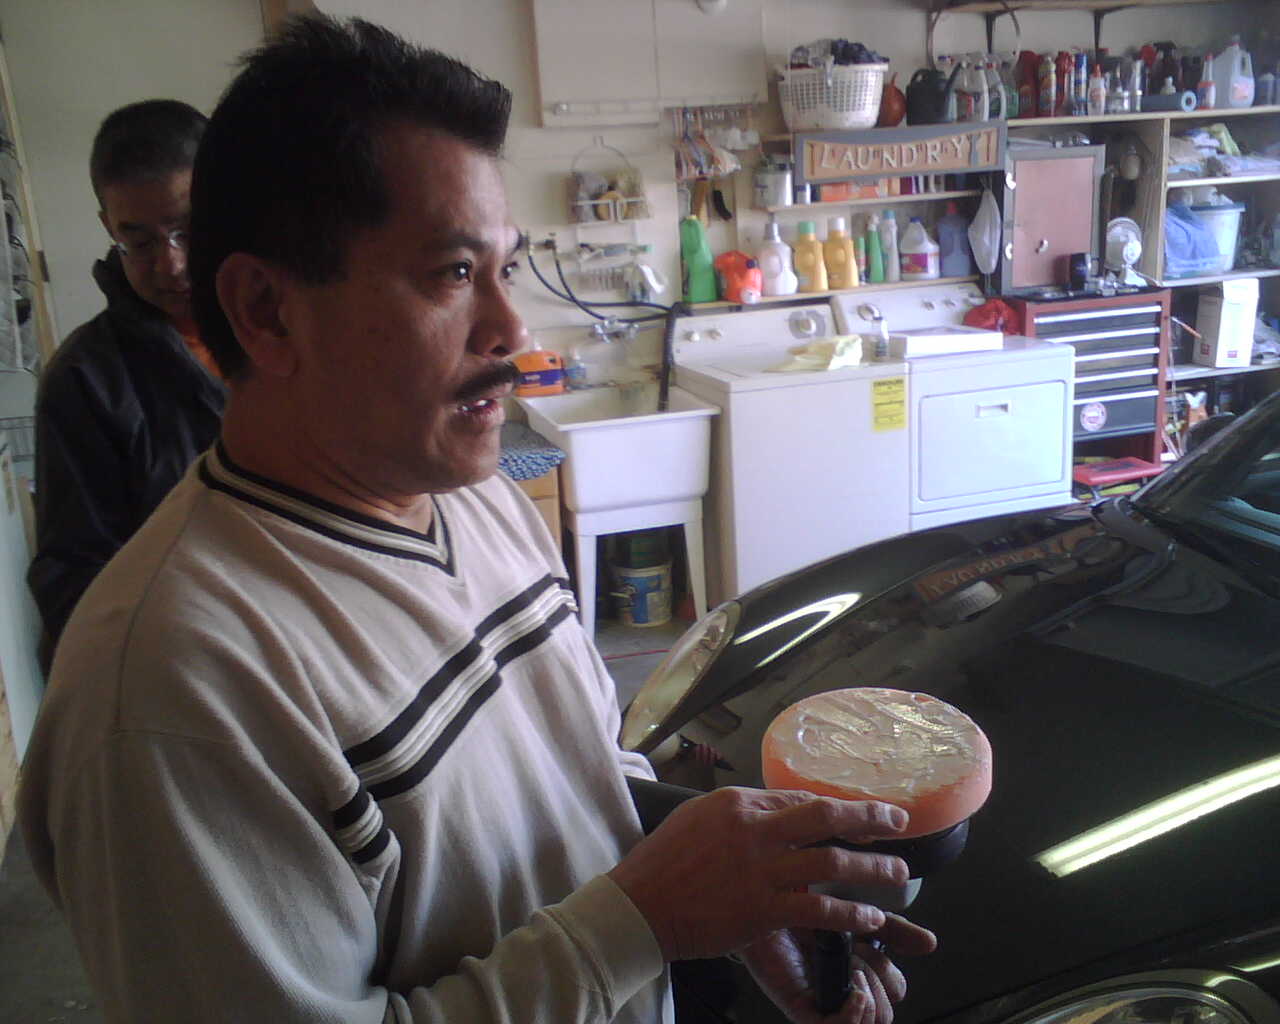
Efren prepping the orbital:
The action shot:
Let's inspect, shall we:
George directing traffic on a boxster:
-
We have 5 confirmed, 2 probable, and 3 maybes for the Wax-your-car day. Saturday looks to be beautiful. If anyone here is interested, please post so we have an idea for how many might be making it. Thanks :)
-
Now that the weather is finally looking up (and how!), let us get together for some spring cleaning :-). Wash your car at home, drive it over to the venue, and lets detail the cars together. cas951 has generously offered us his garage and more! If this sounds familiar, cas951 also hosted the mini-work-on-cars day last year. Now for the details:
DATE: March 8th (Saturday)
WHEN: 9am onwards
WHERE: cas951's place.
2840 Mauricia Av
Santa Clara, Ca 95051
2 blocks from the GMC dealer on Stevens creek. Stevens Creek Porsche is also only 2 blocks away. Cross street is Kiely/Mauricia Av. Directly in-between Prunridge and Steven Creek.
The plan is to get an early start. Work on cars from 9am-12noon, so bring your detailing products/tools. At that point, we will convene together and decide on the drive and lunch-venue, so bring your ideas. The plan is to finish up around 2.30-3pm. cas951 has not only offered us the use of his garage and expertise, but he is also OK with people washing their cars at his place if they can't do it early enough.
Side Notes: Beer that early may not work well for most (except Paralizer, of course :) ). Anyone up for whipping together some spicy Bloody Marys?
Please reply back if you plan to attend, so we have an idea for how many will show up. Thanks!!!
-
Group 48 Costco Roseville, CA was $53 plug $5 core plus tax. Had about 6 in stock.
That is so weird. I can understand $$ difference between Walmart and Costco, but this is a huge difference between two Costco stores, both of them in CA! (My group 48 battery, which I bought at a costco in San Jose less than a month ago, cost ~$90). Heck, even with the gas prices nowadays I might save some $ driving to the Roseville costco :)
-
Anyone interested in getting together to do a work on cars event? Looking at my calendar, the Saturday after Xmas (29th of this month) is open for me.
Tool Pants, you mentioned that you might be able to get the garage in your office opened for that?? Can you confirm??
There is an outside chance that I might be traveling to Chicago, but if I'm around then I'll be there.
Are there specific work-items you have in mind? (Mind you, I'm less useful than a block of cement :) ). I've been meaning to do my fuel filter, but want to do it with someone who has done this before and can guide me.
-
When we did the OBC and rear speaker retrofit on you car a few months ago your battery died. I told you or someone you needed another one.
I think everyone has raised battery prices. Somewhere on the internet someone claimed it is because the price of lead went up. No clue if that claim is true.
In the old days there was no core charge at Costco for your old battery. That started a few years ago.
Yup, you noted at that time that I was still on the original battery, and Cas did a test and thought that the battery wasn't doing too well :). I'm hoping that the alternator is not the culprit, as Cas thought that the charging system was not pushing out enough, while you thought it was doing OK. Guess I'll find out soon enough with the new battery :)
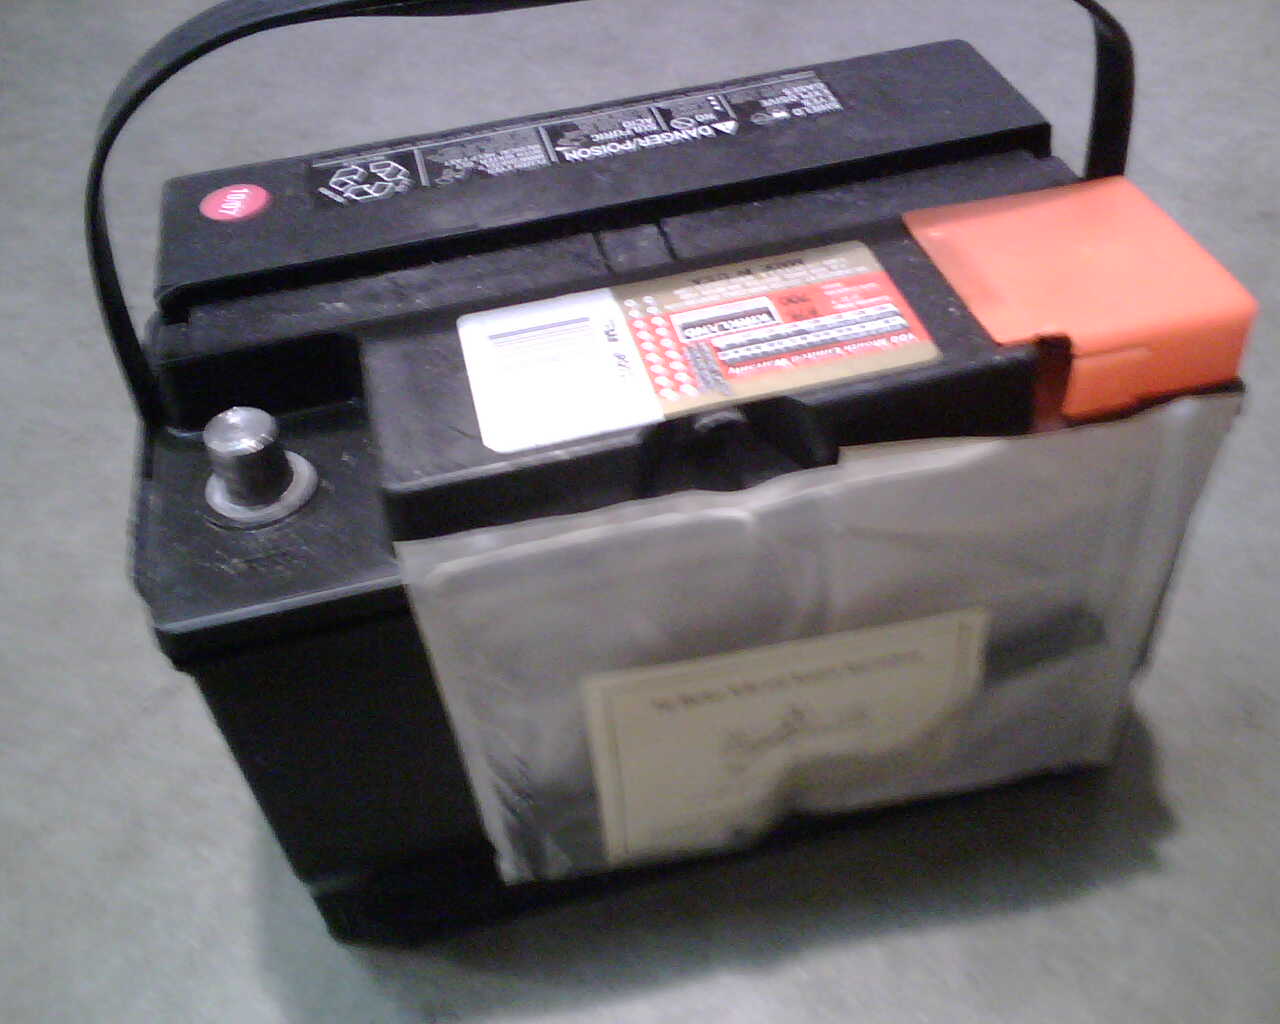
Old Battery :
New Battery :
Batteries at costco (47 and 48) :
-
Just an update.
The DieHard International battery is now $129.99 w/o core charge at Sears and is rated at 700 CCA at 41lbs.
The Duralast 48-DL is $69.99 w/o core charge at Autozone,rated at 700 CCA as well and weighs 37lbs.
What makes battery prices jump around so much
Had my battery go out over the weekend - it was the original one (in an 01 boxster). The price of the one from costco is now about $90 (core charge of $5), and the prices at AutoZone, Kragen etc. were about that or more. The person working at Costco told me that prices had gone up in the past couple of months. This Costco (Almaden Expy) had several batteries with sizes 47 and 48 (I got the 48).
This thread helped me quite a bit - so thanks all for your posts.
-
Service manual is a repair manual containing step by step procedure for servicing or repairing the car.
Owner's manual that came with the car is an opertional manual describing how to operate a car.
And to add some perspective, this manual is many (5?) times the size of the owner's manual. I was surprised by how thick the darn thing was. It is a good buy regardless of whether you use it for the headlight work or not.
-
I've heard very good things about Cecil's shop as well. Since you are in Los Gatos, you may want to drop by the Los Gatos Acura bodyshop - they are the preferred bodyshop for Stevens Creek Porsche.
-
Make mine a tractor.
A Porsche tractor of course....
Here is how to build a Carrera GT.
Haha - great pic TP! Where the heck did you find a tractor around here?
Speaking of the boxster--GT "conversion", I agree that the front looks nice, but the back is unnhhhh. Maybe I will get a larger trunk space in the back, but thats about it. I re-read the road and track half-page article on the 2010 boxster - they do not mention getting any direct info from porsche. Most of the wording appears to indicate pure speculation on their part. I would not be surprised if they took a look at the boxster--GT kit cars when putting together their pics.
-
Sweet - thanks for posting TP. Love that pic.
-
We tested the theory for a different OBC "hack" for 2001-2004.
If you are only interested in seeing the outside temp display when the ignition is on and do not want to do the switch or stalk retrofit, then you run a wire from slot 23 in the gray connector and ground the other end of the wire. When you turn off the ignition the display reverts to the normal trip odometer display. When you turn the ignition on you see the outside temp display. The ground end of the wire must be connected when you see the temp display.
Thanks to Varun for being the guinea pig for this test
Thanks for posting the pics, and for all the help today Jeff. You were also correct about me having the wrong part number for the VW wire (#000.979.010) - the correct one was what you had (#000.979.009). The rest of us could not have come close to getting anything done had it not been for you :)
Are you also going to post the pic with the different colors on the connectors? That might help some of the renntech folks who try to use the older instructions with the red/green/black/black colored wires, instead of the green/brown/white/yellow colors that the new connectors have - I'm enumerating these colors here for when someone tries a search later on.
Thanks again for all your help!
-
The Santana Row thing started last year.
You can read all 78 pages here. http://www.6speedonline.com/forums/showthread.php?t=50520
I think it started as a Ferrari event but then all sorts of cars showed up.
Lots of Porsches on the right day.
I have gone to see the local owners I know, and for another reason.
I have not tried to run any antivirus thing. It came with Norton for some days free, a few years ago. Henry and I went to Best Buy for that computer. I then bought the identical computer as a back-up. Ray said the first computer had a virus, so I started using the second computer. My secretary says I need a disc.
I think I need an Atom.
Thanks for letting me know - I'll stop by there on the way over to cas951's place, probably around 9ish. I'm PMing you my cell in case you are going to be there.
I will be happy to look at your laptop if you bring it - if it needs extensive work, I may need to borrow it for the weekend. It sounds like you may be due for an upgrade - you can take advantage of my employee discount on IBM/Lenovo machines if you want. This offer stands for all renntech folks as well (discount only works in US though). Just PM me.
-
If someone can get a virus out of my notebook computer then I will bring my potato speaker....
TP, first off, what in the heck is that thing? :) I see wires and a potato inside the speaker box, can't wait to hear what it sounds like ;)
I'll be happy to take a look at your notebook. I'm guessing the OS is windows of some sort. Can I assume that you have tried running some form of antivirus program (which one)? Just trying to get a sense for the work involved, and what I might need to bring (if anything).
See you Saturday. Btw, what was the Santana Row thing you'd referred to?
-
Yoseif Whiteson was a local Boxster owner I knew 100 years ago. The use of VW wires was something that Peter Smith came up with. Peter gave me the instructions and I gave them to Yoseif, then Yoseif put it on his site like he invented it.
The instrument cluster changed in 2001. The 000 979 010 wire no longer fitted as good as the 000 979 009 wire in the 2001 up instrument cluster connector. I then spoke to Peter and the instructions were amended for 2001 up, but Yoseif did not know.
In reality, either wire will work.
The rear storage bins are held in place with a bead of glue. Sometimes you can peel the glue away with your fingers, utility knife, chainsaw, whatever will break the glue bond. On my 1997 with a retrofitted 1999 box I was able to peel the glue away with my fingers. On other cars the glue bead is solid and you need to cut it. Remove your box and take a look.
If this is Saturday then you might stop by Santana Row in the morning.
I'd learned of most of the story reg. Whiteson (including the pic where Peter is working on Whiteson's car as he looks on) when researching the OBC hack in these forums. The story I have to share with you is a little related - will do that in person.
Thanks for the tips with the storage bins - I'll take a look at it tomorrow.
Santana Row is on my way to the venue, so I can easily stop by there - whats at Santana Row though? Also, any chance you could make it to this event? Can I bribe you with your choice of beer? :)
-
Sorry - edited my post now. OBC = On-board computer (shows temp., fuel mileage, avg. speed etc.).
So, similar to the info I get from a Durametric device?
I have no experience with the Durametric device that you refer to, but I highly doubt it. This search resultset should add clarity to the capabilities you'll gain by doing the OBC hack:
http://www.google.com/search?hl=en&q=b...G=Google+Search
You can also of course search the forums here at renntech if you want to dig deeper. So, are you planning to come? :)
-
You can do both projects at the same time, to save time. That is the way we do it when a dozen cars show up and there is a time limit to finish because you are at someone's house.
While someone is preparing the rear storage box for the speakers, someone is pulling the body trim pieces to run the wiring harness to the radio head (for 2002 and older). Raman has a dremel to cut the glue for the rear storage bins.
For the OBC with switch, someone makes the wiring harness while someone pulls the cluster and switch trim. For a 2001 with switch you need one VW wire 000 979 009.
These projects can be done in parallel.
Although I doubt we will even have half a dozen cars show up, that is a good idea TP! I made the wiring harness one evening when I had time, but there are a couple others who may need it done, so we will follow your suggestions. I also have some spares that I will bring that day (not the VW wire or the button, but everything else).
Jeff: Speaking of VW wire, I had used the supplies list on Whiteson's page, which lists the part # for the VW wire as 000 979 010 - slightly diff. from the part number you mentioned. Do you know if the 010 will work? Btw, I've also gone through the OBC hack archives on this forum - I have an interesting story to share with you when we meet next :)
General request: If someone that is planning to come has a dremel tool, can you please bring it?
-
What's the "OBC hack"?
Sorry - edited my post now. OBC = On-board computer (shows temp., fuel mileage, avg. speed etc.).
-
A few of us are getting together to do the OBC (On Board Computer) hack etc. on our boxsters this Saturday. Currently, we are only planning to do the button hack (not the four-stalk one). We may also do other work (rear speakers etc.) given time.
Here are the details:
When: 10 am on 10/27/2007 (this Saturday)
Where:
2840 Mauricia Av
Santa Clara, Ca 95051
2 blocks from the GMC dealer on Stevens creek.
Stevens Creek Porsche is also only 2 blocks away.
This is cas951's place, who is a new boxster owner (but a long-time porsche owner). He has Ramps, jacks, tools, aircompressor, power tools etc. If anyone wants to work on their car, or if you have done these hacks before and wish to share your knowledge, please join us. Please respond in this thread if you are interested.
Note: I am shamelessly borrowing the "work-on-cars" day tag from Toolpants and others on this forum who have been doing this for a while. I do not mean to step on anyone's toes/turf. Truth be told, this is more of a "lets tinker with these cars for a couple of hours" day. Jeff, it would be great if you could join us (I know that you being around would definitely make things go 10x faster) :)


Yousief's OBC hack
in 996 Series (Carrera, Carrera 4, Carrera 4S, Targa)
Posted
Ahh, I think I know why TP said the hack won't work for 2001 MY - he was probably referring to Yoseif's instructions, where one of the part numbers for a wire is incorrect. It needs to end in 10, but ends in 09. That makes the wire not a perfect fit into the 2001 MY clusters. We ran into this when TP was helping me do the install.
What reminded me of this was going to the threads TP included in his responses.