Welcome to RennTech.org Community, Guest
There are many great features available to you once you register at RennTech.org
You are free to view posts here, but you must log in to reply to existing posts, or to start your own new topic. Like most online communities, there are costs involved to maintain a site like this - so we encourage our members to subscribe or donate. All subscriptions and donations go to the costs operating and maintaining this site. We prefer that guests take part in our community and we offer a lot in return to those willing to join our corner of the Porsche world. This site is 99 percent member supported (less than 1 percent comes from advertising) - so please consider an annual subscription or donation to keep this site running.
Here are some of the features available - once you subscribe RennTech.org
- View Classified Ads
- DIY Tutorials
- Porsche TSB Listings (limited)
- VIN Decoder
- Special Offers
- Paint Codes
- Registry
- Videos System
- View Reviews
- and get rid of this welcome message
It takes just a few minutes to register, and it's quality Porsche information at a low cost.
Contributing Members also get these additional benefits:
(you become a Contributing Member by subscribing or donating money to the operation of this site)
- No ads - advertisements are removed
- Access the Contributors Only Forum
- Contributing Members Only Downloads
- Send attachments with PMs
- All image/file storage limits are substantially increased for all Contributing Members
- Option Codes Lookup
- VIN Option Lookups (limited)


deepraver
-
Posts
58 -
Joined
-
Last visited
Content Type
Profiles
Events
Forums
Exterior Paint Colors
Downloads
Tutorials
Links Directory
Collections
Classifieds
Store
Everything posted by deepraver
-
I've read and ever my dealer told me to contact NAVTEQ for an update to the 04 Cayenne PCM NAV Maps.. Has anyone done this?? If so, what did you have to do? I called NAVTEQ and they said they didn't have such a thing?? Pardon me if stranding us poor CD version owners like that is a bit whack... :censored: begs to be hacked or something.. anyone? Beuhler? :soapbox::) I'm ready to pay for an update... just make one available.. seems stupid to have to upgrade to DVD at $3000+ installed just to be able to get a new map update.. My Gateway 500 and ipod negates my DVD needs.. anyway... HELP! btw, :renntech:
-
Anyone can DIY this btw, on my 04 CTT the two grills in front of the intercoolers on each side just popped out.. I imagine this is so you can replace the fog lights easily... the two large grills in from of the radiator and slim tranny cooler? anyway were more of a challenge... I took plastic knives (broke a few in the process) to unstick the double-sided tape that was holding them in addition to the clips like on the side grills.. no biggie.. a little prying, coaxing... 15mins later pop.. out.. then I wiped down with mineral spirits to prep, then used a fusion charcoal/mettalic as a base and while it was still wet I dusted with a silver.. I wanted to get something to match my Titanium Grey and this was an el cheapo method worth a shot.. paint shop if it didn't work out.. I like it.. will see how well it holds up.. You tell me... It's a lot more subtle if than the white or bright silver against black or a blue.. so you have to imagine dark holes that were just too much black on the front to fully understand... After... Front... Before... Front After... at an angle.. No Fear!

-
Just to add to the thread, the DIY is cake.. took like twenty minutes.. I bought the K&N version http://www.knfilters.com/search/product.aspx?Prod=33-2857 x 2 needed of course for my 04 CTT.. I was amazed at the thickness difference. The K&N's are half or less what the stock paper ones are... They look much better too.. like you'll ever see them.. anyway the install is cake except for the passenger side has that plug/hos in the airbox... it pushes off, but took some good force to make it happen... pushing it back on on was cake.. the long pins the hold the airbox on can be a pain too.. you match them to the dimples facing back to line them up in the groove and take pliars to pull them out..
-
The best thing to do is go to a local muffler shop that has been in business for years and has a good rep... ask your local mechanic guy.. you need someone to measure, check your inlet/outlet and fab some hanger(s) on the muffler(s)... I have a CTT and the local guy is a Flowmaster authorized dealer, they are doing mine next week for $750... compaired to Milltek, Fabspeed, Remus, etc.. that is amazing since they run $1500+ and they don't make better mufflers.. Talk to flowmaster.. they'll point you in the right direction too..
-
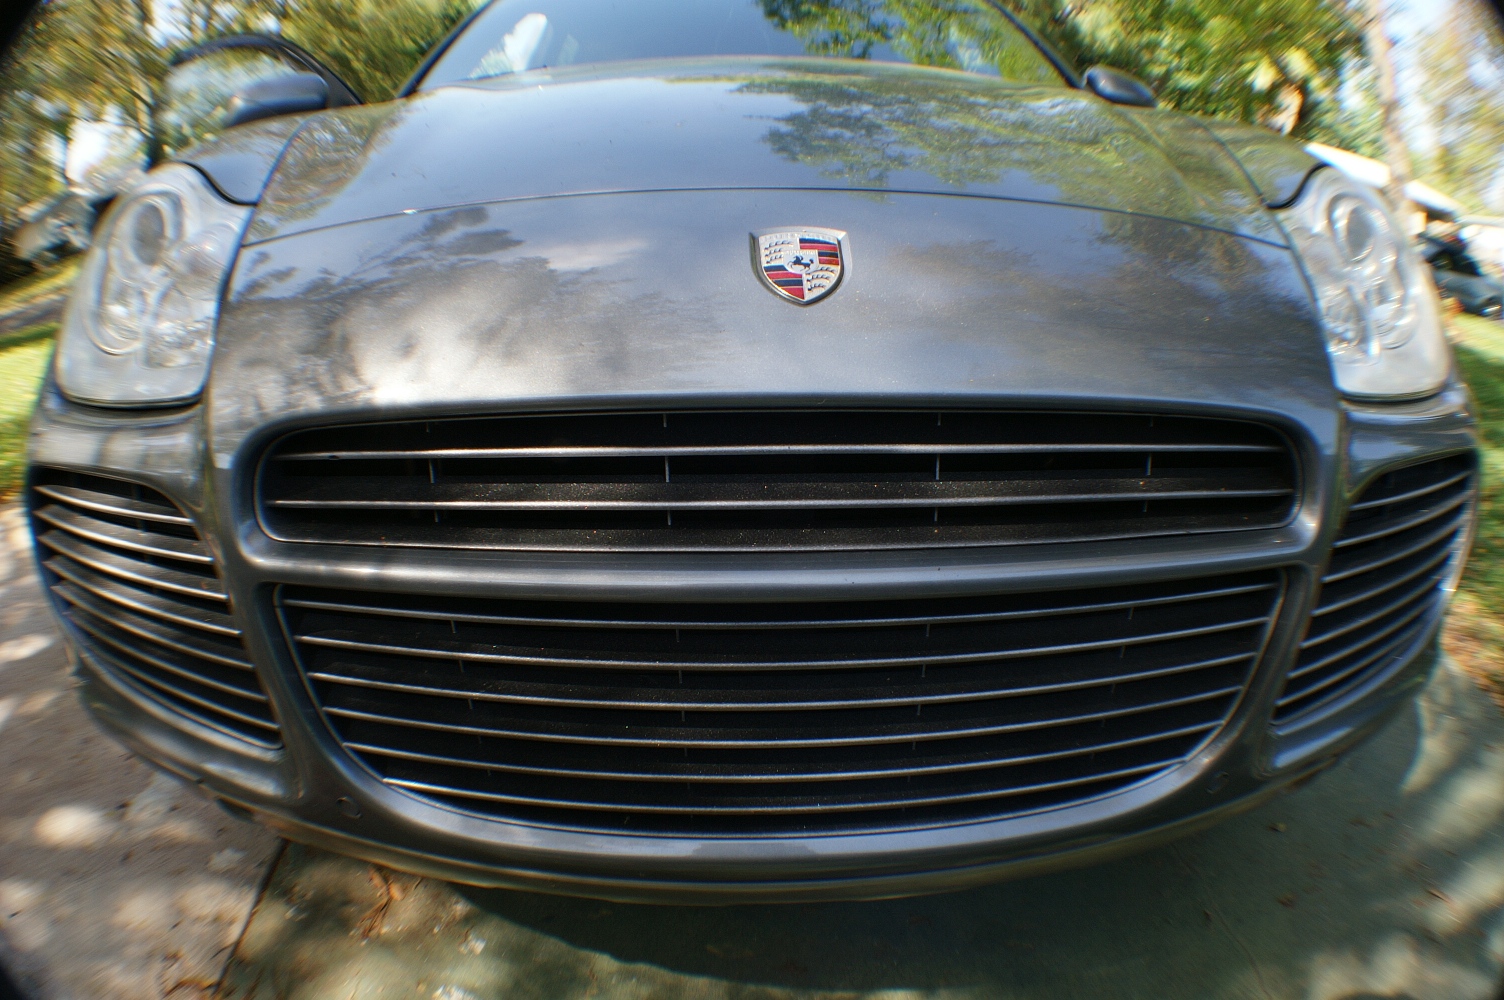
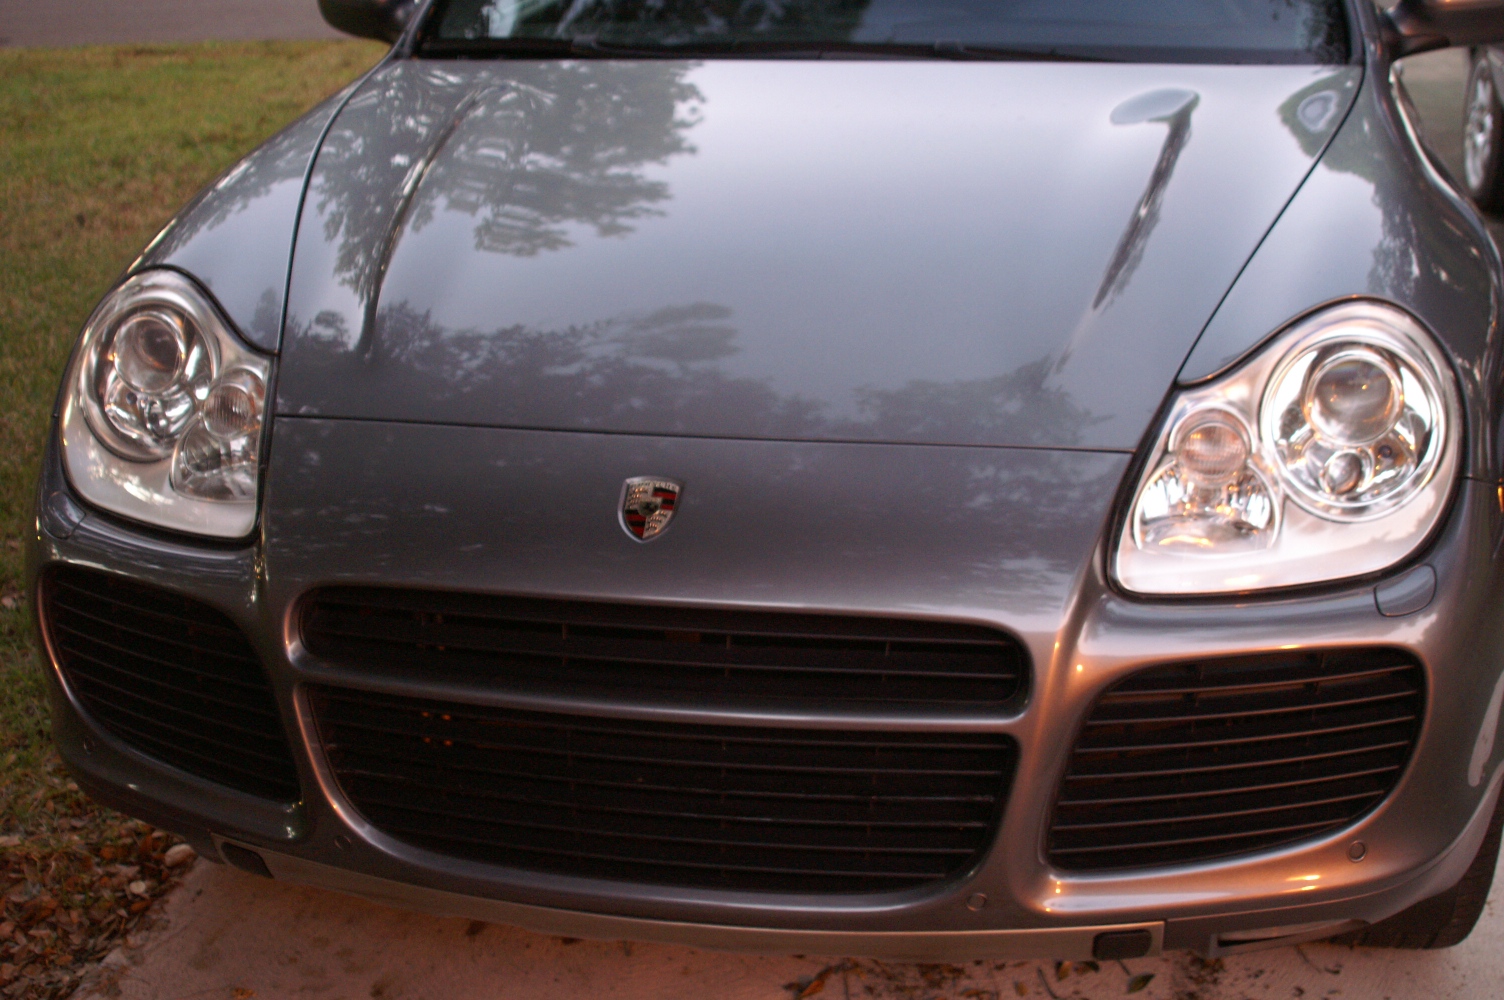
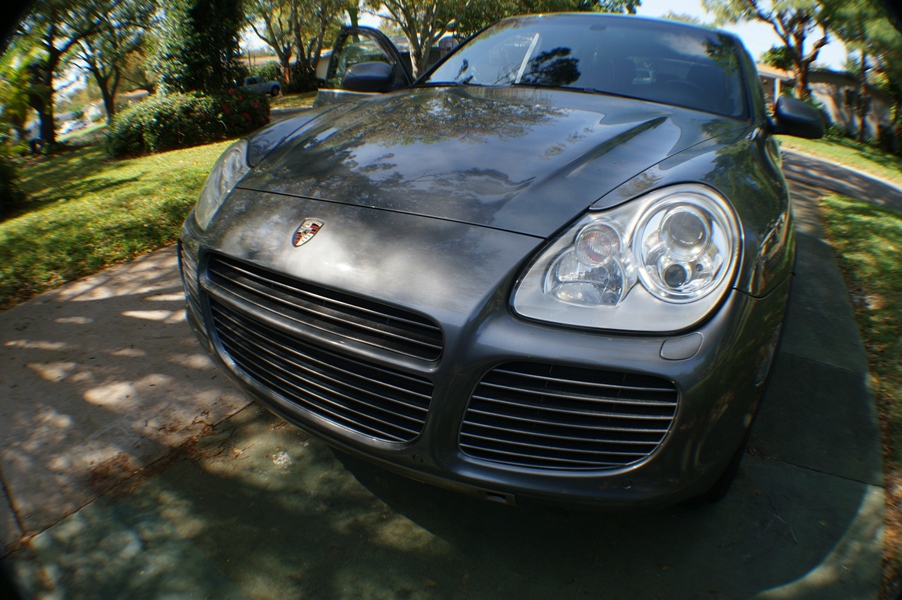
Silver hoodcrest
deepraver replied to Itzkirb's topic in 9PA, 9PA1 (Cayenne, Cayenne S, Cayenne Turbo, Cayenne Turbo S)
YES! I just did this operation successfully and here is how I did it... Sorry I didn't take pictures during... I know.. I suck. :( 1) Pop the hood and remove all the Torx screws (T25 x 6 I think) along the painted front edge 2) Get 4 pieces of scrap (soft) wood, 2pcs (2"x4" x 1') and 2pcs (1"x4" x 1') they don't need to be exact but this is basically what I used... I know you're scratching your head, but this worked for me.. I swear.. anyway... 3) The point here is to pull and hold the top of the front cover open wide enough to get your hand in to undo the push down clip screws.. so first put in the the 2x4 pieces on each side about 6" off center, its flexible and it won't hurt it... then gently put the 1x4s in behind the 2x4 and the metal.. goes in easier between the wood and the frame rather than the wood and the cover.... ok so now you should have enough room to get your meaty mitt inside somewhat comfortably... if not.. umm.. I don't know what to tell you.. find a friend with smaller hands.. 4) Now you'll need a socket.. small one.. to fit on the back of the clip/nuts.. I say clip nuts because only the very tip of the posts are threaded... they mostly just clip on.. but the key for me anyway to get them off was to spin them counter-clockwise with the socket.. I was able to get a small socket ratchet wrench on the back but had to twist it using the ring, not the handle since there is no room... I don't have an air wrench but that might have made life easier... There is some gunk/glue/some @#*^% on the nuts that helps keep it there so have fun with that too.. I screwed with this for about 45mins before I had the second one off.. the first came off in 2mins... there always has to be a stubborn one.. 5) So after you have it off... check your silver crest and you may (like me) find out that it does not have the threads so the clip part of the nuts is going to the holding.. make sure they're in good shape.. to replace the hold-down gunk I used Gorilla Glue.. you can use the waterproof adhesive if your choice I'm sure.. So there you go... saved me a days work taking the apron off... and that, with the clear side markers and the blacked out tail lights on my dark grey metallic '04 TT look badass... Here are some after photos... (yes, it was getting dark early..) http://www.DeepRaver.com/Porsche I hope this helps for those that, like me, where wondering... - Andrew