Welcome to RennTech.org Community, Guest
There are many great features available to you once you register at RennTech.org
You are free to view posts here, but you must log in to reply to existing posts, or to start your own new topic. Like most online communities, there are costs involved to maintain a site like this - so we encourage our members to subscribe or donate. All subscriptions and donations go to the costs operating and maintaining this site. We prefer that guests take part in our community and we offer a lot in return to those willing to join our corner of the Porsche world. This site is 99 percent member supported (less than 1 percent comes from advertising) - so please consider an annual subscription or donation to keep this site running.
Here are some of the features available - once you subscribe RennTech.org
- View Classified Ads
- DIY Tutorials
- Porsche TSB Listings (limited)
- VIN Decoder
- Special Offers
- Paint Codes
- Registry
- Videos System
- View Reviews
- and get rid of this welcome message
It takes just a few minutes to register, and it's quality Porsche information at a low cost.
Contributing Members also get these additional benefits:
(you become a Contributing Member by subscribing or donating money to the operation of this site)
- No ads - advertisements are removed
- Access the Contributors Only Forum
- Contributing Members Only Downloads
- Send attachments with PMs
- All image/file storage limits are substantially increased for all Contributing Members
- Option Codes Lookup
- VIN Option Lookups (limited)


trieullionaire
-
Posts
161 -
Joined
-
Last visited
Content Type
Profiles
Events
Forums
External Paint Colors
Downloads
Tutorials
Links Directory
Collections
Classifieds
Store
Everything posted by trieullionaire
-
New DVD Navigation Install
trieullionaire replied to trieullionaire's topic in 986 Series (Boxster, Boxster S)
Hi, I bought your AVIC Kit on EBAY. I am about to install it but before I do wouold you mind telling me how you installed the camera on the rear bumper? Where did you find the hole to pass the wire through? How did you get th wire it past the enegine compartment and into the cabin? Thanks' John Hi John, Thanks for buying the Kit by the way. My brother and I are very appreciative of everyone who has contributed to this thread and folks like yourself who gave us a chance and bought our kits. As for the Camera, sorry for the long delay in getting things organized. With the camera installation, you can actually do it in the order below or in reverse steps and it works fine. Hopefully, it's helpful! Step "Prestep". Raise your Spoiler, Open the trunk, and Put Your Convertible Top in Service Position Step 1. The License Plate a. Remove your license plate, should be a hole behind there thats about an inch in diameter or slightly bigger b. Take the detachable wires that came with your camera and loop it from the corner of the spoiler down to the hole behind the license plate. I used a clothes hanger and taped the tip of those wires which is the plugin jack and pushed it through until I could see it located at the hole. Then I plugged in the camera. Step 2. The Trunk a. There is a bolt at the top left corner of the spoiler which I used for the ground wire. Ground it there, 1 less wire you have to route to the front of your car. b. Route the remaining wires (should be the video rca cable and the positive wire to power your camera) along the outside of the trunk space. Hide it under the rubber gasket which lines the perimeter of the trunk. Step 3. The Rubber Gasket a. Remove the rubber gasket located at the top left hand corner of your rear trunk hood. b. Pierce a hole through it and pull your wires through it. Step 4. Above the Engine Compartment a. Now you should be on the engine compartment side b. Route the wires along the side of the engine and avoid routing wires in areas where your wires may get pinched from the moving parts of the convertible top. Step 5. The Door Area a. Tuck your wires underneath the rubber lining that runs around the area where the door is located Step 6. a. Bring Video RCA plug to Avic b. Plug in Positive wire to an available fuse Here it is in pictures: -
New DVD Navigation Install
trieullionaire replied to trieullionaire's topic in 986 Series (Boxster, Boxster S)
We've had other Porsche owners install it without a problem regarding the harnesses provided. We're currently not providing harnesses & antenna adapter to Porsche with the MOST bus until we come up with a plug & play solution. Trillionaire -
New DVD Navigation Install
trieullionaire replied to trieullionaire's topic in 986 Series (Boxster, Boxster S)
You can use either the Universal or the Pioneer kit provided on Ebay, depending whether you have cage & cage brackets (which should of came with the system). It'll work for all aftermarket double din systems. Trillionaire -
New DVD Navigation Install
trieullionaire replied to trieullionaire's topic in 986 Series (Boxster, Boxster S)
Fantastic DIY for MOST. I have read your instructions and that's extremely helpful for folks who wants to update their car with an aftermarket navi. Your system looks great. By the way, love the checkered garage floor! -
New DVD Navigation Install
trieullionaire replied to trieullionaire's topic in 986 Series (Boxster, Boxster S)
Apparently, people have been having trouble trying to find the double din kits on Ebay. To save everyone some time, here it is... http://stores.ebay.com/Euromotorspeed -
-
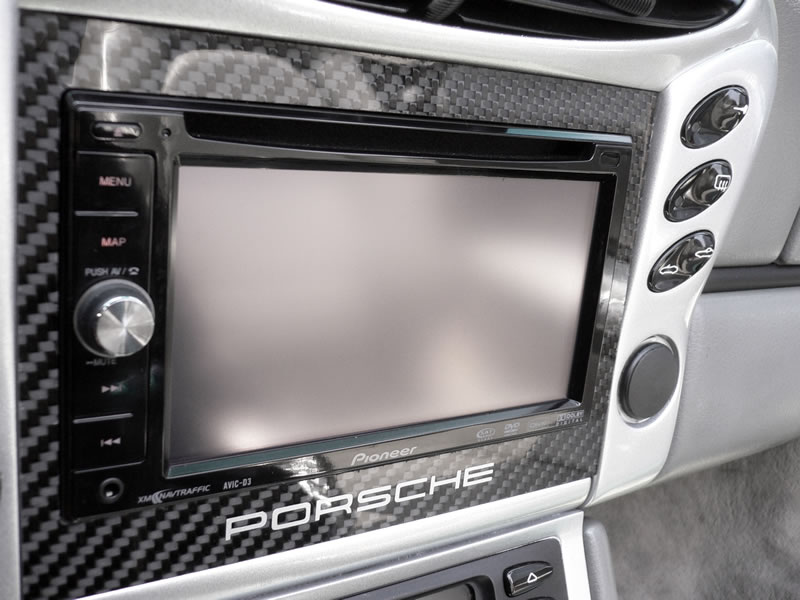
Well my latest mod is actually my bro's carbon fiber faceplate for my nav unit. It's pretty cool actually since it has a 3d effect to it with the texture of the fibers underneath.

-
New DVD Navigation Install
trieullionaire replied to trieullionaire's topic in 986 Series (Boxster, Boxster S)
rahlstrom, Awesome, I'm sure there are many people waiting diligently for your DIY. Please let me know if I can be of any assistances to you. Trieullionaire -
We posted an offer on Renntech offering a kit and we received a few people offering to donate their vehicles. We finally have the right vehicle with the right circumstance (meaning it's not their main source of transportation) to begin the process of developing a kit. Everything (we think) that is needed has been ordered, but until we can see what's behind the OEM radio, it's hard to say what else is needed for the project. Our goal is to design a kit & provide a detailed DIY photo instructions for forum members to use. As always, the highest level of quality in design & materials will be applied and the estimated cost will be half of what is being offered from Japan. In addition, completeness of the kit for rock solid install is of the essence. Trieullionaire
-
New DVD Navigation Install
trieullionaire replied to trieullionaire's topic in 986 Series (Boxster, Boxster S)
The carbon fiber faceplates will be available tomorrow on Ebay @ 10pm E.S.T for those who have emailed or PM me. We would have had it on last week but we needed to make some last minute changes. We initially used a computerized CNC router but the outcome wasn't good enough for carbon fiber material. So, we switched to a high powered water jet cutter that was capable of giving us the finish product we were going after. The results proved to be a huge success, wait till you see it! I also wanted to take the time to thank those who have bought a kit directly from my brother or off of Ebay! Well, I hope everyone enjoys the rest of their weekend! C-ya, it's pardee time! Trieullionaire -
New DVD Navigation Install
trieullionaire replied to trieullionaire's topic in 986 Series (Boxster, Boxster S)
Looks great! :D I'm gonna have a go at mine then instead of pay $150 minimum or $500+ for a new one...only problem I forsee already is removing the center console Its actually pretty fun when you have finished the work at the end of the day. A job well done is a reward in itself, just ask my brother. Center console not too bad at all, just have to take your time and figure out the best way to take it out with out using a lot of force. -
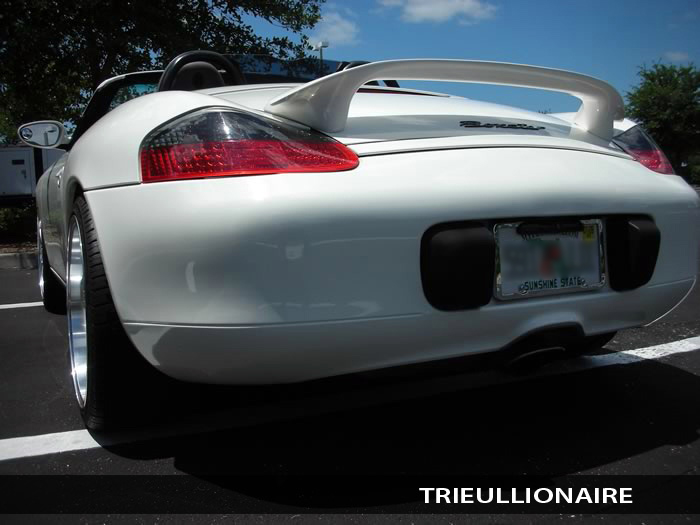
Yeah I bought mine from Zomk Speed on Ebay. It's actually pretty affordable, $156.00 I think. So far no problems, I get a lot of people telling me the lights are extremely bright when I step on the brakes. I bought mine because one of my originals had a big crack in it, and so decided to look at some alternatives. http://cgi.ebay.com/ebaymotors/97-04-PORSC...99207QQtcZphoto
-
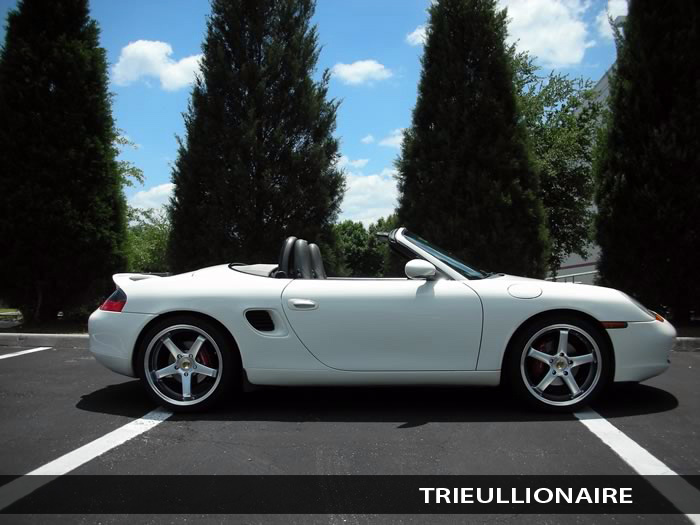
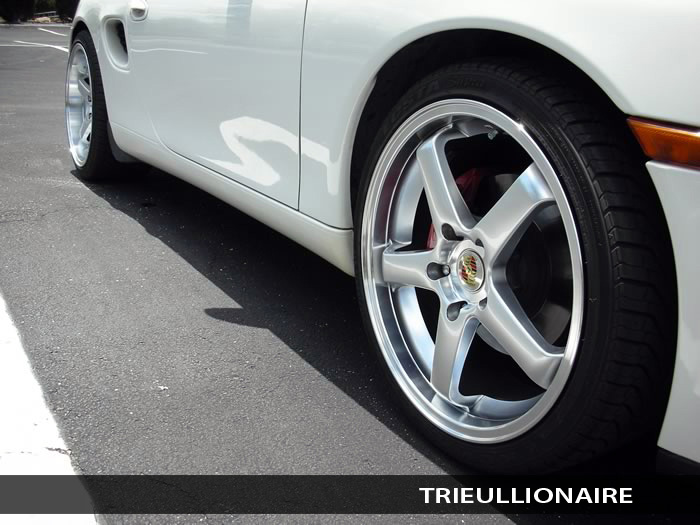
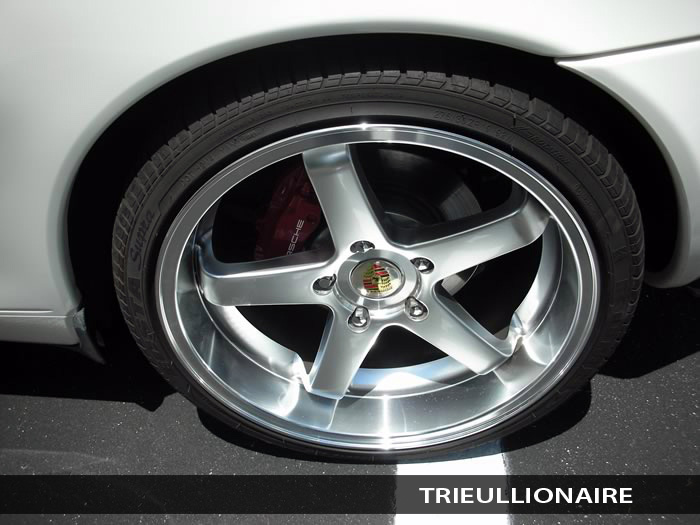
Many will not believe me when I say this, but the wider tires enhance the overall feel of the drive. My car drives smoother & quieter with the new rims & tires as opposed to factory ones. As far as clearance, all that is needed is 1-2 mm in the wheel well. I used 6mm spacers in the rear plus added longer tire bolts to get a few more threads to bit. Had them now for 4 months now, zero issues. I took all the parts & sanded it down with 440 grit sandpaper, then washed/ dried it & wiped with a tacky clothe to remove any dust or small debris. I then had my brother primed & painted it. There's a thin layer of primer & metallic paint and 4-5 coats of clear gloss enamel for maximum strength & durability. My brother baked all the parts for 2 sunny days straight to have everything dry to the core. Very labor intensive- for all the parts we did, you're looking at a good 4-5 days (dissemble, prep, paint, cure, reassemble). But with all hard work, you get to enjoy the fruits of your labor afterwards (can't say I speak for my brother, lol)! 440 sandpaper tacky clothe Primer spray can Rustoleum Plastic spray can-Metallic Enamel Polyurethane Clear Coat spray can- Glossy Finish $30-$40 bucks
-
New DVD Navigation Install
trieullionaire replied to trieullionaire's topic in 986 Series (Boxster, Boxster S)
BTW, carbon fiber faceplates for the kits coming next week. Aluminum brush finish in 2-3 weeks. Stainless is out for now, didn't like the look too much. But if my brother get enough requests for them, he'll run them. -
New DVD Navigation Install
trieullionaire replied to trieullionaire's topic in 986 Series (Boxster, Boxster S)
:) -
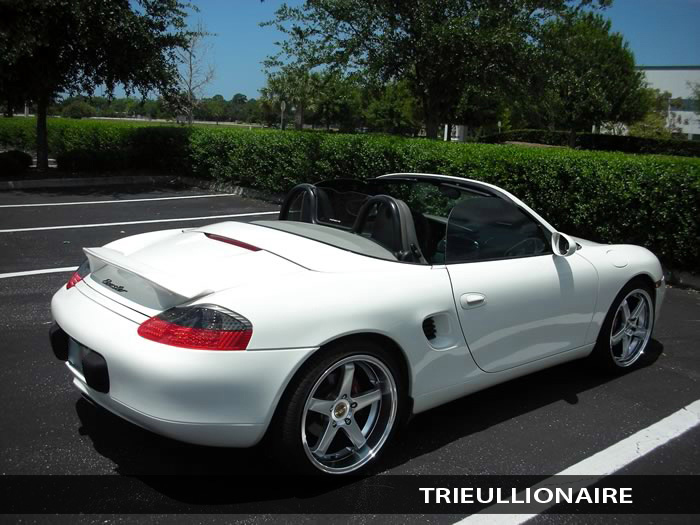
Yup, smoked LED tail lights.
-
New DVD Navigation Install
trieullionaire replied to trieullionaire's topic in 986 Series (Boxster, Boxster S)
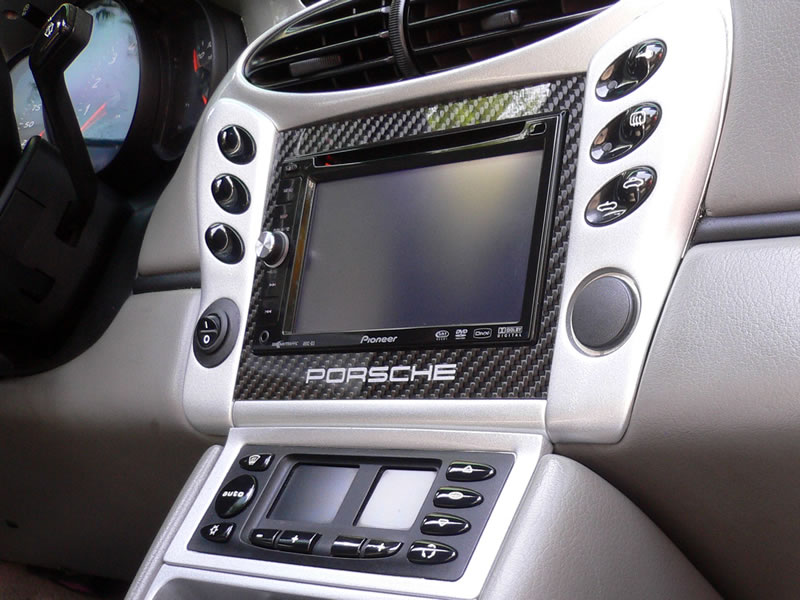
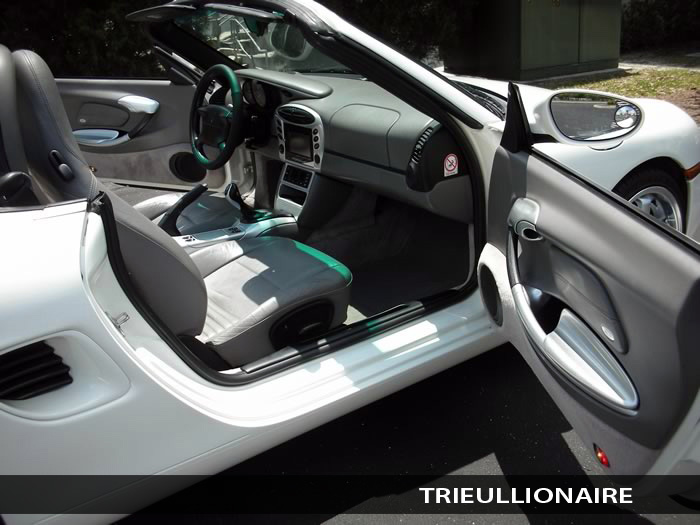
I just listed this on my mods to date topic but here is my new interior with silver painted trims around the DVD navigation.
-
No 12VDC to acc fuse, and engine won't crank
trieullionaire replied to Kevfra's topic in 986 Series (Boxster, Boxster S)
You may want to check the following fuses related to -Central locking/alarm system control unit, engine electronics control unit -or Terminal 86s: Instrument cluster, radio, central locking/alarm system control unit, info system, roll-over-sensor control unit When I first bought my car, the previous owner had the XM power spliced from the factory radio. Since I didn't subscribed to XM, I decided to add some accent lightings to the footwell area drawing from the same power source. What happen was I heard a pop and same thing happened to my car. You get the gauges lit up but the car doesn't turn over. So I checked every single related fuse I could find, and eventually the culprit had to do with some radio alarm fuse that blew. So check thoses fuses above and look at your fuse box diagram to see if there are any other possible fuse that are related to alarm or radio and check them too. I pulled 4 fuses out before I found the one that was broken. Needless to say, I removed the XM and the accent lightings and removed the spliced wire to insure I didn't draw any additional power from there again. No problems ever since. Good luck. -
I hear the click too. Which I thought was weird at first but after reading the Porsche manual about how you should depress the clutch all the way when shifting gears, it kinda makes me think that they designed it that way to let you know when it's considered fully depressed. Just a thought, not 100% sure.
-
Nice pics but that is what the Registry is for... ;) Never even knew about the Registry. Just saw that hyperlink next to your screen name, good point mate! Will have to check it out.
-
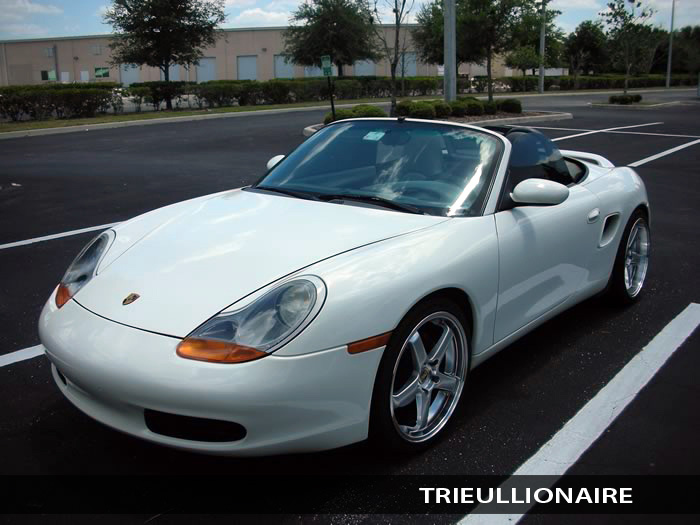
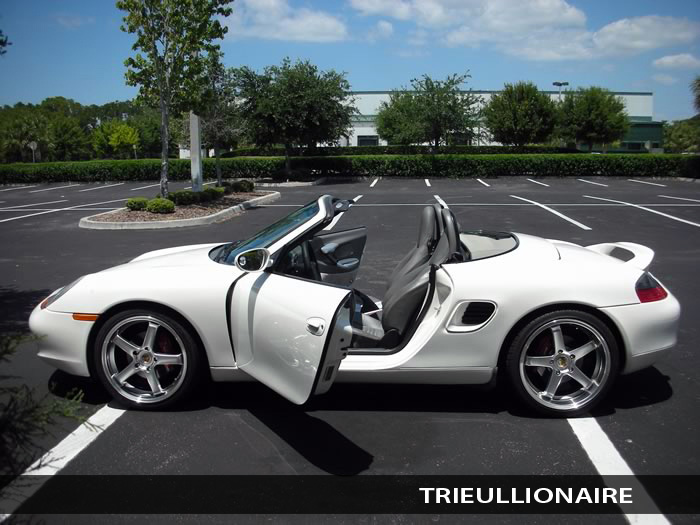
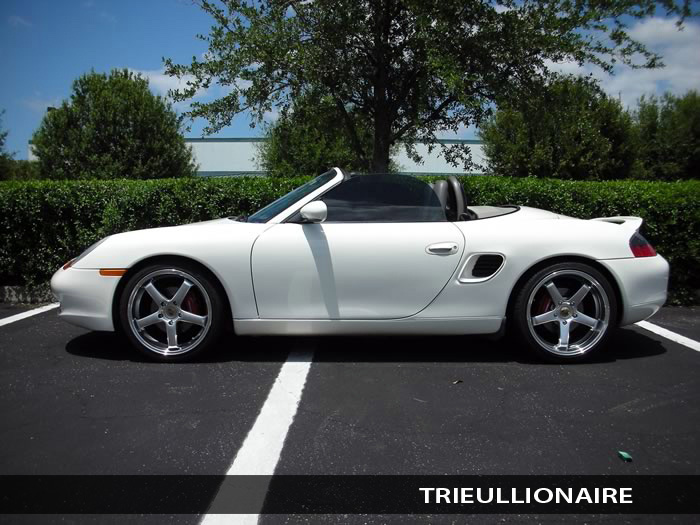
Got them from www.fiberwerks.com. It took me a while to find this spoiler when I was shopping for one. There were a couple other ones I was considering. I think it looks great because it kinda integrate with the contour of the car from the side and rear pretty well, and my OEM rear spoiler still functional when I hit 75 mph.
-
Just a few more things left on my mod "like to do" list: -Smoked side lights -Clear front headlights -Rear diffuser -996 GTO Sport 911 hood -New headers & exhausts -Black canvas convertible top w/ glass -Rocker panels
-
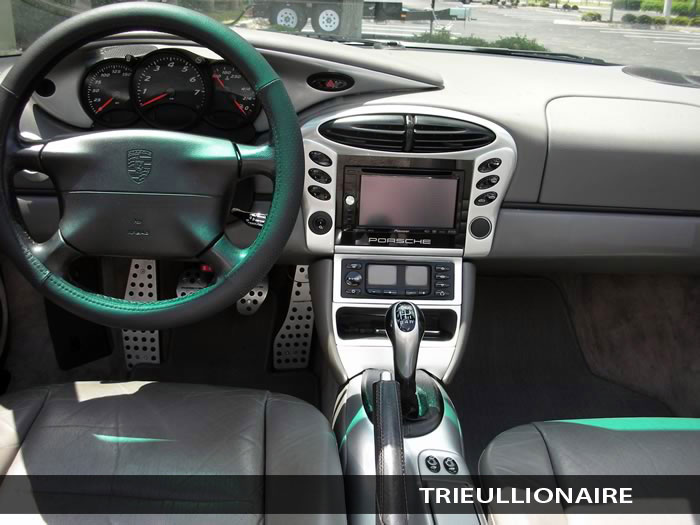
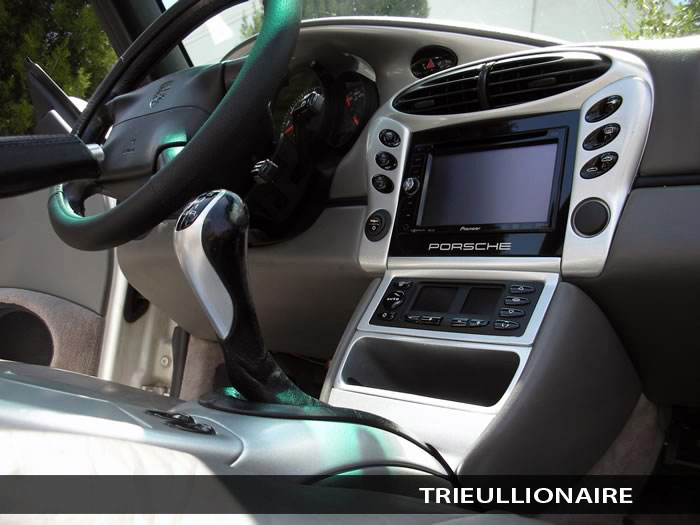
a few more photos...
-
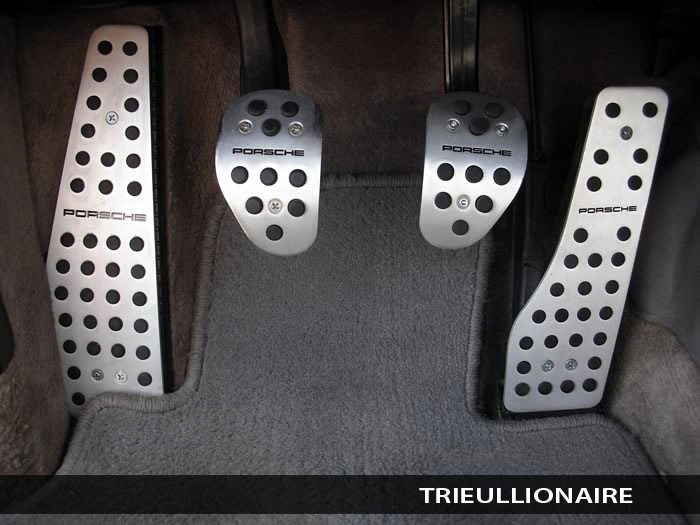
-19 inch Rims (R 275/35/19 F 235/30/19) -Rear Wing Spoiler -Silver Painted Interior Parts >Center Console >Arm rest >Dash trims -Smoked Tail Lights -DVD Navigation w/ rearview camera -Convertible parking bypass -Blue L.E.D. instrument gauges -Red brake calipers -Tinted side windows and windscreen -Aluminum foot pedals
-
New DVD Navigation Install
trieullionaire replied to trieullionaire's topic in 986 Series (Boxster, Boxster S)
We're looking into matte, carbon fiber, solid aluminum brush & stainless steel finish for the faceplates. We're pretty stoked about the new kits we got coming, we think you will too! Trieullionaire