Welcome to RennTech.org Community, Guest
There are many great features available to you once you register at RennTech.org
You are free to view posts here, but you must log in to reply to existing posts, or to start your own new topic. Like most online communities, there are costs involved to maintain a site like this - so we encourage our members to donate. All donations go to the costs operating and maintaining this site. We prefer that guests take part in our community and we offer a lot in return to those willing to join our corner of the Porsche world. This site is 99 percent member supported (less than 1 percent comes from advertising) - so please consider an annual donation to keep this site running.
Here are some of the features available - once you register at RennTech.org
- View Classified Ads
- DIY Tutorials
- Porsche TSB Listings (limited)
- VIN Decoder
- Special Offers
-
OBD II P-Codes - Paint Codes
- Registry
- Videos System
- View Reviews
- and get rid of this welcome message
It takes just a few minutes to register, and it's FREE
Contributing Members also get these additional benefits:
(you become a Contributing Member by donating money to the operation of this site)
- No ads - advertisements are removed
- Access the Contributors Only Forum
- Contributing Members Only Downloads
- Send attachments with PMs
- All image/file storage limits are substantially increased for all Contributing Members
- Option Codes Lookup
- VIN Option Lookups (limited)


Black mini
-
Posts
7 -
Joined
-
Last visited
Content Type
Profiles
Events
Forums
External Paint Colors
Downloads
Tutorials
Links Directory
Collections
Store
Posts posted by Black mini
-
-
Nav only comes on when you put the key in, I connected to the ignition. You can run it to any fuse you want, just need to put it in properly. When you turn off the car it stays on until you open the door.
-
Dennis, not sure I will check this weekend, it's the wife's car. I know the speed and temp and all that still work, but I will check the rest.
-
1 thing I cannot figure out is how to get the sound on for Pandora. I get the screen, but no audio. I will figure it out.
-
Ok I have ordered a Kenwood DNX9980HD unit, BOYO Camera VTL425, Connects2 CT23PO01, Kenwood CA-SR20V and Sirius SC-C1.
The rest I am getting from Loi at Euro Motorspeed. I just need to send them my cable when I get the Nav unit.
Thank you to Euro Motorspeed for the help on what to order.
-
I am going to start to replace a CDR23 in my 2004 Cayenne S. It has Bose and i am keeping all of that. I have read some threads that said people were doing it, but no specifics have been conveyed. Any suggestions for the backup camera, and where to mount it? I will add to this post as my items come in. Almost everything is here, waiting on the Camera and Loi to solder the harness with the NAV TV. I will post pictures and a list of parts and prices when I get it everything. Then we begin the disassembly.
Parts List By number:
Kenwood eXcelon DNX9980HD
Kenwood CA-SR20V Sirius Connect Adaptor
Sirius SCC1 Universal Vehicle Tuner
Connects CT23PO01 installation kit, just used the trim peices.
Boyo VTL 425 Ultra slim CCD camera
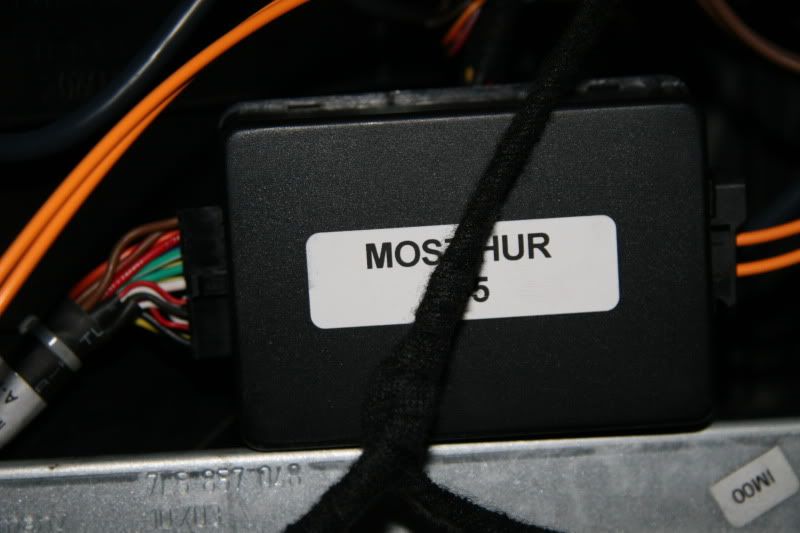
Nav-TV Most HUR (955) Kit
Brackets from Euro Motorspeed for mounting Nav Unit
First off I sent my cables from the DNX9980 to Euro Motorspeed, where I got my Nav-TV unit. Loi soldered all the correct wire together to go to my harnesses instead of splicing. This is all direct plug and play.
Dissassembly is key, if you do not it will take forever to run the wires. And always unhook your battery while working on electrical.
Step One remove the trim around the stereo, I used a plastic bicycle tire iron and pulled up where the temp switches are on the black trim. It popped up and I just carefully kept going around. Save this.
Step Two I removed the four torx screws and then pull the radio and tray out, I only had a single din radio.
Step Three pull the plugs out of the old radio and put it away until you sell the car...good riddens!!
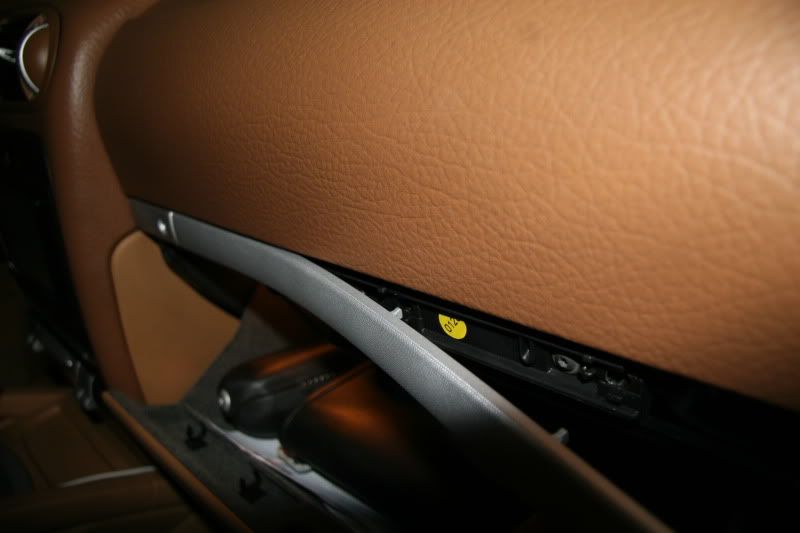
Step Four Remove trim above glove box, again i used the plastic tire iron, just start on the door side and pull

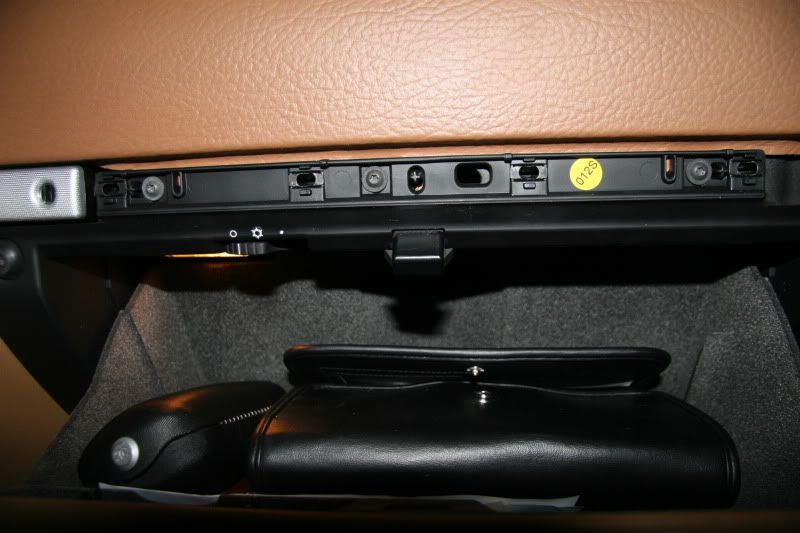
Step Five remove the 3 torx screws that hold the glove box upper.
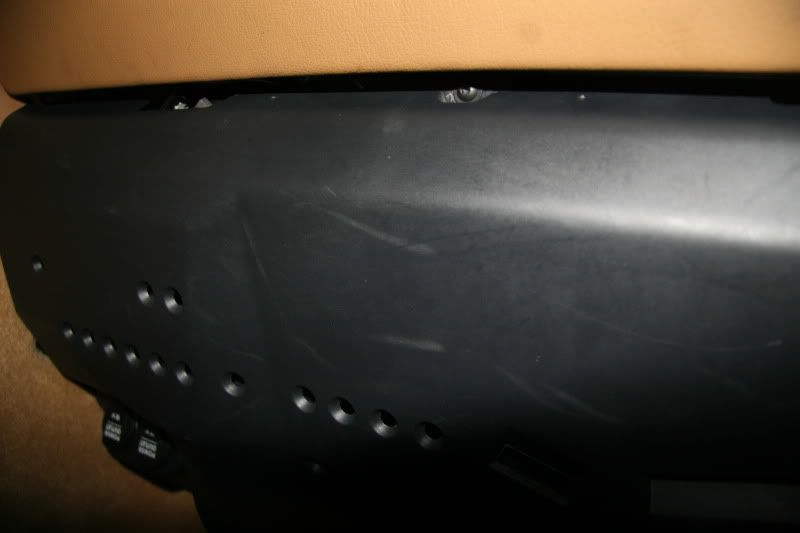
Step Six Remove the one torx screw that hold the black pan under the glove box. It is in the middle, by the bottom of the glove box
Step Seven Remove the 2 torx screws from the bottom, before you do this get a shoe box to put on the floor to hold the glove box, or disconnect the plugs and hose for air Con.
You now have room to put the Most Hur unit, and the Sirius module.
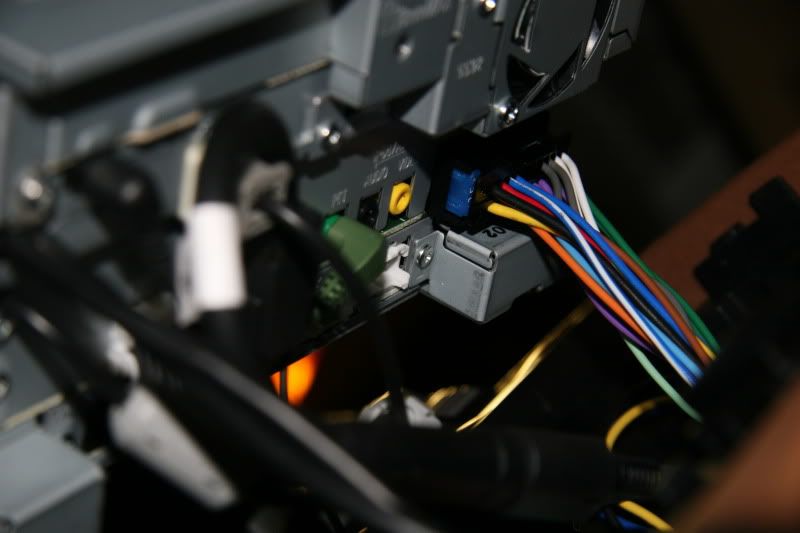
Step Eight I pulled the cables through the back of the stereo space to the right side behind where the glovebox is, this will give you lots of room to work in.
Step Nine, connect your harness for the Most Hur module, you will also connect the orange optic cable to the Most Hur unit. Make sure not to kink this cable.
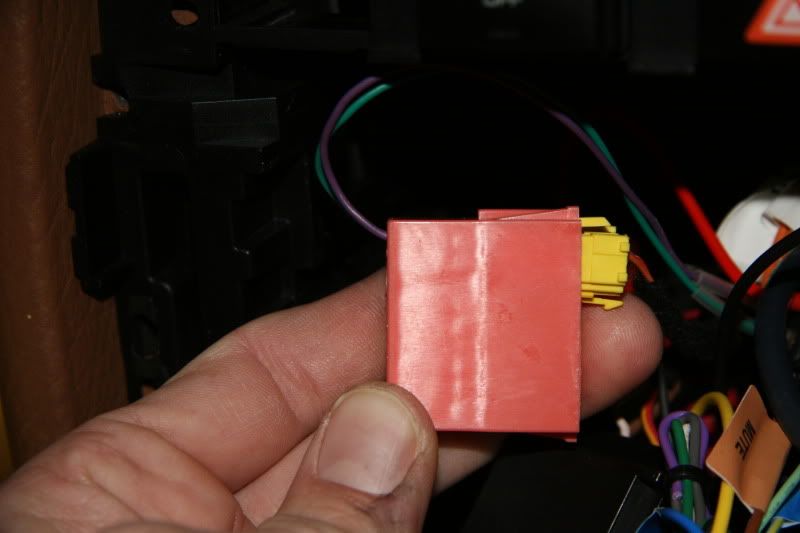
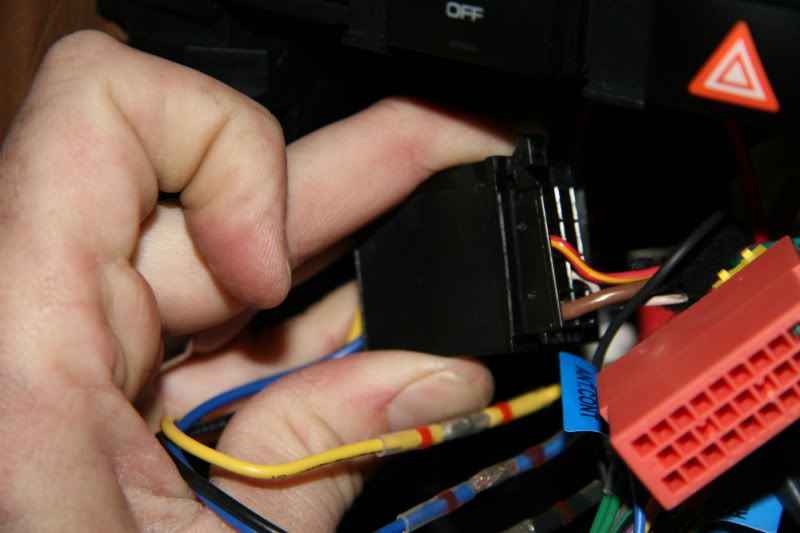
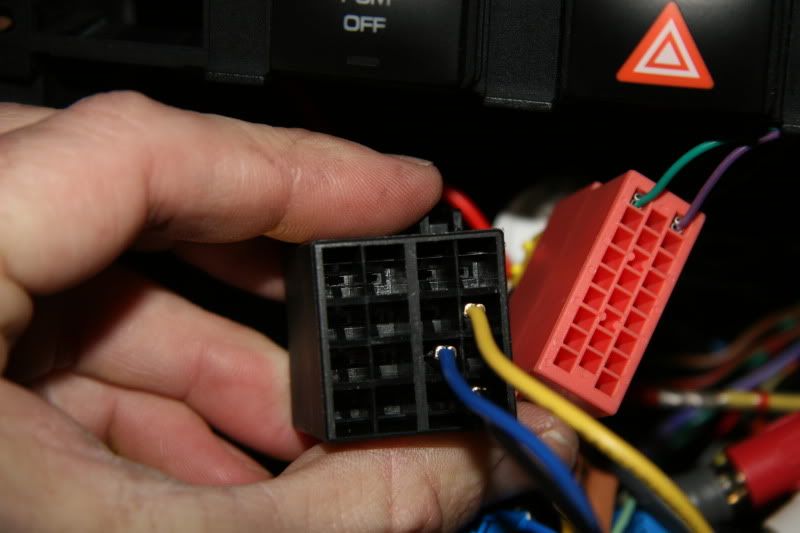
Step Ten Plug the two plugs left that were for the factory radio into the new harness, one is power, the other will run your steering Wheel controls
Step Eleven Plug the new harness, Mic, radio antenna adaptor, Sirius adaptor, Nav antenna, and any other accessories you bought. I did not install the Camera yet, so if there are questions I will take more pics when I take it apart again. This unit came with two USB unputs, I ran the iPhone cable from one to my center console. This is all explained in the wire diagram in the stereo instructions.
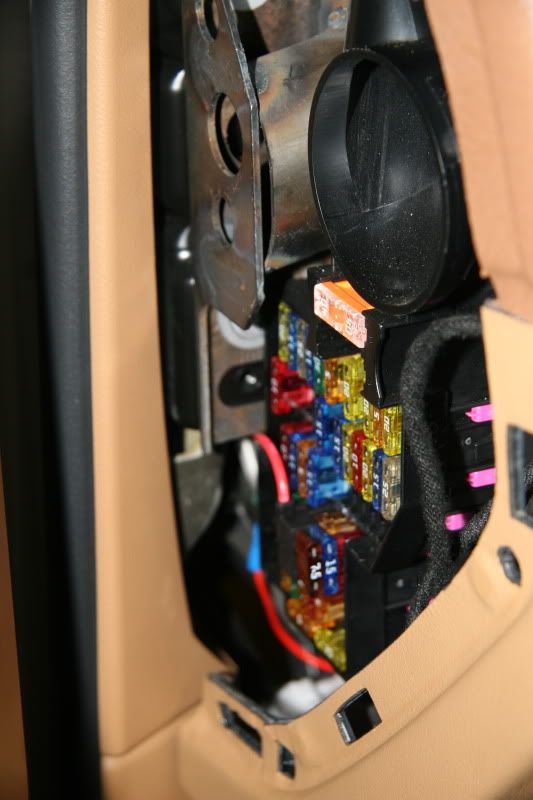
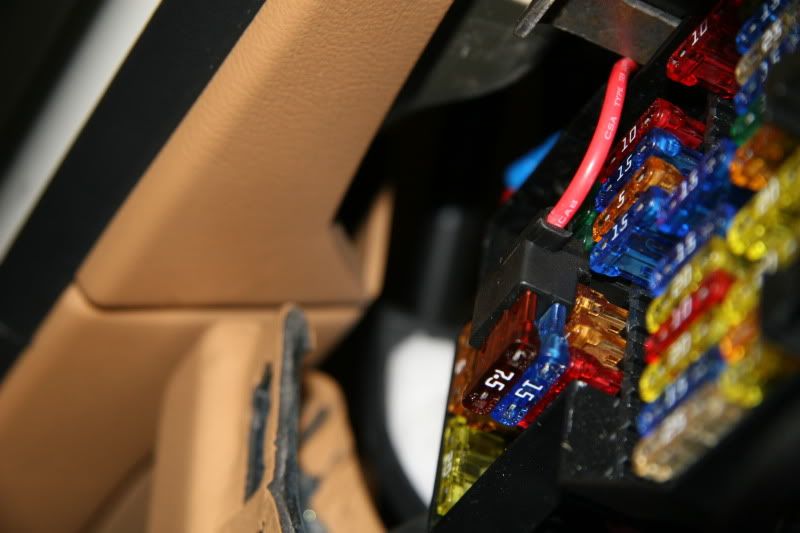
Step Twelve You need to run the red wire to the ACC which is number 41 on the fuse box on the left. it is a 15 amp fuse. It needs to be inserted with the wire up and replace the 7.5 amp fuse with the 15 you took out of the box. This replaces the 7.5 amp closest to the blades. Again to remove the fuse box cover, I used the old Plastic tire iron.
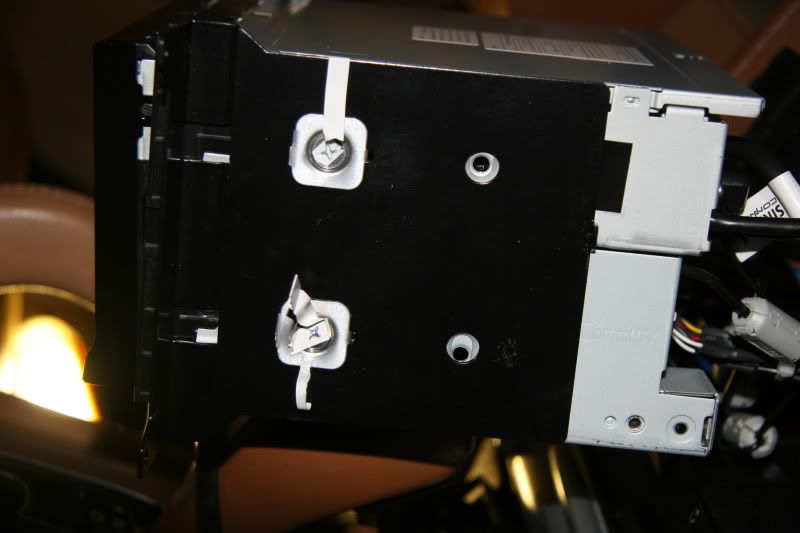
Step Thirteen Screw on the brackets from Euro Motorspeed They make it so you can use the stock mounting spots.....Amazing!!!! No cutting your fingers on the stupid sheet metal ones that came in the kit.
Step Fourteen Connect Battery and Test, turn on ignition, unit should start
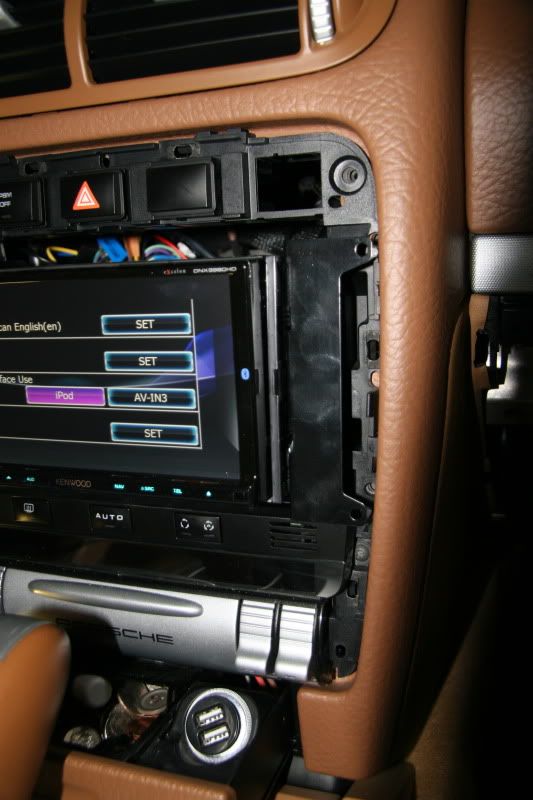
Step Fifteen This is a hard one, you need to pull extra wires out of the back and push the Stereo in, it is a pain!!! So many wires. Just make sure the two connections you made in Step Ten are up and out of the way. And push carefully, should be flush.
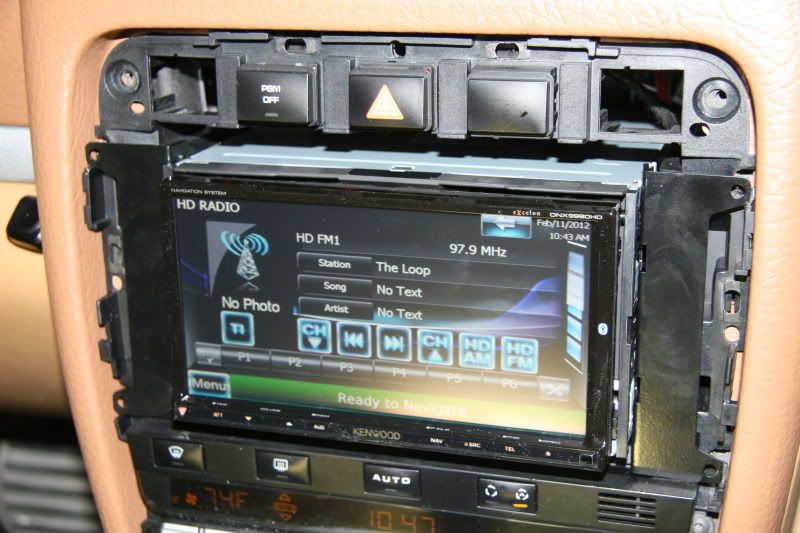
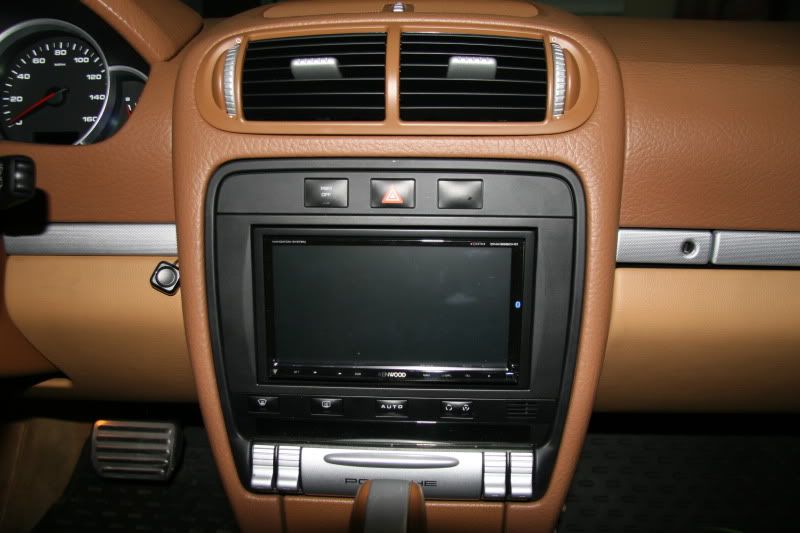
Step Sixteen insert trim that came with the kit, first the small one around the radio, then the larger one for the double DIN opening insert four screws that held in the old radio and you are mounted!!.
Step Seventeen Snap in the original trip piece with the buttons on the top. And reassemble all the stuff you took apart in the first steps. All the boxes and wires under the glove box are hidden by the black plastic cover underneath the glove box.
Step Seventeen Set up the radio, sync your bluetooth on your phone, Dial up Sirius to connect service, Plug in your phone to run Pandora, Put in a destination far away and take a drive!!!!!
More installments about Camera running, Microphone mounting in overhead control area, Running antennas, and anything else you ask.
-
 1
1
-
-
I am changing my CD player for an aftermarket unit. I am just ordering the parts and will start taking it apart in a few weeks. I am keeping the Bose system and adapting to it.

Converting to aftermarket Navigation
in 9PA, 9PA1 (Cayenne, Cayenne S, Cayenne Turbo, Cayenne Turbo S)
Posted
A couple things to add here, my rear camera has never worked, and I just ordered the cable for the IPod, you cannot just use the regular cable, you have to have audio out, and video out, or all you will get is a display if what is playing, but no sound. I also bypassed the parking brake switch.....I do not recommend this. But if you want video play back while no parking brake is on, run the light green wire that is going to the MOST HUR unit, and run it to ground instead. Next up the back up camera.