Welcome to RennTech.org Community, Guest
There are many great features available to you once you register at RennTech.org
You are free to view posts here, but you must log in to reply to existing posts, or to start your own new topic. Like most online communities, there are costs involved to maintain a site like this - so we encourage our members to subscribe or donate. All subscriptions and donations go to the costs operating and maintaining this site. We prefer that guests take part in our community and we offer a lot in return to those willing to join our corner of the Porsche world. This site is 99 percent member supported (less than 1 percent comes from advertising) - so please consider an annual subscription or donation to keep this site running.
Here are some of the features available - once you subscribe RennTech.org
- View Classified Ads
- DIY Tutorials
- Porsche TSB Listings (limited)
- VIN Decoder
- Special Offers
- Paint Codes
- Registry
- Videos System
- View Reviews
- and get rid of this welcome message
It takes just a few minutes to register, and it's quality Porsche information at a low cost.
Contributing Members also get these additional benefits:
(you become a Contributing Member by subscribing or donating money to the operation of this site)
- No ads - advertisements are removed
- Access the Contributors Only Forum
- Contributing Members Only Downloads
- Send attachments with PMs
- All image/file storage limits are substantially increased for all Contributing Members
- Option Codes Lookup
- VIN Option Lookups (limited)


Izzy
-
Posts
740 -
Joined
-
Last visited
-
Days Won
6
Content Type
Profiles
Events
Forums
External Paint Colors
Downloads
Tutorials
Links Directory
Collections
Classifieds
Store
Everything posted by Izzy
-
Insuficient or Remote Control TSB 9662 Made Easy Here are the pictures and instructions. This TSB is easy to do, and the range in my key remote went from 4 ft to 30 ft. 1999 996 Cabrio. Here are the tools you will need. The following steps: 1. Remove the sun visor. It simply pulls out 2. Use the small flat screw driver to pry of plastic cover on visor base. When removed, you will see the Hex bolt heads 3. Use the 4 mm Hex wrench key to remove both bolts. Hold on to the part, it has washers on the other side and can get fall off Author Izzy Category Carrera (996) - Common Fixes and Repairs Submitted 04/29/2005 08:18 PM
-
Insuficient or Remote Control TSB 9662 Made Easy
Izzy posted a tutorial in Carrera (996) - Common Fixes and Repairs
Here are the pictures and instructions. This TSB is easy to do, and the range in my key remote went from 4 ft to 30 ft. 1999 996 Cabrio. Here are the tools you will need. The following steps: 1. Remove the sun visor. It simply pulls out 2. Use the small flat screw driver to pry of plastic cover on visor base. When removed, you will see the Hex bolt heads 3. Use the 4 mm Hex wrench key to remove both bolts. Hold on to the part, it has washers on the other side and can get fall off if not careful. 4. Now pull off the A-pillar cover to reveal the cables underneath. 5 Pull out the cables that are held in place on the foam sleeve. There is double sided tape holding it in place, pull carefully but firmly. From the top down 6. After pulling it, undo the foam by pulling apart the seam. The white wire is the antenna we are looking for. 7. Keep peeling off the foam until you get to the black sleeve on the antenna. 8. Measure off 130 mm from the end of the black sleeve upwards into the white antenna, and cut the the rest off. You need to keep 130 mm (25 mm is about an inch) of antenna above the black sleeve. 9. Pull the antenna wire off the foam sleeve, and enclose the rest of the wires with the foam sleeve. 10. The picture shows the wire after being secured with electrical tape to the OUTSIDE of the sleeve, and towards the inside of the cabin when the foam is taped back to the A-pillar. 11. The two sided tape on the foam is sticky enough to simply push the foam back into its original position. 12. TEST the remote now before assembling the trim. Walk away from the car, lock and unlock it, and grin. 13. Replace the trim, it just pushes back in, do it from the bottom up and ensure it is on the inside of the rubber gasket. 14. Secure the sun visor base with the two Hex bolts. Careful you don't loose the washers. Then push back in the sun visor and you are done. I changed from the TSB the location of the antenna wire to the outside of the foam sleeve, and added the bit of electrical tape to hold it in place and avoid any issues when reassembling the trim. It worked for me and I have tested and enjoyed up to 30 ft of range with the remote in open lots, and covered garages. Enjoy.. -
A pillar Trim Removal
Izzy replied to Izzy's topic in 996 Series (Carrera, Carrera 4, Carrera 4S, Targa)
The frequency translates to a length of the anthena wire. For the US it is 130 mm long, about 5 inches. I will show that on the pics with a caliper I used to measure it off. -
A pillar Trim Removal
Izzy replied to Izzy's topic in 996 Series (Carrera, Carrera 4, Carrera 4S, Targa)
Thanks Toolpants. Will do the pics and will let you know how much (if any) the range increases. Right now it has a max of about 4 feet from the car. Pretty pathetic for this high end car. <{POST_SNAPBACK}> <{POST_SNAPBACK}> I started to see how difficult it would be to do, and the more I got into it, the easier it got. So it took me 15 minutes to complete, and now I got a range of 30 ft!! I will get pictures and post them this weekend. It was too easy to do. I followed must of the TSB with a different twist at the end. Can't help being an engineer. :cheers: -
A pillar Trim Removal
Izzy replied to Izzy's topic in 996 Series (Carrera, Carrera 4, Carrera 4S, Targa)
Thanks Toolpants. Will do the pics and will let you know how much (if any) the range increases. Right now it has a max of about 4 feet from the car. Pretty pathetic for this high end car. <{POST_SNAPBACK}> -
A pillar Trim Removal
Izzy replied to Izzy's topic in 996 Series (Carrera, Carrera 4, Carrera 4S, Targa)
Thanks Toolpants. Will do the pics and will let you know how much (if any) the range increases. Right now it has a max of about 4 feet from the car. Pretty pathetic for this high end car. -
Looking to do the TSB on remote anthena range increase, and could not find any information on how to remove the right side A Pillar trim piece to get to the anthena. Has anyone done it or have any instructions/pics? Thank you Izzy
-
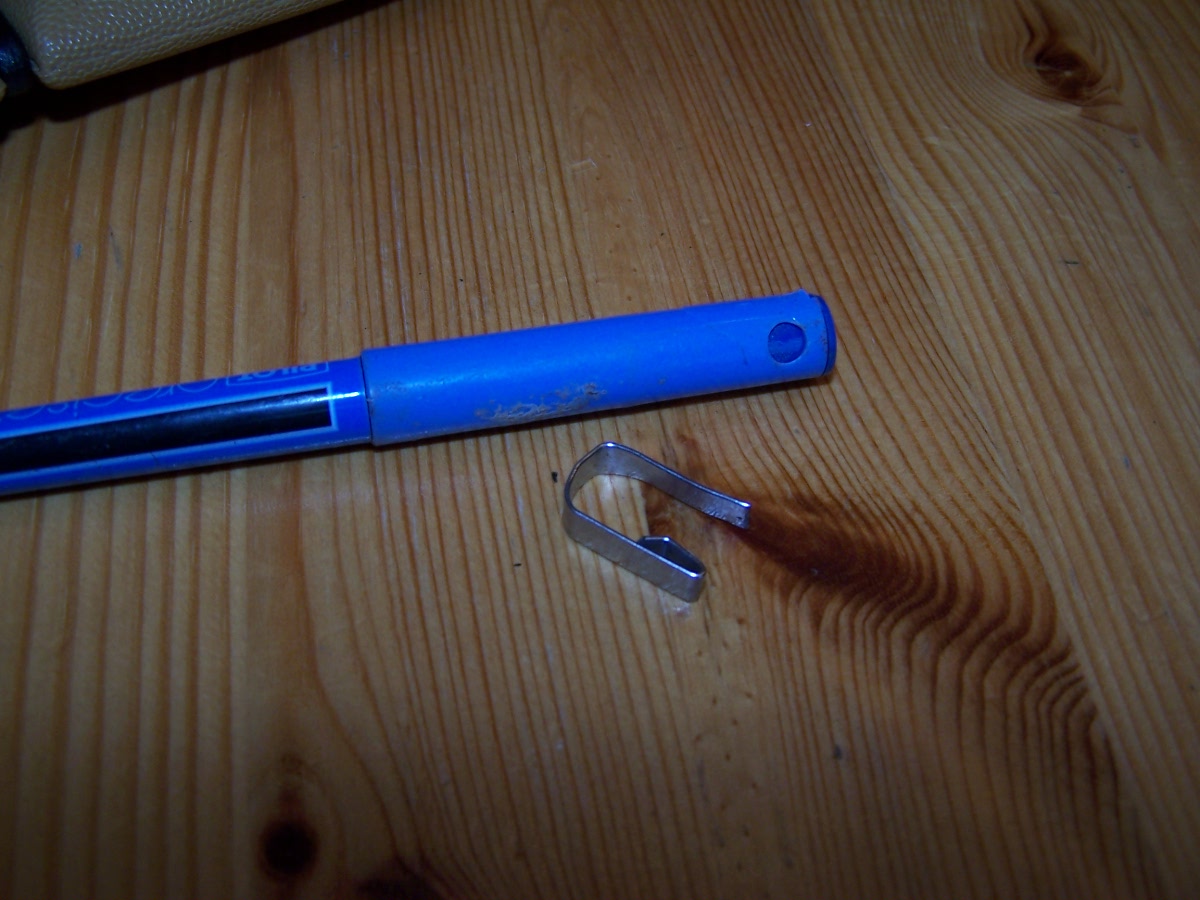
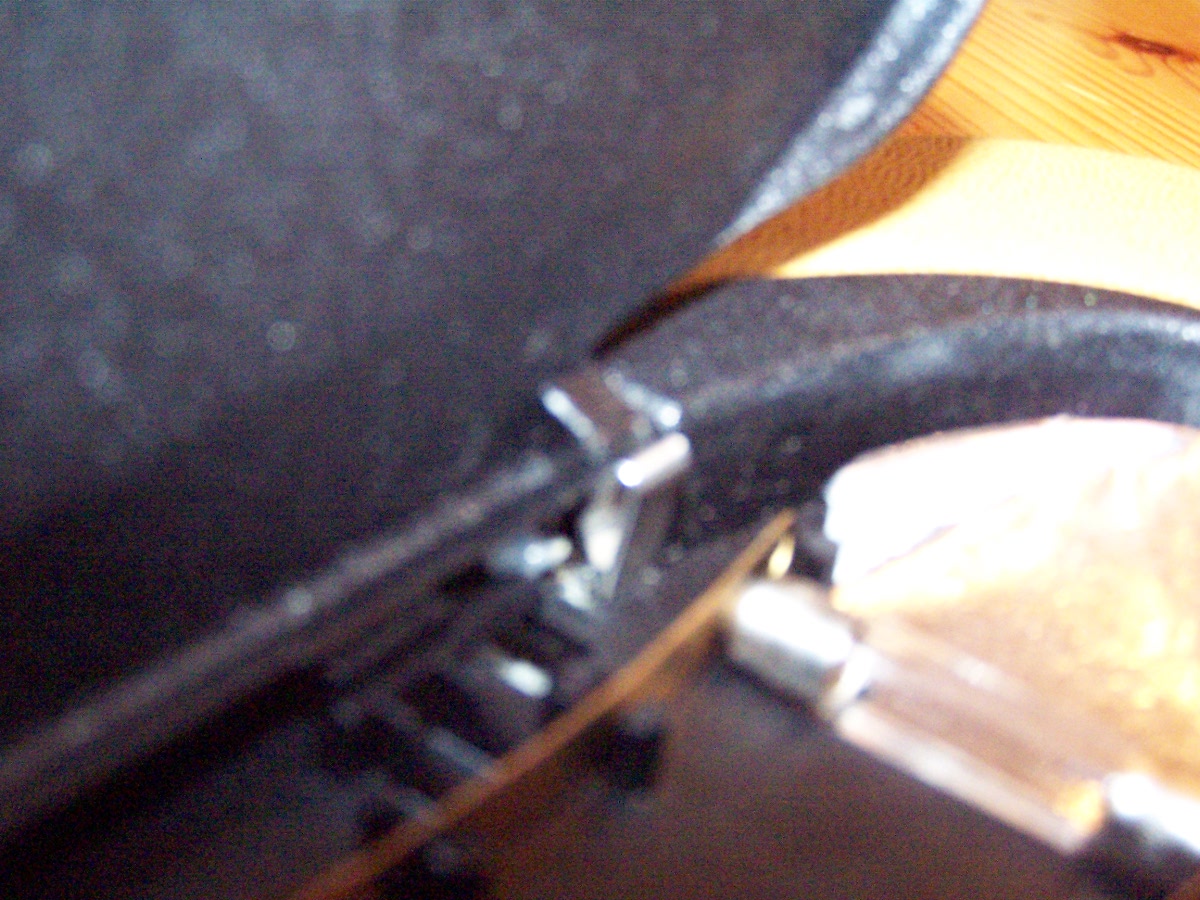
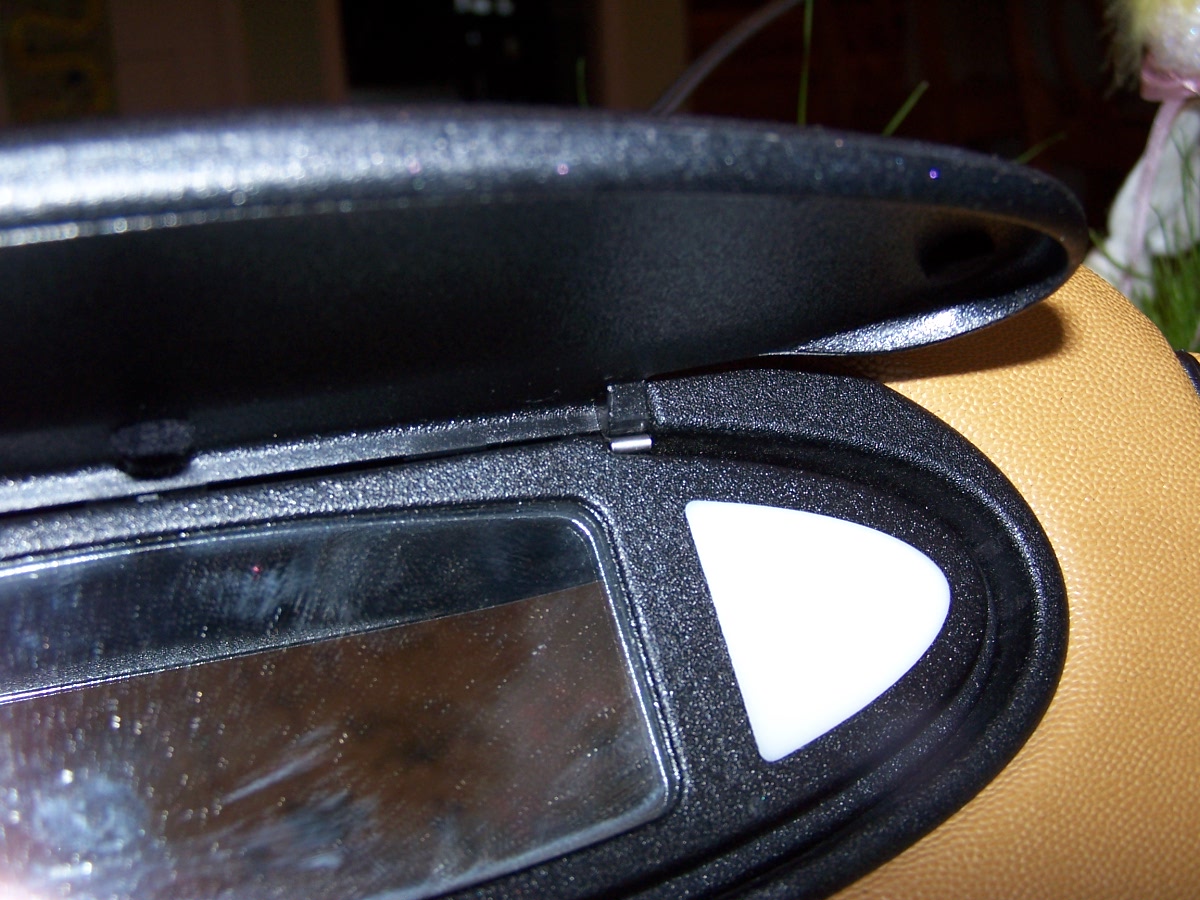
I was able to tinker with a couple of designs to fix it, and here is what I found: 1. Used a wall picture hanger and bent it u-shape, replaced the original factory spring. It worked, but still not satisfied. I needed a piece of spring steel. 2. Found a piece of spring steel right in my pocket! The steel holder for my $0.99 pen! I removed the clip from the pen, bent it u-shape, and placed it where the original was. 3. When reassembling the mirror back cover, let the spring be pushed forward by the sun visor itself 4. Then replace the mirror back, making sure the small indentation on the mirror allows the spring clip to pass through. It worked perfectly and holds the mirror cover at 90 degrees. I have open and closed it a few hundred (yes, counted them) times, and it is perfect. See the pictures below. I have more pictures but used my alloted space. E-mail me if you have any questions and can send more pics. Good luck Izzy

-
Even though you have to buy the whole part, when you get it you can remove the part that broke only and replace that. It was not a big job to do if you remove the two allen bolts. The part came in black, and the part I replace is blue. However, it is hidden all the time, so I did not bother to paint. If you run into trouble, let me know, happy to help. Izzy
-
99 Cabrio C2 Has anyone done a fluid, filter, and gasket change in a Tiptronic? If so, is it a DIY job or dealer? The dealer wants $295, and it sounds incredulous. I have experience doing the maintenance in Volvos, and it was a simple task. Thank you Izzy <_<
-
I think I know what you are talking about. I replaced the driver side of my 99 Cab this past Sunday. The part is 996-561-097-02 and I paid $189.50 here in Charlotte. It has to parts, one curved and one straight. The straight one also broke on mine. Unfortunately, Porsche doesn't sell the upper hinge, only the whole piece with the body bracket. Once I got it home, look at the two hex bolts on the part, and undo them. If you undo them on the car also, no need to replace the body bracket. Open the top half way to elevate the steel cover, I followed the directions of the SmartTOP to get to the carpet. Used a basketball to hold the metal top cover up while removing and reinstalling the hinge. Not a big deal. Sorry didn't take any pictures. Izzy :)
-
This is great to see how the gauge faces come off. But how do you remove the cluster from the car in the first step? Haven't found any information on how to do that. Thank you