Welcome to RennTech.org Community, Guest
There are many great features available to you once you register at RennTech.org
You are free to view posts here, but you must log in to reply to existing posts, or to start your own new topic. Like most online communities, there are costs involved to maintain a site like this - so we encourage our members to subscribe or donate. All subscriptions and donations go to the costs operating and maintaining this site. We prefer that guests take part in our community and we offer a lot in return to those willing to join our corner of the Porsche world. This site is 99 percent member supported (less than 1 percent comes from advertising) - so please consider an annual subscription or donation to keep this site running.
Here are some of the features available - once you subscribe RennTech.org
- View Classified Ads
- DIY Tutorials
- Porsche TSB Listings (limited)
- VIN Decoder
- Special Offers
- Paint Codes
- Registry
- Videos System
- View Reviews
- and get rid of this welcome message
It takes just a few minutes to register, and it's quality Porsche information at a low cost.
Contributing Members also get these additional benefits:
(you become a Contributing Member by subscribing or donating money to the operation of this site)
- No ads - advertisements are removed
- Access the Contributors Only Forum
- Contributing Members Only Downloads
- Send attachments with PMs
- All image/file storage limits are substantially increased for all Contributing Members
- Option Codes Lookup
- VIN Option Lookups (limited)


Uwon
-
Posts
220 -
Joined
-
Last visited
-
Days Won
1
Content Type
Profiles
Events
Forums
External Paint Colors
Downloads
Tutorials
Links Directory
Collections
Classifieds
Store
Everything posted by Uwon
-
 Thanks logray and JFP. 9.5 liters to get to 1/4 above minimum. Will stop there until I start the motor per logray's instructions. Still having problems with the clutch pedal, which is still knotchy so looks like I'll have to bleed the slave cylinder for the third time.
 -
Thanks JFP. I am now ready to start the motor but I keep getting a low oil level on the dash-below minimum. I have put in 8.5 litres per the manual. Never had this issue before with my normal oil changes that I can recall. Any ideas?
-
Yes.
-
JFK, that plug no. 1 looks like its on the drivers side. On my car, '06, C2S, it is on the passenger side behint the gearshift cables. Right?
-
JFP and logray. Back to the transmission oil level questioin. I now have the car level and I went to check the transmission fuid level after having drained the old oil and refilled with 3 liters of that expensive Porsche stuff. I am embarrassed to say that I did not notice the plug behind the gearshift cables. I only noticed the plug on the transaxle just ahead ot the right side half shaft which I used to fill with new oil and trying to use this hole to check the oil level (obviously, it is so high that it would need much more oil to fill). I would just like to confirm that the plug behind the gearshift cables is used to check the oil level and the plug beside the half shaft is used to fill oil. Right?
-
Well, that was fun... like pegging the donkey blindfolded. I always forget how frustrating it is to get the trani to seat home. It's done. However, I was just curious so I removed the boot on the slave cylinder and, surprise, it was wet with brake fluid. So I 'm ordering a new one.
-
Logray and JFP, many thanks again for all your invaluable help. Found the stamp on the disk "getriebe seite",Keep you posted. Cheers.....
-
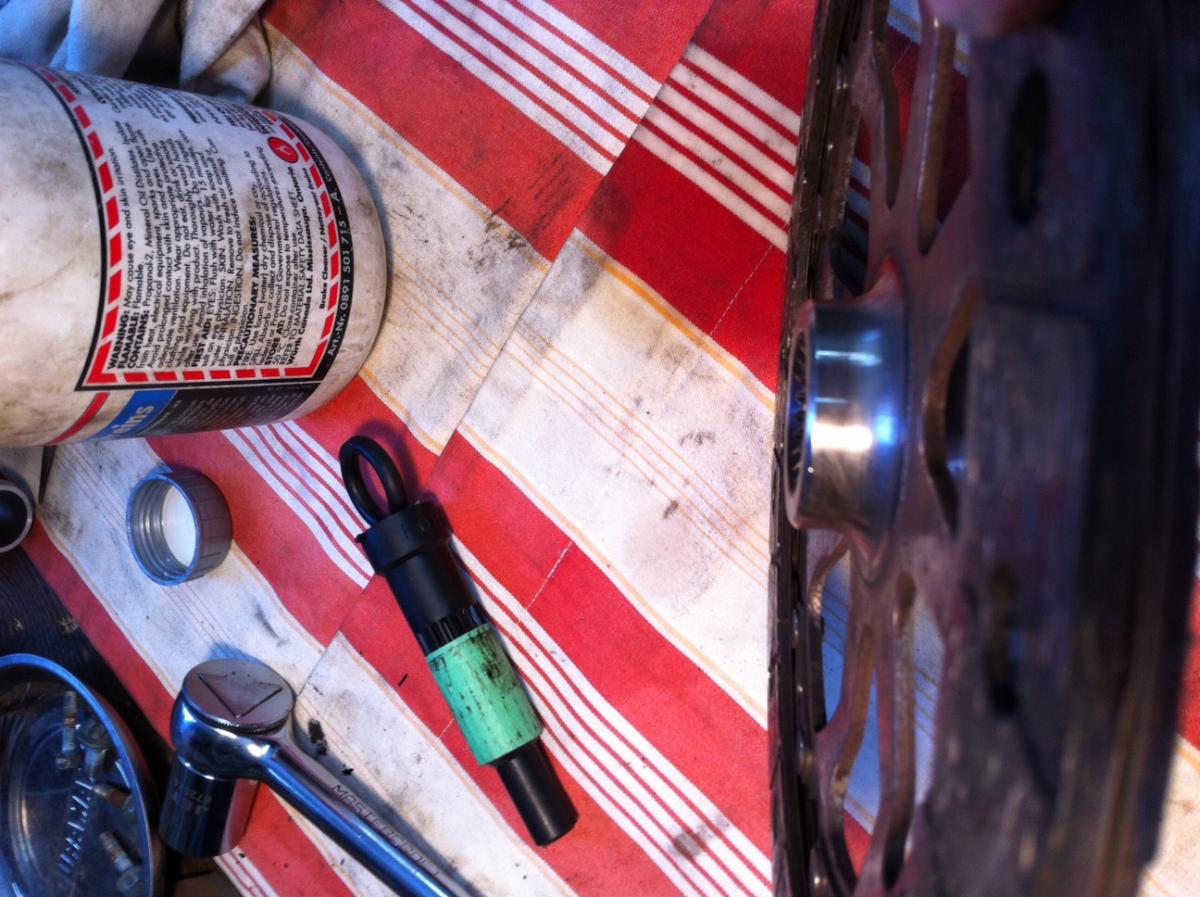
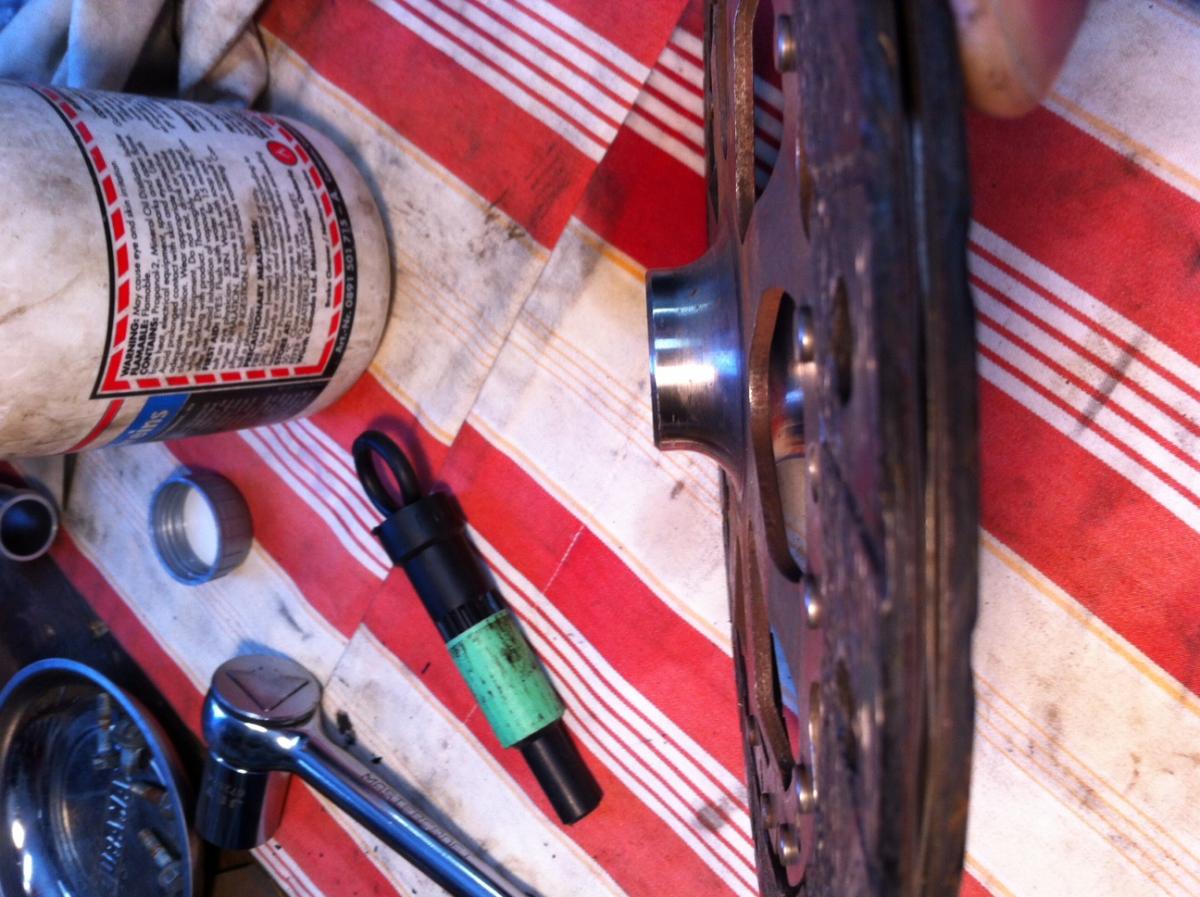
Thanks JFP. Will do. So now I am setting things up for tomorrow's main event-re installing the flywheel, clutch and trani. I kick myself for not taking pics of the dis-assembly. So I need help in determining which side of the clutch disk faces the flywheel. I think that the first pic faces the flywheel (convex portion facing outwards towards the trani) and the second pic faces the trani.Am I right?

-
Cosmoline really looks like cr&&&p especially on such a beautiful motor. my mild steel brackets on the trani and on top of the motor by the AOS are all rusty including the bolts. I cleaned them up and reprinted them + new bolts. Anyway, tomorrow is trani re-installation day. In preparation I have drained the oil and refilled with the expensive Porsche stuff. Manual calls for 2.9 liters and I have filled 3.0 liters. I stuck a crooked wire into the filler hole on the side and its nowhere near the top. Trani is level. Garage is approximately 60 degrees F. Am I OK.?
-
I spoke to my dealer and they don't know either about the thread direction of the center bolt for the A/C. They just send the whole compressor out. Figures.....so I masked it off, covered the motor and rear end and rattle canned it.By the way, I am really disappointed with the quality of the hardware underneath the car. The engine case and trani are oxidized and heavily discolored, brackets are rusty, bolts are rusty, etc. my 25 year old 911 has fared better.Progress is slow. No rush as winter has reared it's ugly head again-April fool !
-
Thanks logray for your explanation. Looks to me like the Porsche designed a really Mickey Mouse system. I would assume that if that thin center stud breaks you are up the creek..... I'm starting to put together the engine bay side of things and want to paint the A/C clutch which is a bit rusty. There is a 10mm hex in the center which I imagine holds the clutch and pulley. Is this a reverse rotation bolt?
-
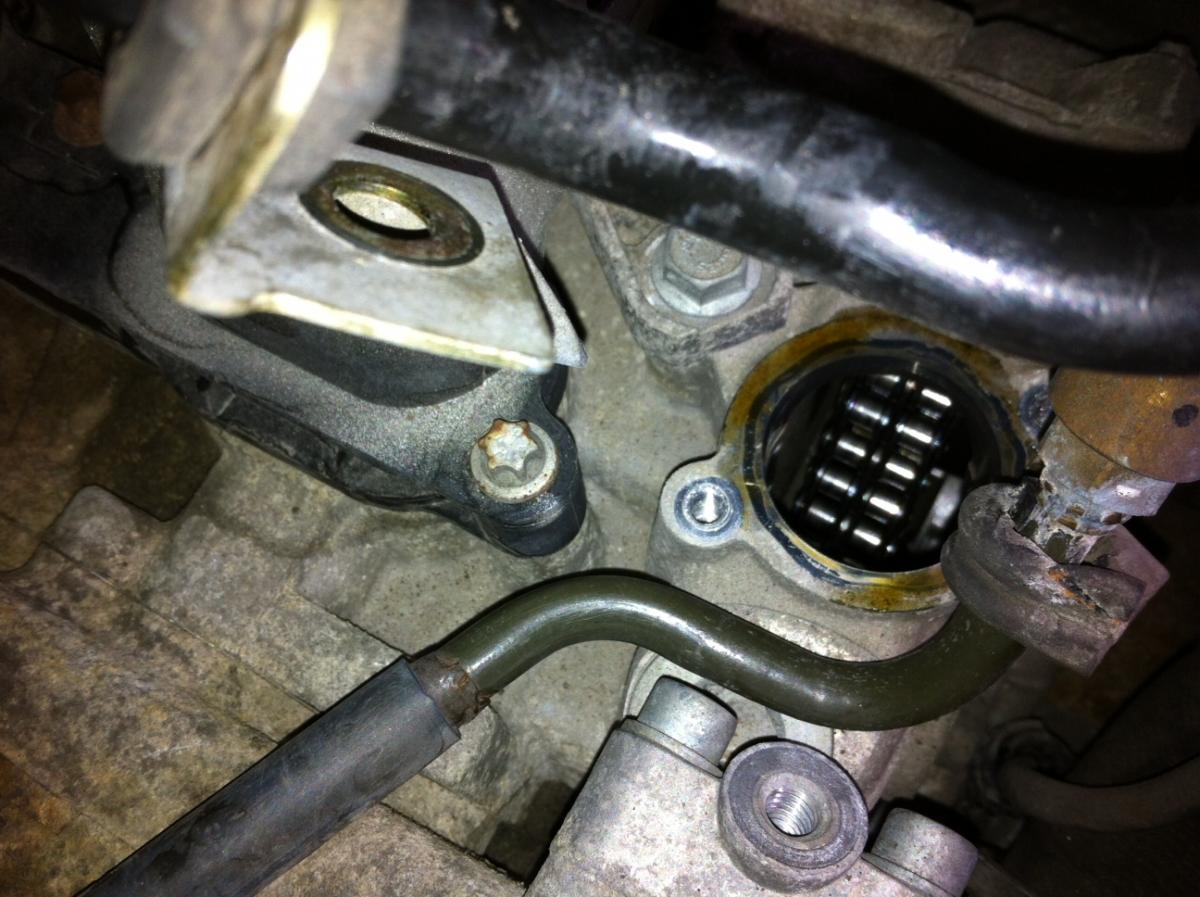
Today I pulled the IMS flange which came out reasonably easy. It was obvious from the chewed slot on the centre post that the seal had already been replaced before presumably under warranty when in the hands of the original owner. Not familiar with all the internal mechanics of this system, I examined the area and was curious as to how oil and more important, how much oil could get into the area. So, I stuffed some clean rags into the two lower chain tensioner cavities and poured 4 liters of oil into the crankcase. Within a minute the new oil started pouring (not trickling) out of the bottom around the IMS bearing (car slightly higher at rear). It gave me the final proof that I should pull the seal from the bearing, and I am glad that I did. The bearing was full of oil and there was no evidence of any bearing grease. The bearing was clean, smooth when turning, no play up or down, nor, in and out. The one thing that I noted as odd, was that the whole bearing including the outer race and the circlip would move ever so slightly, say less than 1/2 millimeter when I pushed the centre post up hard. I rechecked this to make sure that my eyes were not playing tricks on me. I replaced the flange seal and re-installed the flange in accordance with LN's instructions. Anybody care to comment on the slight bearing movement, or any thing else for that matter?
-
Thanks logray. You saved the day. I assumed that the tensioner was a hex nut like the others. Anyway, I have now completed the instal of the new AOS. Pretty straight forward if you remove the a/c compressor out of the way and take out the centre intake split. Next is the IMS flange. Thanks again. Cheers......
-
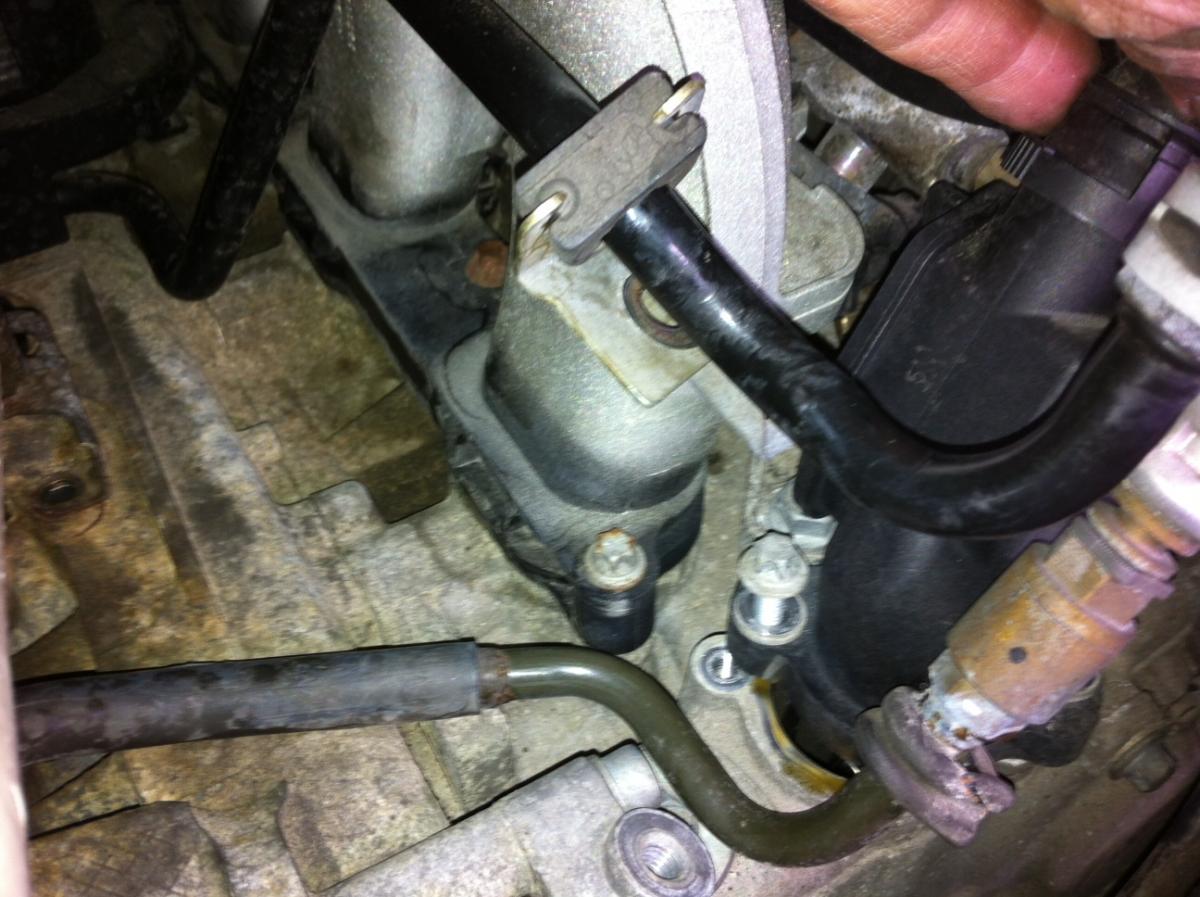
Now I really need help! The Bentleys video indicates that all three chain tensioners need to be released including the one under the A/C compressor. On the other hand, the LN instruction number 7 says to remove the IMS to crank tensioner as well as the tensioner on the cylinder head which has the locked cams. In my case I have both banks of cams and the crank already locked and I can release the tensioners on each side at the bottom of No.3 and No. 6 cylinders. I removed the A/C compressor out of the way (which, on my 2006 C2S is not as bad as it has been written up to be) and there is no tensioner on top of Cylinder No. 4 as shown in the 997 PET-just another breather pipe over the right bank sprocket. See pics: So where is the third tensioner???? Has it been moved to underneath the power steering pump or the alternator.???? I want to finish this project this weekend so any help would be appreciated.
-
Thanks logray and JFP. I am following LNE's instructions to the tee. Loctite 574 does not appear to be available in Canada for some reason (renamed to something else that I cannot decipher or not available because of our environmental laws) but was able to get Curil-T and green wicking Loctite. Should make good progress this weekend. Keep you posted. Cheers...
-
JFP, you are spot on! I rotated the crank clockwise several times and both banks of cams locked right in. The moral is never back up if you have gone too far-just keep on rotating. My Porsche dealer advised me that the 22 mm IMS center nut should be torqued to 15 ft/lb. I note, however, that the LNE instructions for the smaller 12 point nut configuration only requires 7.5ft/lb. Big difference-Which is right? Thanks again for your continued guidance. Cheers......
-
Unfortunately I did not check the deviation first. My original objective was to check/replace the clutch and change the AOS then things expanded from there. I should add that its the intake cam that does not line up by about half the width of the slot when I lock the crank. Do I have any alternatives at this stage other than putting everything together and testing with the Durametric?
-
My issue now is that the cams on the driver’s side do not line up exactly to accept the cam locking tool. One of them is off by about half of the width of the slot on the end of the cam shaft. I have tested the tools and they are to speck. I have turned the crank several times in an attempt to find the right position without success. I have not released any of the chain tensioners. Any ideas? Do I dare to shave a bit off the sides of the tool?
-
IMS cover gasket and flywheel bolts for '06 C2S
Uwon replied to Uwon's topic in 997-1 Series Part Number Requests
Hi Loren, To follow up, I now note that I also have an O-ring that goes behind the 22 mm center nut. Looks like pages 20-21 of the PET identifies two different O-rings: 7X2- 999 707 392 40, and, 18X2- 999 707 571 40. Would you know which one I have? Thanks. -
Thanks JFP for the pic. I did finally pick up the difference in the cam lock for the passanger side on the Bentley video. I'm moving right along with making my cam locks-made a dummy today out of aluminum. Is there a place on the web that I can go to for all the torque specs so I don't have to keep asking all the time? I am now ready to re-install the oil pan but can't find the torque spec for the bolts. Can anybody help? thanks.
-
JFP, I am now a bit confused. logray indicated that both pairs of cams needed to be locked but I presume from LN's tool package and your answer that only one pair of cams need to be done. Am I correct? Does it matter which side?
-
Not much time on the car since my last post. I did drop the oil pan and was pleasantly surprised as to how clean it was. I have had a bit of time to survey the cam locking scenario and how I am going to make the required tool for both banks. I note that the drivers side cam tower plugs are readily accessible from the rear of the car. However, the passenger side cam tower plugs are accessible from the flywheel end and access is severely restricted by the suspension cross-over frame. I also note that the locking tools per LN Engineering shows at bottom right one tool that will lock both cams (presumably the drivers side) and a shorter one that will lock only one of the cams on the other side (presumably the passenger side as it is harder to get to). Am I right? If so, do I lock the top or bottom cam with the short tool, or does it matter? Please weigh in if you know. Thanks.
-
Thanks logray for all your information and advise. As the only thing I need from my friend's LN kit are the cam locks, and he lives across the border in the U.S., I am going make them instead. Should be simple enough. And your crows foot setup solves the torquing issue for the nut. I am busy with family the next two weekends so I will not make much progress until towards the end of March. Keep you posted.
-
I just found out that a friend of mine has the LN Engineering IMS tool kit that I can borrow. I may reconsider my options and decide to replace the IMS seal. However, I want to have a full understanding of the procedure so I have a few questions relating to my apparent confusion between the Bentley Video and LN retrofit instructions: 1. Does the locking device work on the Carrera S (3.8 L) motor? (LN does not really address this.) 2. Do you lock the left bank cams or both sides? (Bentley makes some reference to both banks whereas the LN tool kit I believe only locks the left bank) 3, What is the torque value of the 22 mm flange nut? I would appreciate any information that may be helpful. Thanks.
-
Thanks logray. New flywheel bolts, clutch bolts and drie-bond ordered. Already have the bearings. I have a friend of mine who has an auto mechanic shop who is interested in purchasing the LN Pro Kit as he is starting to have a number of 996 customers....hmmm. Having said that, I think that your suggestion to leave the seal alone is a prudent one. Keep you posted.