Welcome to RennTech.org Community, Guest
There are many great features available to you once you register at RennTech.org
You are free to view posts here, but you must log in to reply to existing posts, or to start your own new topic. Like most online communities, there are costs involved to maintain a site like this - so we encourage our members to subscribe or donate. All subscriptions and donations go to the costs operating and maintaining this site. We prefer that guests take part in our community and we offer a lot in return to those willing to join our corner of the Porsche world. This site is 99 percent member supported (less than 1 percent comes from advertising) - so please consider an annual subscription or donation to keep this site running.
Here are some of the features available - once you subscribe RennTech.org
- View Classified Ads
- DIY Tutorials
- Porsche TSB Listings (limited)
- VIN Decoder
- Special Offers
- Paint Codes
- Registry
- Videos System
- View Reviews
- and get rid of this welcome message
It takes just a few minutes to register, and it's quality Porsche information at a low cost.
Contributing Members also get these additional benefits:
(you become a Contributing Member by subscribing or donating money to the operation of this site)
- No ads - advertisements are removed
- Access the Contributors Only Forum
- Contributing Members Only Downloads
- Send attachments with PMs
- All image/file storage limits are substantially increased for all Contributing Members
- Option Codes Lookup
- VIN Option Lookups (limited)


shastamonk
-
Posts
48 -
Joined
-
Last visited
About shastamonk

- Birthday 12/10/1967
shastamonk's Achievements
Member (1/1)
0
Reputation
-
Thanks for the input everyone! I really am greatful! I'll check into it see what I find. Quick question, should there be pressure on the line on the right? I assume so, if this is the supply to the intake. Regards, Scott
-
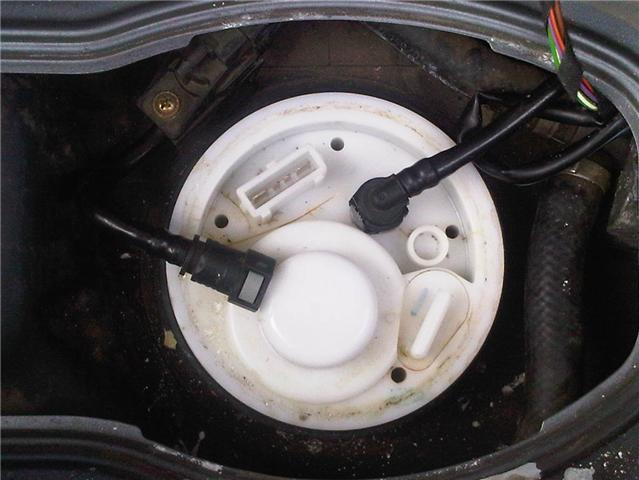
Is that the line on the right or the left? Are you refering to the Orings right at the top of the sending unit where the two lines connect? Should there be pressure in the line on the right? I can see cracks that go strait through the top of the sending unit to the inside of the tank. Scott
-
I have a gas leak on the front of my car. After I descovered a gas puddle on top of my gas sending unit I replaced it with a new one (OEM). It worked for a few months and now the new one leaks or at least it has another gas puddle on top of it. When I disconect the line on the right it has pressure in it. Is that normal? It this line suppose to relieve the pressure? And if thats the case I would guess this is what caused the sending units to crack. What does this line do? When I sisconect it gas pukes out for a bit and I hear a pressure hiss out. HELP!!!! Regards, Scott

-
Cracked gas sending unit
shastamonk replied to shastamonk's topic in 986 Series (Boxster, Boxster S)
I never add any more fuel once the gas stops on its own. I tightened mine fairly tight using a screw driver and hammer to tighten it. I could have gone tighter but once I felt it was snug enough not to leak I left it alone. I'm still not sure what would have caused this part to fail so soon. Scott -
Cracked gas sending unit
shastamonk replied to shastamonk's topic in 986 Series (Boxster, Boxster S)
Here is what I have. i dont lnow if its a OEM part, I believe it was. You can see all the cracks in it. I cant figure out why it would do this. Mabie the vent line is clogged??? Regards, Scott
-
Cracked gas sending unit
shastamonk replied to shastamonk's topic in 986 Series (Boxster, Boxster S)
I guess there could be something wrong. I would really appreciate it if someone could explane the way this assembly works and that might help me trouble shoot the root of the problem. I do not have any faults using the durimetric and my car runs great. My gas milage is poor though, I'd say about 15 mpg. Any thoughts? scott -
My 03 Boxster S has a gas leak at the sending unit. I remember reading a post in here about some sort of sealant that can be used to fix cracks in gas tanks and such. I think Toolpants wrote about????? I would replace the sending unit but I already did that and this one from Pelican parts only lasted about 3 months. I don't feel like going through the pull out and replace again. Does anyone know what a good gas sealant is???? regards, Scott
-
You might try looking at the Bridgestones. I cant remember the exact tire (Dueler HP?) but they make a N0 spec for the cayenne 275/40/20 and they may make one for 19's as well. We tried the Michelins and they perfomed great but had high niose towrd the end and where toast at 15K. Then tried the Bridgestones and have been really happy. Got 37k out of that set and didn't even consider anything else when replaced em. Especialy at only $214 a tire from Tire Rack! I swear by these tires. Good luck! Regards, Scott
-
My 04 S just started doing this at 105k mi. It never did this untill recently. No way is this "Normal"! A $75 K car is normal to studder when you come to a stop?! I don't think so. Why didn't it do it when the car was new? Perhaps whoever is the one saying this is normal can explain what the car is actualy doing???? Mine happens more and harder the hotter the car and outside temp are. I'm thinking fuel pump, or drive tran myself. Regards, Scott
-
Could it be the set up in the multi funtion display? I think there is a setting for the rear hatch to open along with the passenger doors. Just a thought. Scott
-
My wifes 04 CS has gone through 3 fuel pumps! 2 on the left and one on the right. Tranny valve body bad, plastic cooling pipes bad, spark plug coils bad. These are just a few of the failures we have had. If it were not for a aftermarket warrenty we would be broke with a broken car! I tell everyone I know "Don't buy a 04 or 03 Cayenne!" Now whenever my wife tells me the car is broke or she is stranded on the side of the road I don't get my blood pressure up any more. I just say "ok, here we go again." I hope this is the last of your troubles but I would expect more problems in the future. Scott
-
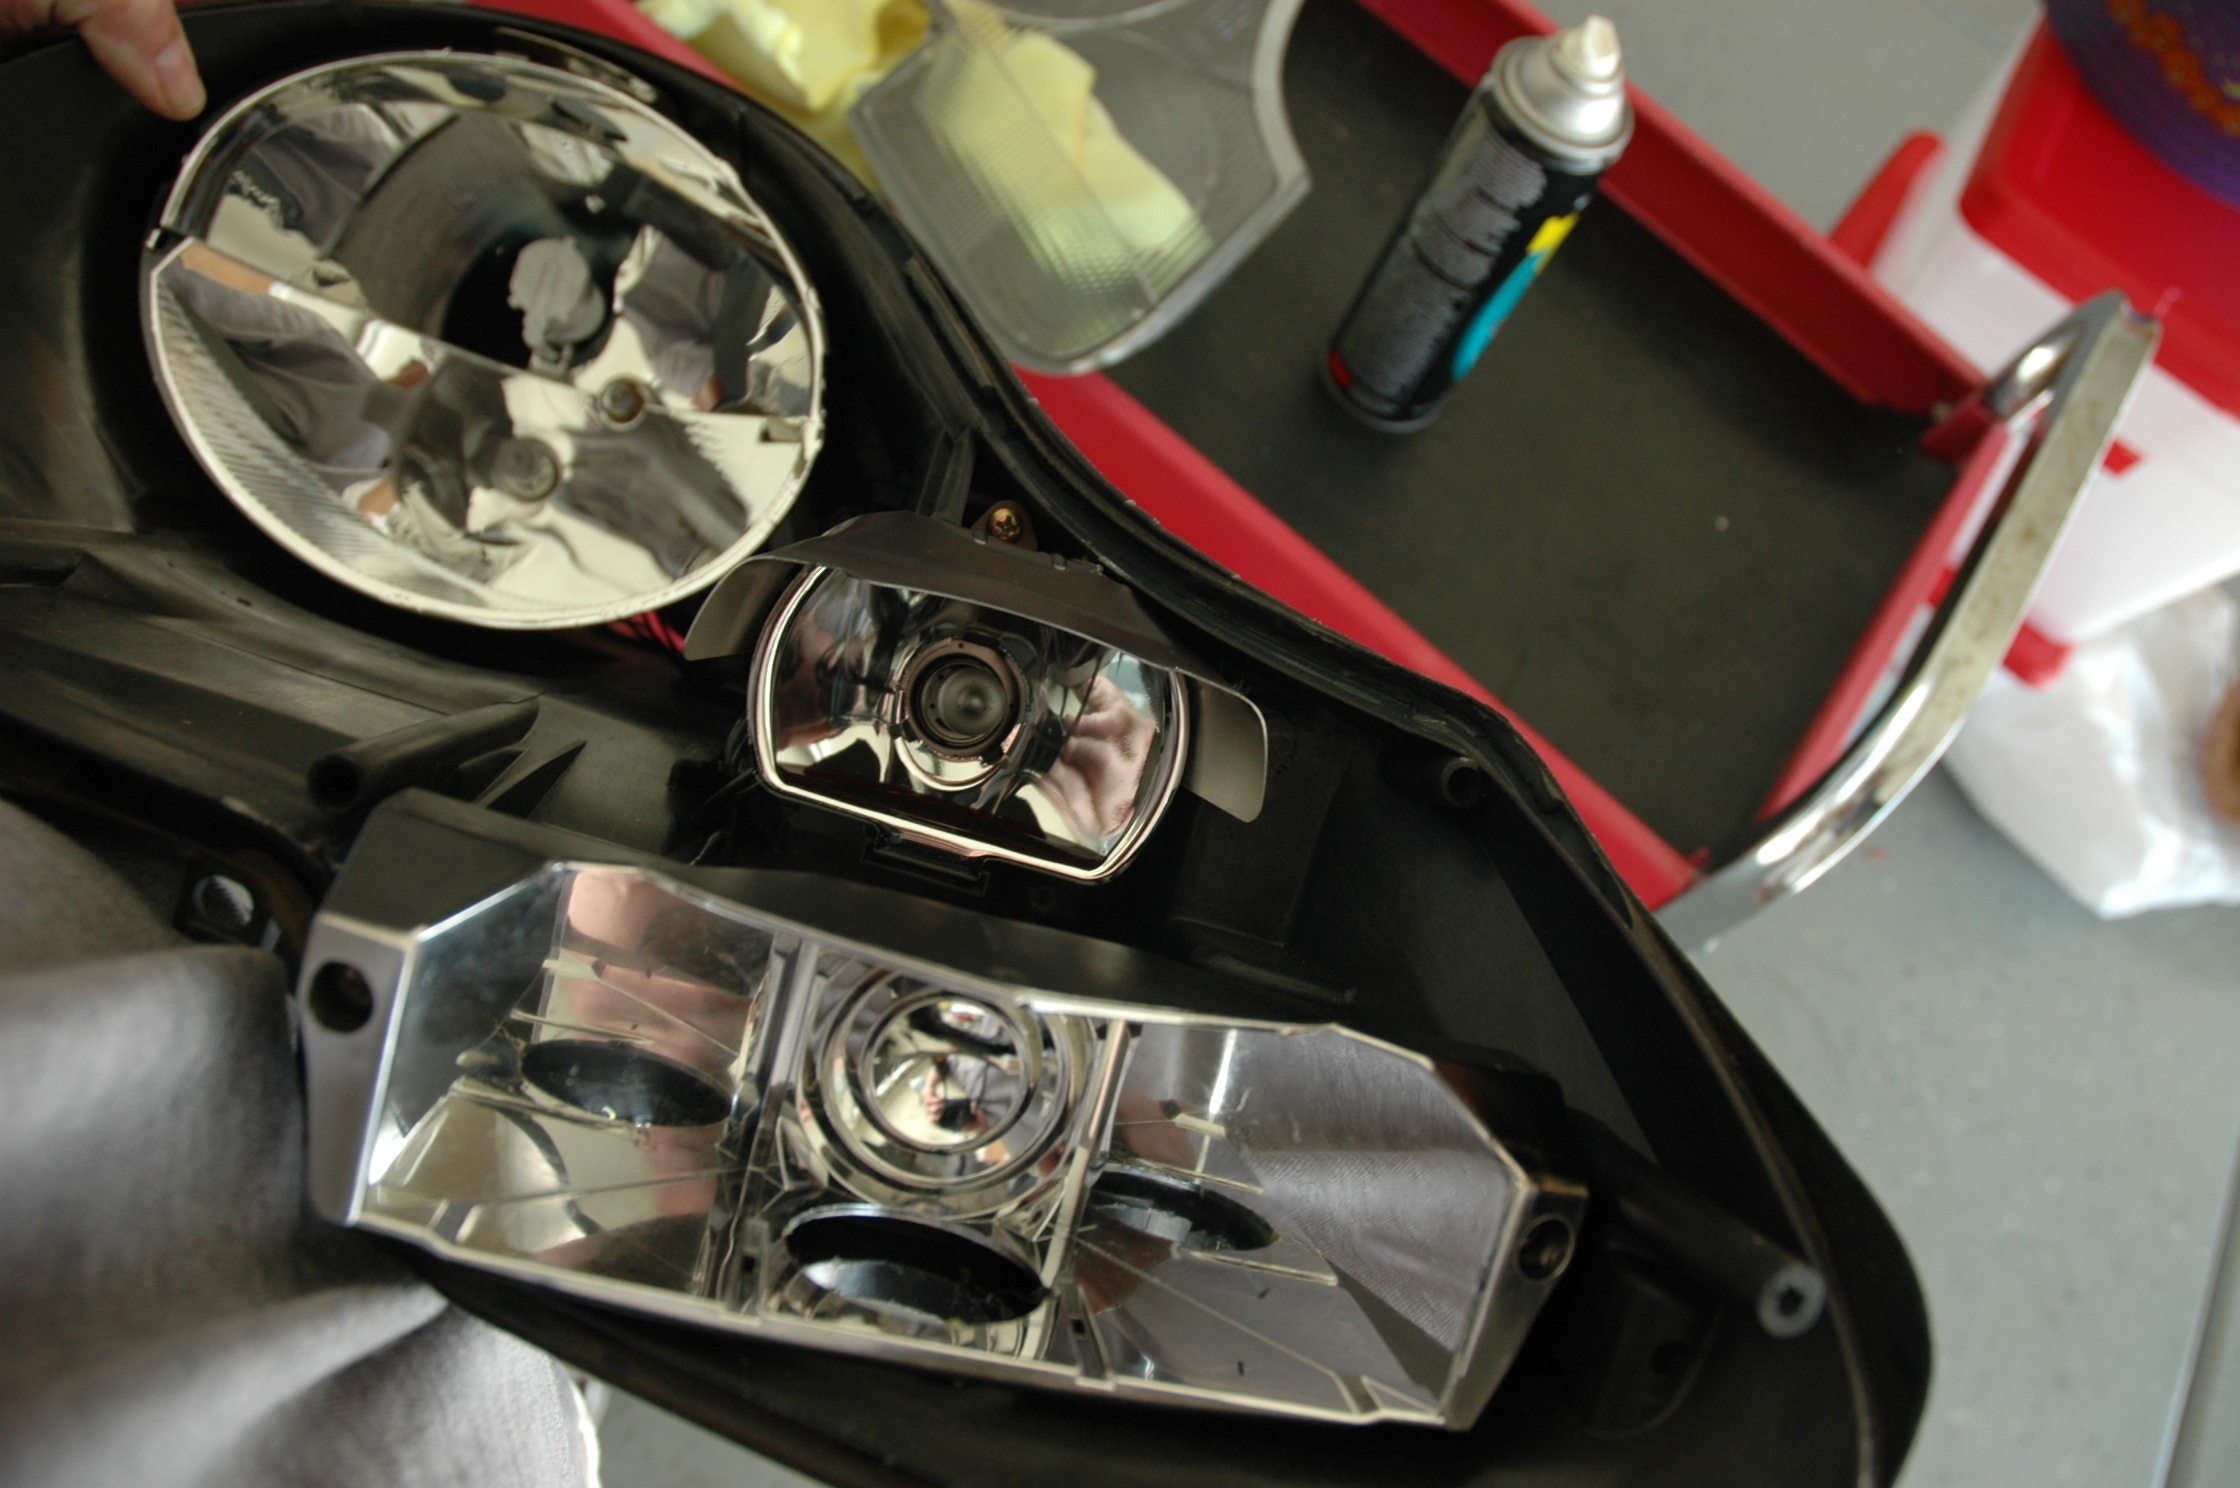
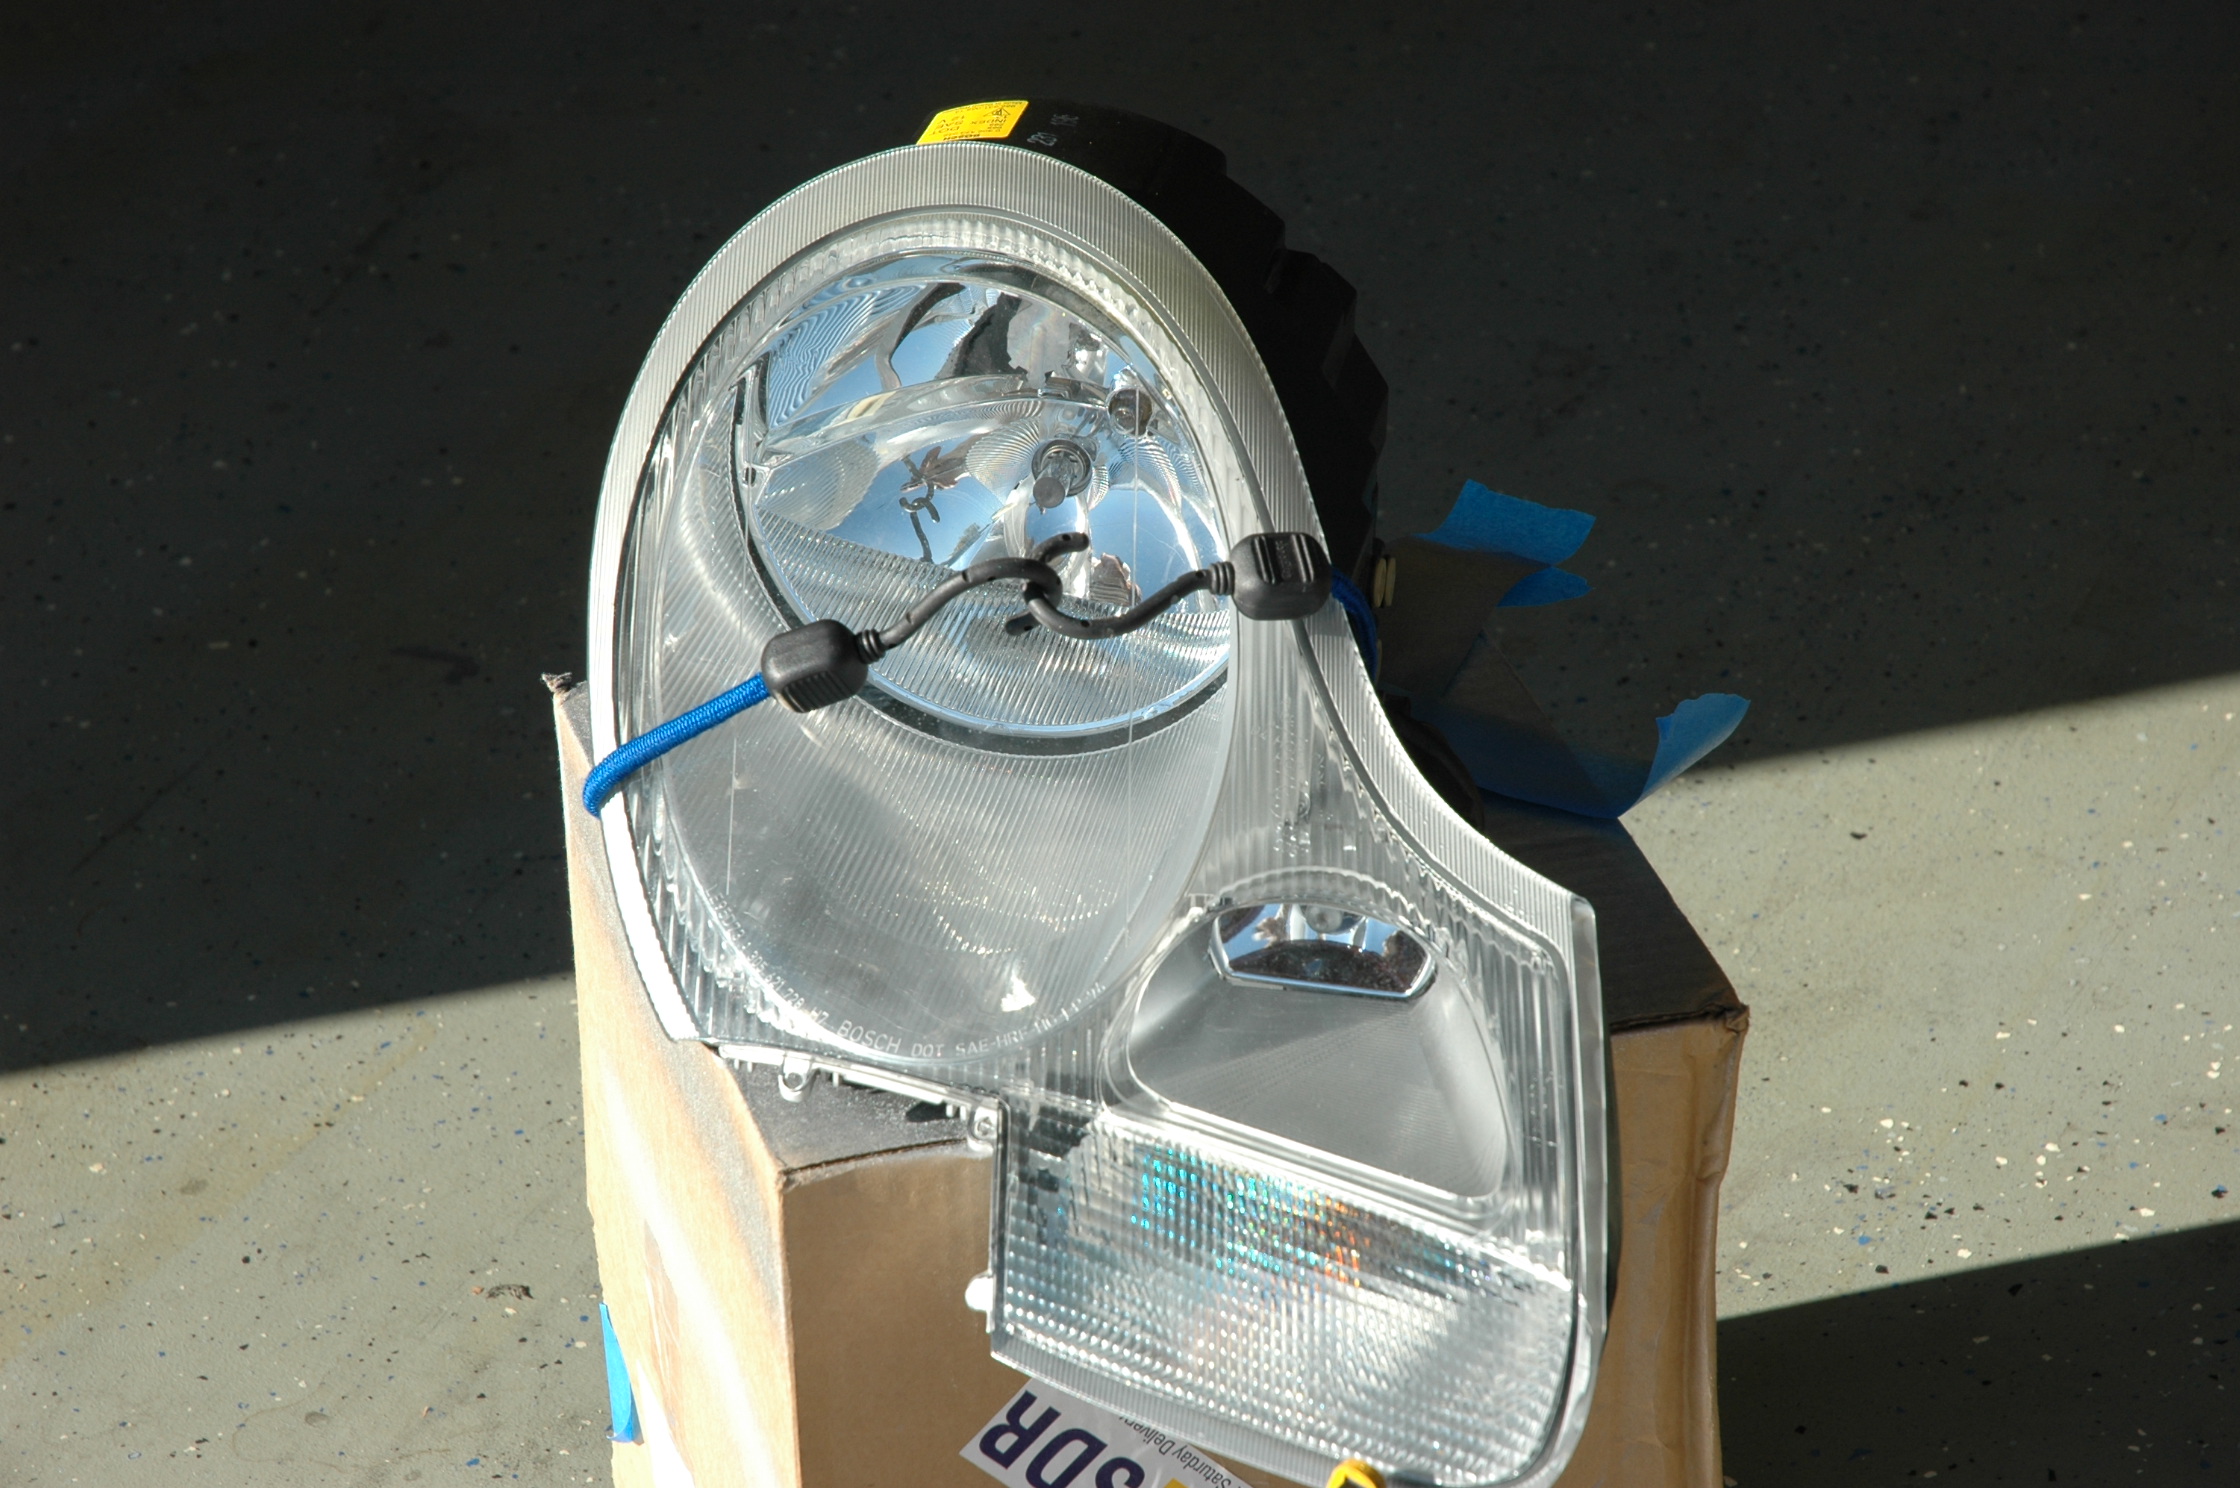
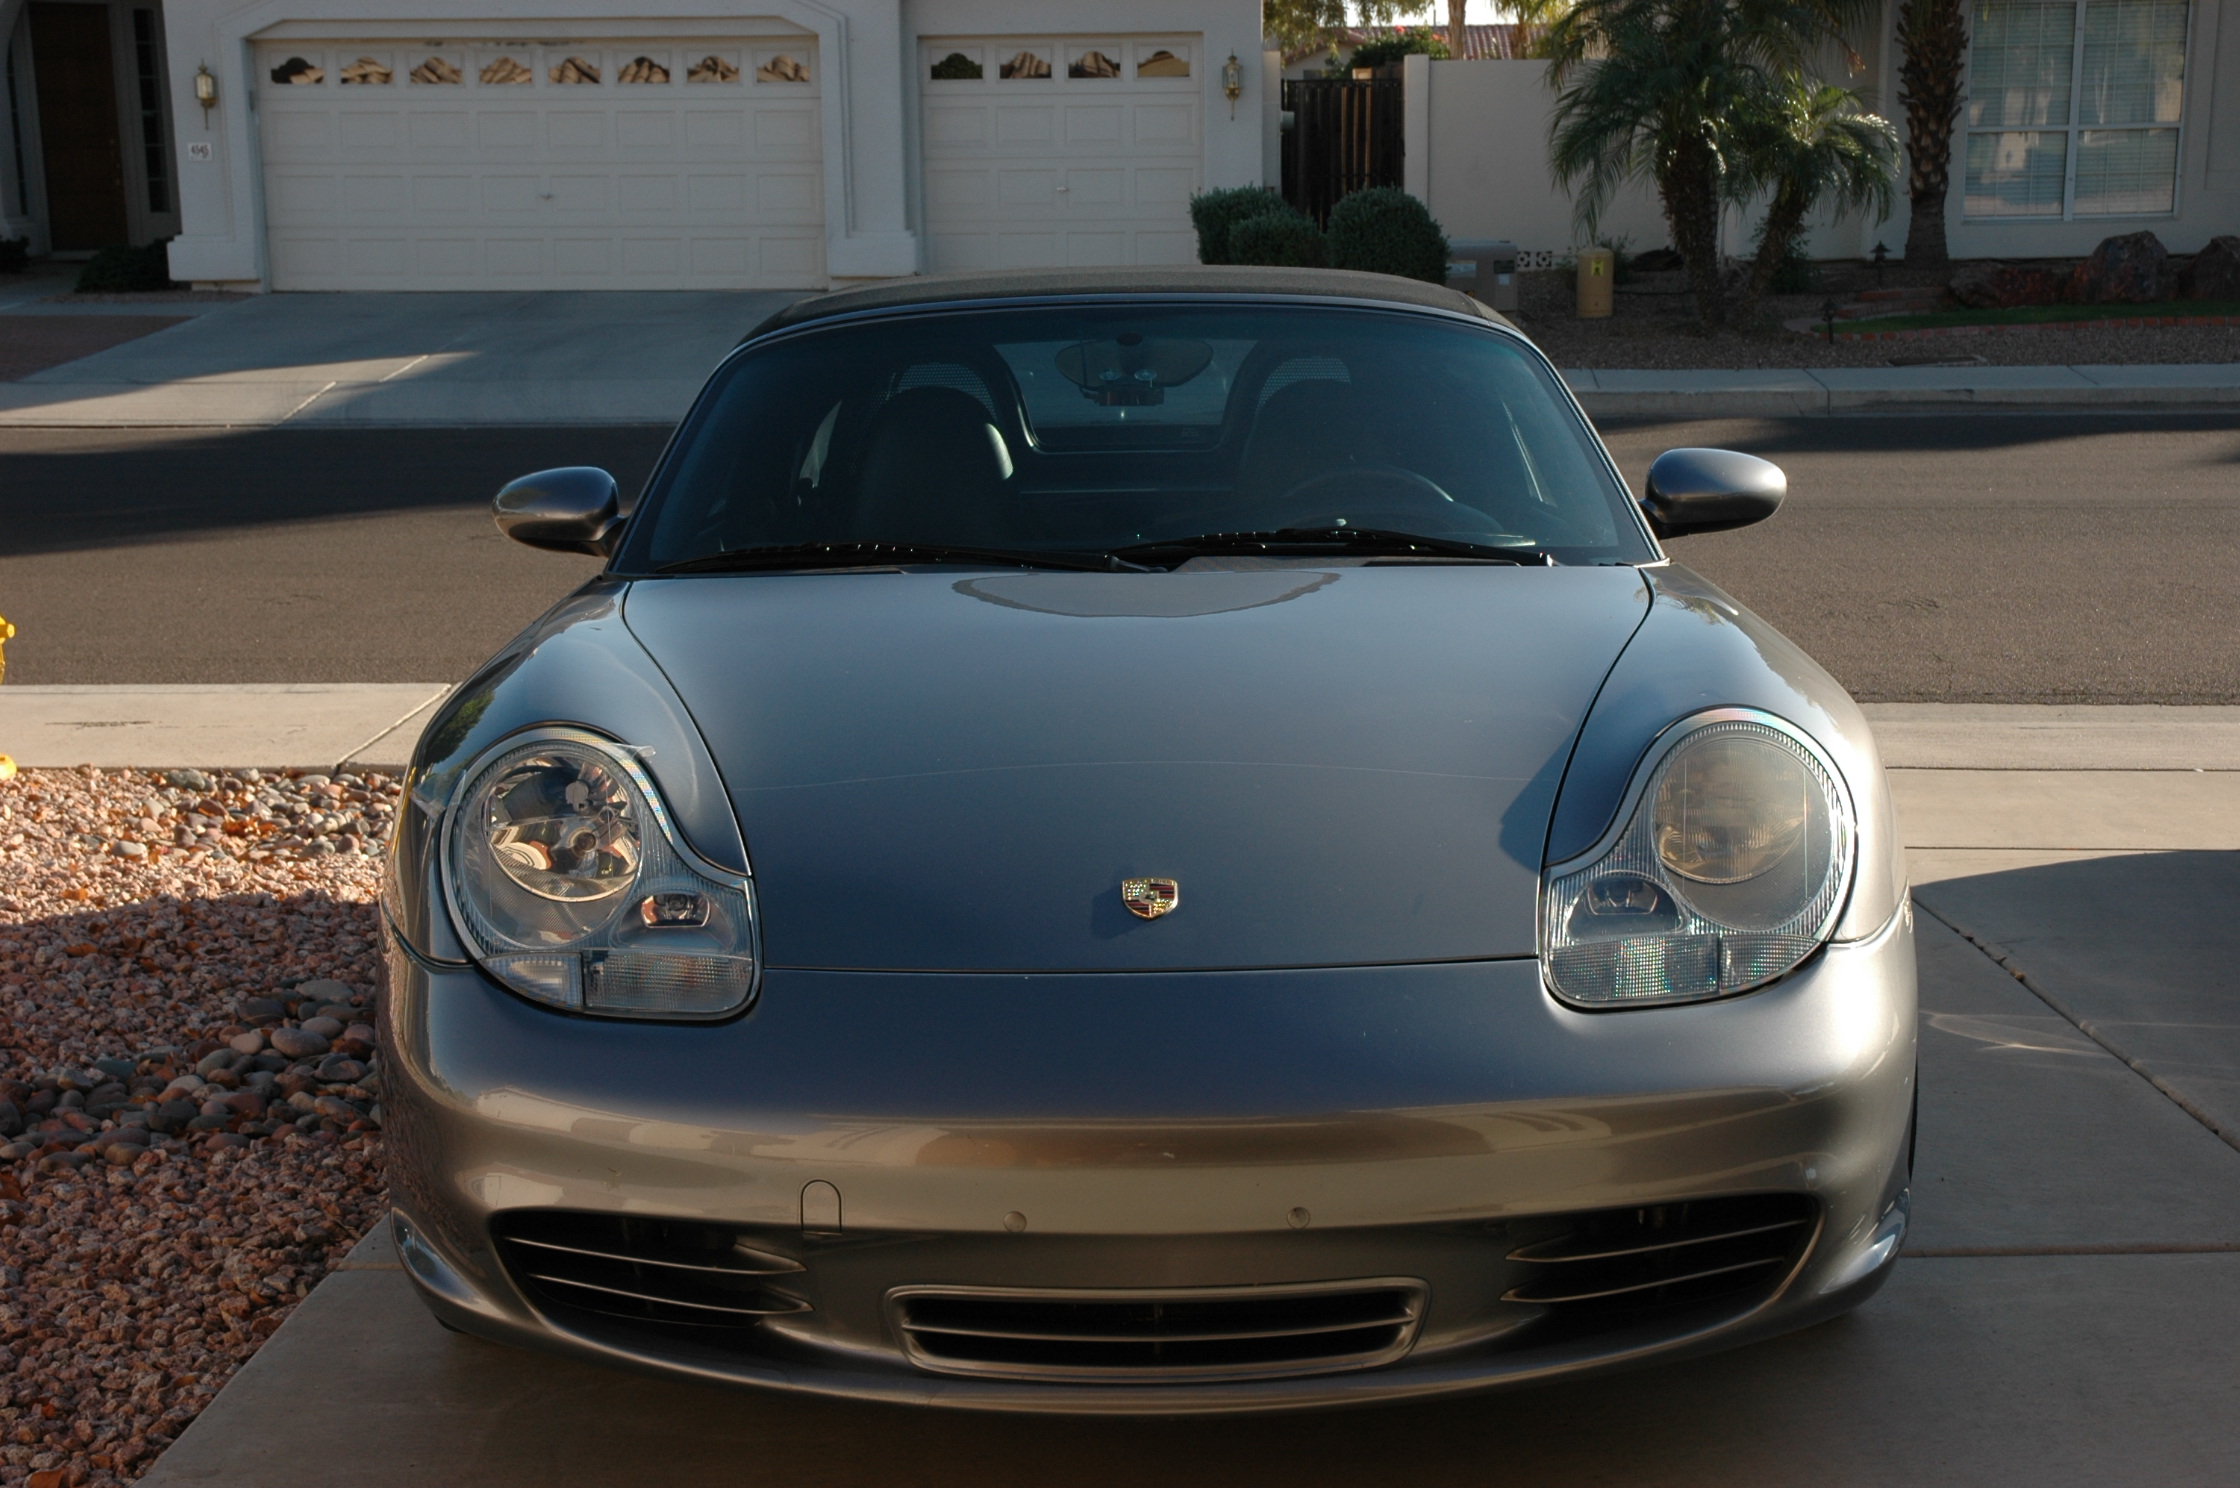
I used a screwdriver. Once I got them started I used my hands to pull them apart. You will need gloves. Also I tried to remove the old glue on the first light and it made a mess. The second one I just applied a thin bead of silicon and clamped it back together. I think the seal was a lot better the second round. My defusers where a little brown so I did not put them back it. The pics I have really don't do it justice. The results are night and day! I think the reason the photos don't show too much differnce is because the car is pointed back towards the garage and its dark in there. I took a test drive tonight after I finished the second one and WOW they are bright! I really had to make sure the alignment was correct so not burn anyones eyes out of there sockets. The beam is very focused. This is good and bad. Good for whatever is straight ahead but I might be comprimising the side vision a little. Also the my fog lights look great after using silver on the surrounds. Overall I'm very happy and I'd do it again if I had the choice. My car looks new again. Scott
-
Ok. It's my turn to contribute a little to this awesome sight! I can't count how many times this sight has saved my you know what! My wife's 04 Cayenne S has had more problems then I care to mention. I just wish it was as reliable as my 03 Boxster S. I upgraded my stock headlights over the years with a aftermarket HID from Vertex and did the de-amber thing as well. But lately my headlights have started looking dull and foggy. So today I decided to do a facelift. I removed one of the assemblies and placed it in the oven. I started at 185 F and worked my way up to 250 F. I used a cookie sheet and checked the assembly frequently trying to pry it apart. I had no luck until I tried 250 F. Our oven is a convection and I don't know if this will make a difference. After I separated the lens I cleaned and painted the insides with silver spray paint. I did not hit everything, just the areas I thought would show. I removed the plastic defuser. I also took apart the corner and sprayed the dark grey with silver. I used clear silicon to glue the corner assembly back together. My lights looked foggy but i could never get them clean until today. I had a film buildup on the inside that came off with window cleaner! So after cleaning and painting everything i put the assembly back together using black silicone/adhesive. The end results turned out great! I looks like it belongs on the car. OEM but high end. Here are some pics. I will post more when I do the other side. The passenger side is the one I did the work on, the drivers side is the old one. Scott
-
upper control arms
shastamonk replied to shastamonk's topic in 9PA, 9PA1 (Cayenne) Part Number Requests
thank you! -
upper control arms
shastamonk replied to shastamonk's topic in 9PA, 9PA1 (Cayenne) Part Number Requests
Yes Loren. I forgot to add the car has the air suspension. Regards, Scott