Welcome to RennTech.org Community, Guest
There are many great features available to you once you register at RennTech.org
You are free to view posts here, but you must log in to reply to existing posts, or to start your own new topic. Like most online communities, there are costs involved to maintain a site like this - so we encourage our members to subscribe or donate. All subscriptions and donations go to the costs operating and maintaining this site. We prefer that guests take part in our community and we offer a lot in return to those willing to join our corner of the Porsche world. This site is 99 percent member supported (less than 1 percent comes from advertising) - so please consider an annual subscription or donation to keep this site running.
Here are some of the features available - once you subscribe RennTech.org
- View Classified Ads
- DIY Tutorials
- Porsche TSB Listings (limited)
- VIN Decoder
- Special Offers
- Paint Codes
- Registry
- Videos System
- View Reviews
- and get rid of this welcome message
It takes just a few minutes to register, and it's quality Porsche information at a low cost.
Contributing Members also get these additional benefits:
(you become a Contributing Member by subscribing or donating money to the operation of this site)
- No ads - advertisements are removed
- Access the Contributors Only Forum
- Contributing Members Only Downloads
- Send attachments with PMs
- All image/file storage limits are substantially increased for all Contributing Members
- Option Codes Lookup
- VIN Option Lookups (limited)


Keggers
-
Posts
53 -
Joined
-
Last visited
Content Type
Profiles
Events
Forums
Exterior Paint Colors
Downloads
Tutorials
Links Directory
Collections
Classifieds
Store
Everything posted by Keggers
-
Actually I think its an 8mm allen key. See the reference to a/f 8 hex key in the thread that I referenced in the first post...
-
I think Jose is meaning the hex nut inside the car under the headliner that is holding on the anchor plate. You can see the anchor plate and the bolt that goes inside the car in my second photo at the top. I can't recall the size of the allen/hex key (it was 12 years ago, amazingly), but I do remember it was large. Depends on your hand size (!), but it was probably about the thickness of my little finger. Greg
-
Ok, I'm now a very happy man. After scottiemac's post I dug the durametric out again and tried with version 5 rather than 6 software this time. It found the tip unit and a "tip unit to dme" fault. I reset the fault and bingo, problem solved. All is good again. Thanks very much scottiemac!!!
-
Hi scottiemac. Actually tried to find a fault with my durametric but it can't even find the tip control module, so I think the unit has actually gone unfortunately. Thanks for the tip though.
-
Brilliant. Thanks Richard. That's exactly what I was hoping for. That last bit from the manual re it being completely safe is missing from my 1998 manual, but that has put my mind at ease. Am a bit paranoid after my engine went!!
-
I have a 1998 996 tip. Just had an engine rebuild and when the engine went back in the transmission control unit has blown I think when the transmission speed sender was unplugged/plugged back in). The D and 4 lights are flashing showing its in Reduced Driving mode and it still drives finen auto mode. My mechanic is ordering in a replacement control unit, but says its fine to drive it in the mean time. My only concern is whether there is any risk of damage to the transmission given that I understand the control unit controls the Tiptronic coolant shutoff valve. Does this default to open (in which case I assume the transmission will be cooled fine) or is there a risk the transmission will be getting no coolant without the control unit operating? Thanks for any help.
-
Keggers, did you have to remove interior portion of headliner to fix the base plates and studs? Is the back washer needed to fix broken studs and base plates? Thanks in advance! Peter Hi Peter Yeah you do need to pull the headliner back to get access to unscrew them. You don't need to remove it completely. Just needs to be pulled back about an inch. The trim above the door just pulls off. You need a large allen key to unbolt them (they are VERY tight) and then the plates just pull out from above. The new ones then go in. I used some silicone sealant to seal them and then you use the old bolt and washer from below to screw them back on. Before the sealant dries fully and you fully tighten the bolts try putting on the roof rack to make sure they line up properly though. Hope this helps. Greg
-
Roof Rail Covers
Keggers replied to Brian D. Barrett's topic in 996 Series (Carrera, Carrera 4, Carrera 4S, Targa)
I ran into the same thing. Anyone have some advice on this? Using a easy out drill bit makes me uneasy. See details here... -
The thin black pipes that you have in your hand are vacuum pipes. The three ended rubber splitter simply allows the pipe to be split into two so that one vacuum pipe becomes two. They ultimately connect into a part of the engine just behind the throttle body that operates at a vacuum and you can then use this vacuum (in the vacuum pipes) to move switches, valves, etc that they connect onto. The PSE uses two of these to move the exhaust valves that open or close to make the exhaust loud/quiet. The vacuum pipes pass through a solenoid valve (which is what the grey item with the red plug behind your hand looks like) that either blocks or opens the pipe so that the vacuum can be controlled to turn on/off. The PSE is only one use of the vacuum lines though - they can also operate valves in the coolant system etc. Looking again at the picture the lines in your hand seem to be coming from the far right of the engine. From memory there is one connected down there near the fuel injectors, but I don't know any more than that! If one of the vacuum lines comes off and is left open then the engine can suck in more air than it should be able to and it can upset the fuel/air mix. I'm no expert on this (and may well be wrong in my description!) but my understanding is that it is unlikely to damage the car but could impact running.
-
Immediately behind your hand is a red plug connected to a grey item. It looks like it could well be the on/off valve for the pse (do you have a pse fitted, and does the on/off still work? if not maybe it was installed before you got the car and later removed but the vacuum lines were left in place). If it is the on/off valve there will be two vacuum connectors on it. One for in and one for out. Check if one of these has nothing connected to it (or that the vacuum lines that are connected to it are still connected to something at the other end!). Then again, I may be completely wrong, but it is does look like it and is in about the right location. Cheers Greg
-
Replacing Tiptronic Shifter Button
Keggers replied to Keggers's topic in 996 Series (Carrera, Carrera 4, Carrera 4S, Targa)
Just found instructions on removal/install by searching for "tiptronic knob" rather than "tiptronic button" that I had used previously. Looks like brute force is the answer! -
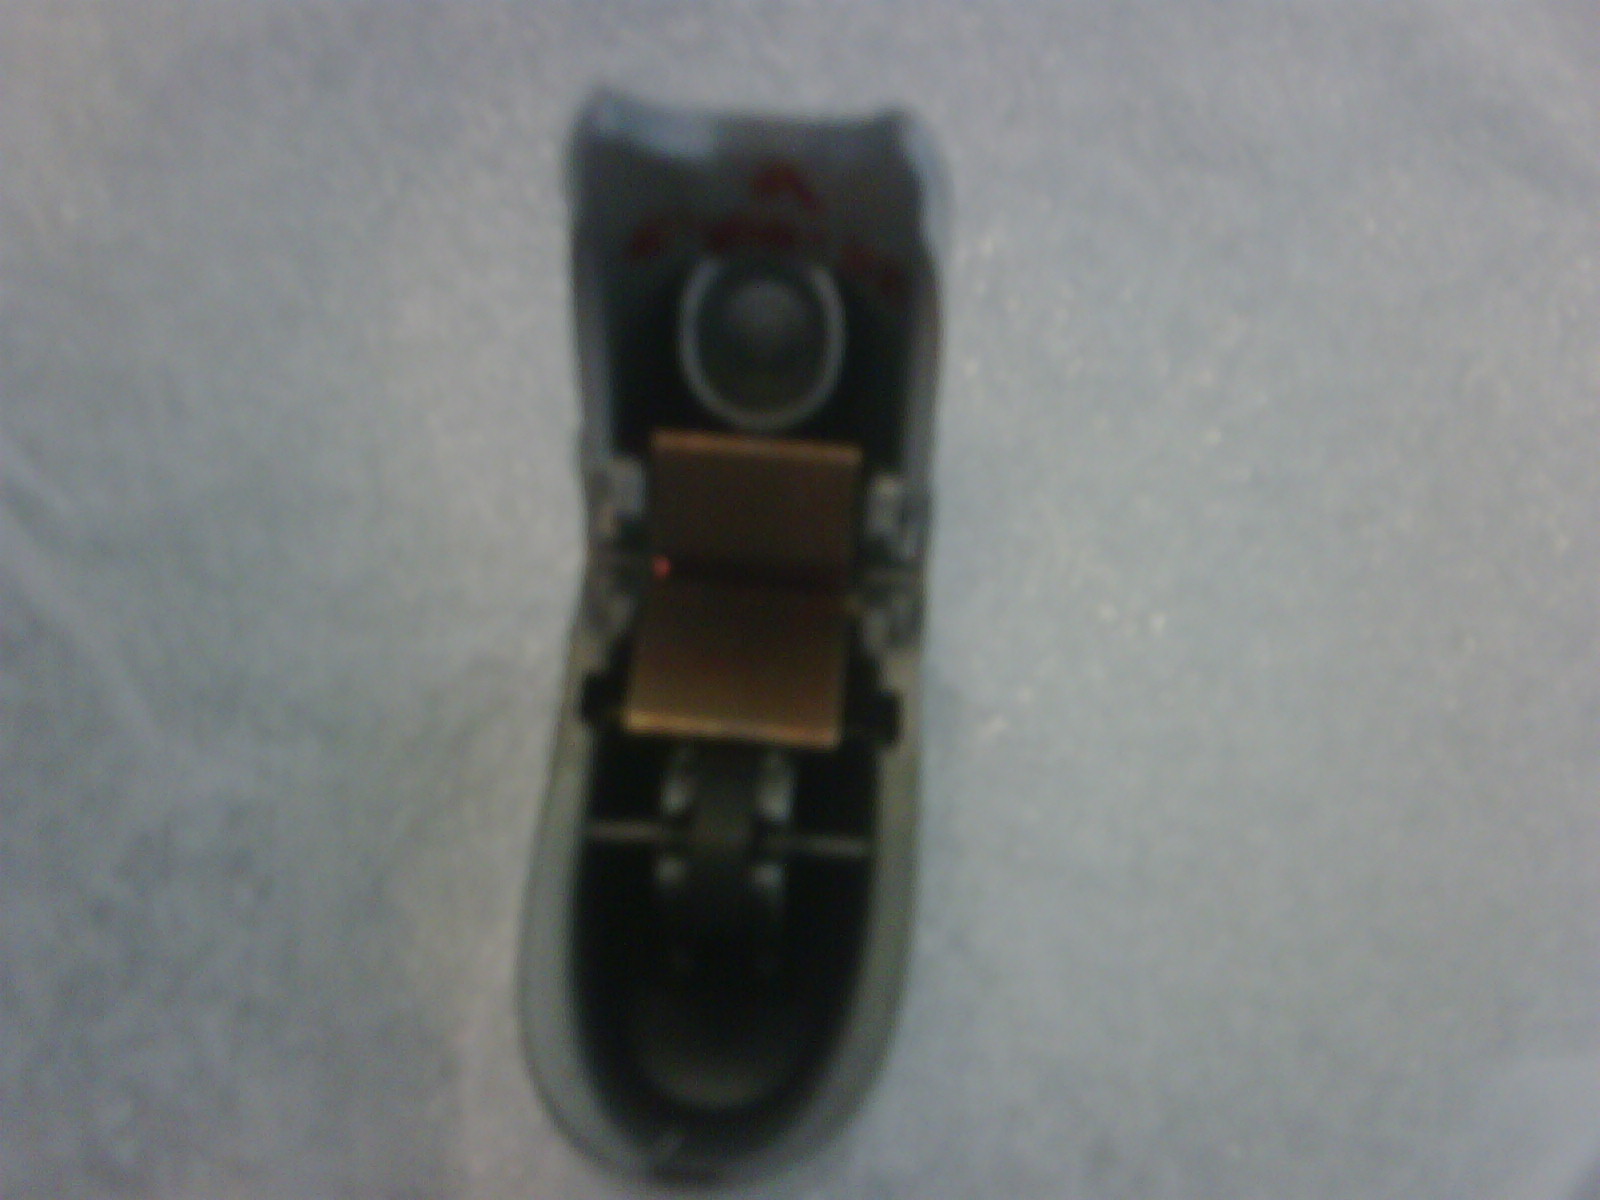
Hi The silver button on the top of the gear shifter of my 1998 Carrera tiptronic has had a big scratch on it since before I owned the car. I have just now finally gotten around to buying a replacement and it just arrived. However, while the old one pops off and on really easily, the new one has a metal clip built into it that the old one doesn't have. You can see it on the picture attached (although the photo is from my phone and is not very clear!). The metal clip is a metallic brown colour in the centre. It appears to be there to reinfoce the plastic to hold the button on firmer. I'm struggling to get the metal clip on the new button to open enough to let me push the button on. I'm worried I'm going to end up breaking off the metal rod in the gear stick that that the button is meant to clip onto. Having broken things in the past through getting too enthusiastic with brute force I thought I'd ask in case I'm missing some obvious trick as to how to get the new one on. Any thoughts? Cheers Greg

-
Hi Mark, Car had a minor service (oil, filters, etc.) only about 4 months back and had a major service (plugs etc.) 16 months ago. Everything is completely standard (apart from having a PSE), including wheels. Yeah, I've manually checked mileage and it matches the OBC very closely. Durametric hasn't found a fault code since I bought it apart from an alarm code! I did have a vacuum leak a month or so back but that was fixed and the rest of the vacuum lines seemed fine. Whats really puzzling me is the big difference between the two sensors. Greg
-
Hi Guys I have a 1998 996 Carrera tiptronic in RoW spec with 89,000 miles. I had a play with my Durametric this morning and tested the oxygen sensors (I have an Irish car so it only has pre-cat sensors rather than pre and post). I've had ongoing issues with low mileage in traffic and have been averaging 13-14mpg (UK mpg - this is about 11 US mpg) and have been chasing my tail trying to find the cause. I recorded the values over an extended period (4 to 5 minutes, after it had warmed up and gone into closed loop) and calculated the average values for each. I got an average 0.426 volts for "O2 Sensor Voltage Ahead of Cat. Conv." and 0.356 volts for "O2 Sensor Voltage Ahead of Cat. C. Bank 2". Both fluctuated but this was the average. I repeated this several times I got similar results. [edited to add that on a subsequent test I got 0.39 on bank 1 and 0.34 on bank 2] My understanding from reading old posts on here is that both should be averaging 0.45 volts, so both seem low but one seems seriously low. I also understand (possibly incorrectly!) that low readings will be telling the computer that the engine is running lean. Am I correct in thinking that it wouldn't be possible for only one bank to be running lean while the other is ok (or slightly lean), which would suggest that at least one of the sensors is faulty? Would the engine be trying to compensate for the low reading from this sensor and sending more fuel even though it doesn't need it, so that it is actually running rich? Am I being hasty in assuming that I probably need to replace one or both sensors? In case this is relevant, the durametric told me that it is idling at 680rpm (I thought it was meant to be 700rpm) and the MAF is recording about 16-17kg/hr at idle (up to about 30 at 2000rpm and 37 at 2500rpm) with aircon switched off. Also, I've never had a CEL warning light. Thanks for any help. Sorry for so many questions in the one post! Greg
-
Vacuum Line Out
Keggers replied to Keggers's topic in 996 Series (Carrera, Carrera 4, Carrera 4S, Targa)
Bit the bullet this morning and removed the throttle and the first of the two intake tubes behind the throttle. Took me a while to work out where the empty connector was meant to connect to. Couldn't see any loose pipse to plug into it. Ended up burying my arm in well past the elbow into well behind the vacuum cannister and found that the solenoid that controls the vacuum valve on the cooling system under and just in front of the engine had only one vacuum line connected onto it. There was no pipe on one side of it at all (just like on the three way connector). Had some spare pipe so connected it up, put it all back together again and it seems to have solved the problem. Idle speed is back to bang on 700 rpm and it seems to be holding a vacuum now. So it appears that this vacuum line has probably been missing since before I got the car and the problem has probably been there the whole time that I've had the car. It will be interesting to see if it runs any better now. Presumably this will be the first time that the resonance flap has worked since I got the car, as there previously was no vacuum supply to it. I don't know if it makes much difference but I guess I'll find out! One follow up question though. I noticed there was a fairly heavy lining of oil inside the intake tube that the throttle connects onto. Is this normal or is it a sign of another problem? Cheers Greg Edited to add that it was overfilled with oil slightly for a week or so late last year after its annual oil change. I ended up draining out about 500ml of surplus oil. I wonder if this might be related to the oil in the intake? -
Vacuum Line Out
Keggers replied to Keggers's topic in 996 Series (Carrera, Carrera 4, Carrera 4S, Targa)
Thanks 996noob. Sounds like I need to get in there and reconnect it. Just out of interest, will this make any difference to my mpg? -
Hi I have discovered that one of my vacuum lines in behind the resonance flap seems to have come out. There is no vacuum coming to the solenoid valve next to the alternator, so I traced the line back and noticed that it joins a three way connector behind the resonance flap pipe. The line from the solenoid valve is plugged in fine. The second connector seems to go to the vacuum cannister. The third connector seems to have plugged nothing in it. Its very difficult to see clearly in there as to whether there is a loose line hanging around there that should be plugged into the connector. So I have two questions: 1. What impact will having no vacuum coming through this line (and the vacuum cannister being unable to create a vacuum due to the open connector) on the running of the engine? 2. Is there an easy way to get in there to access the connector without removing the throttle and the two pipes? I've done this before to install my PSE (which is probably when I knocked the line out!!) and it was a very hard job to get the two pipes back on. Its a 1998 Carrera in Irish spec. Cheers Greg
-
Heated Seat - Not relay or switch!
Keggers replied to Keggers's topic in 996 Series (Carrera, Carrera 4, Carrera 4S, Targa)
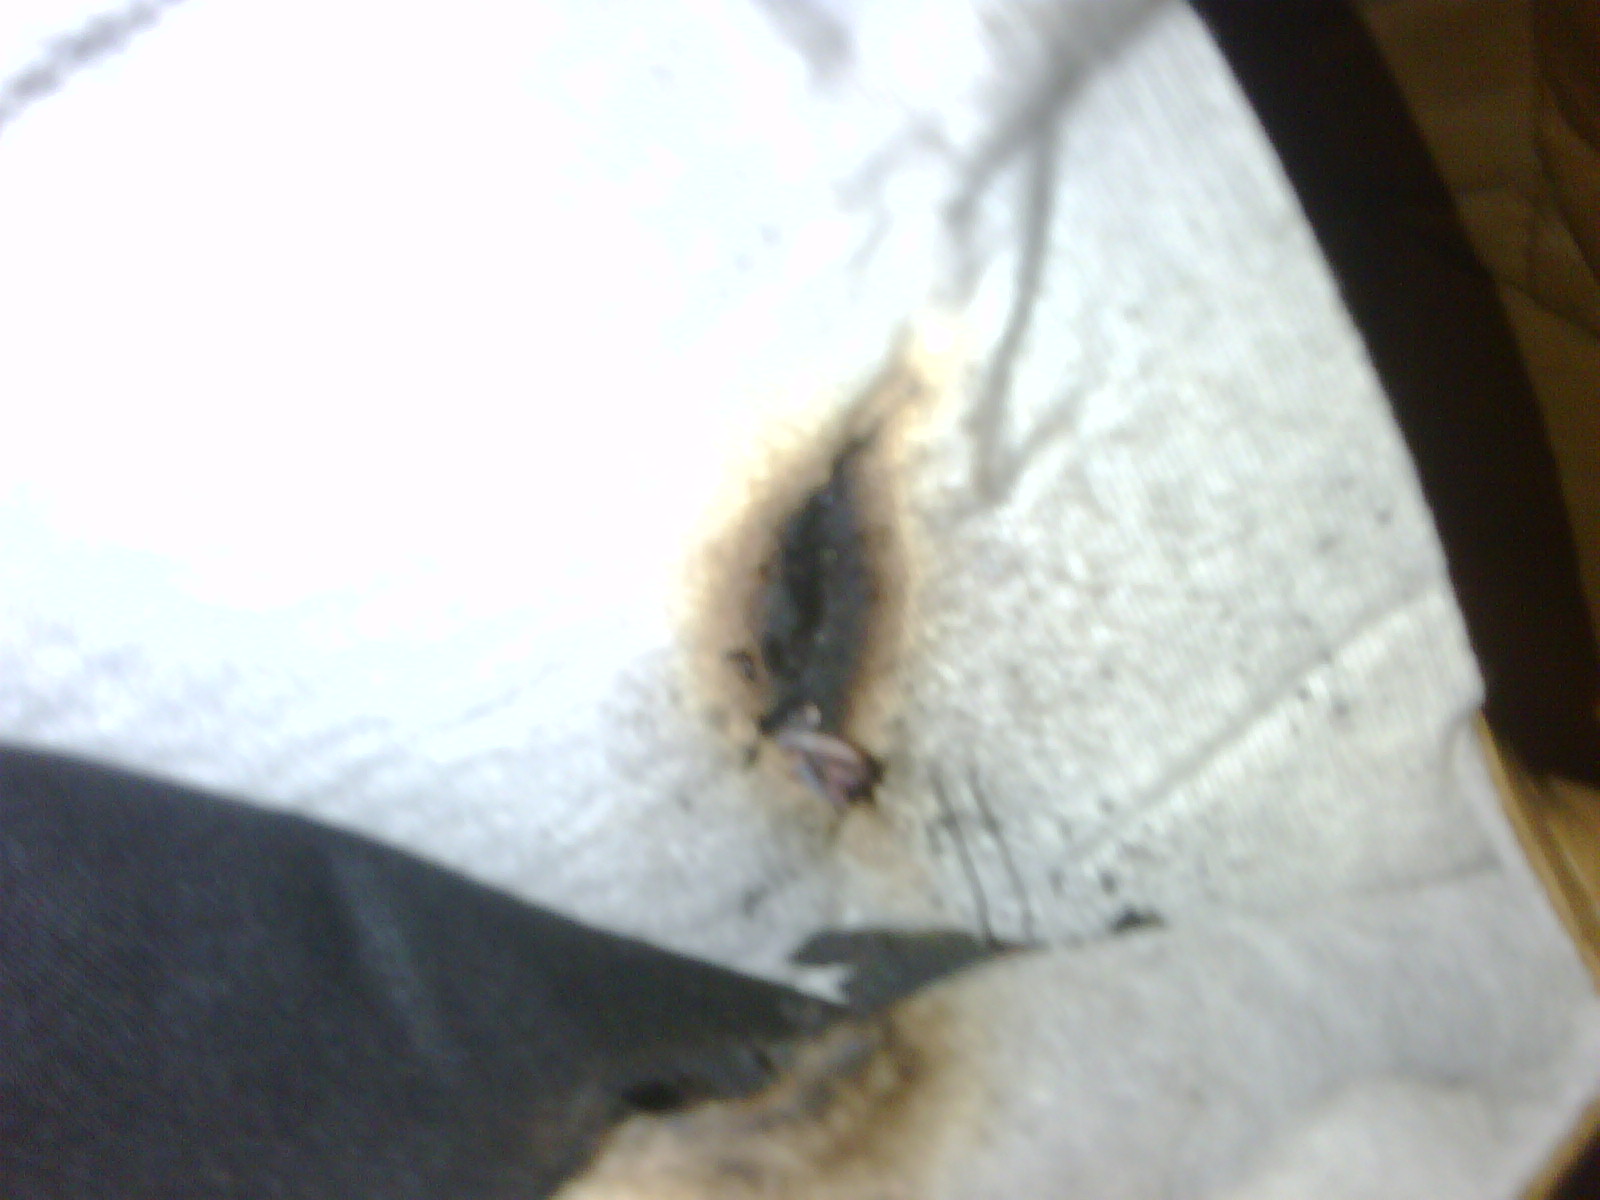
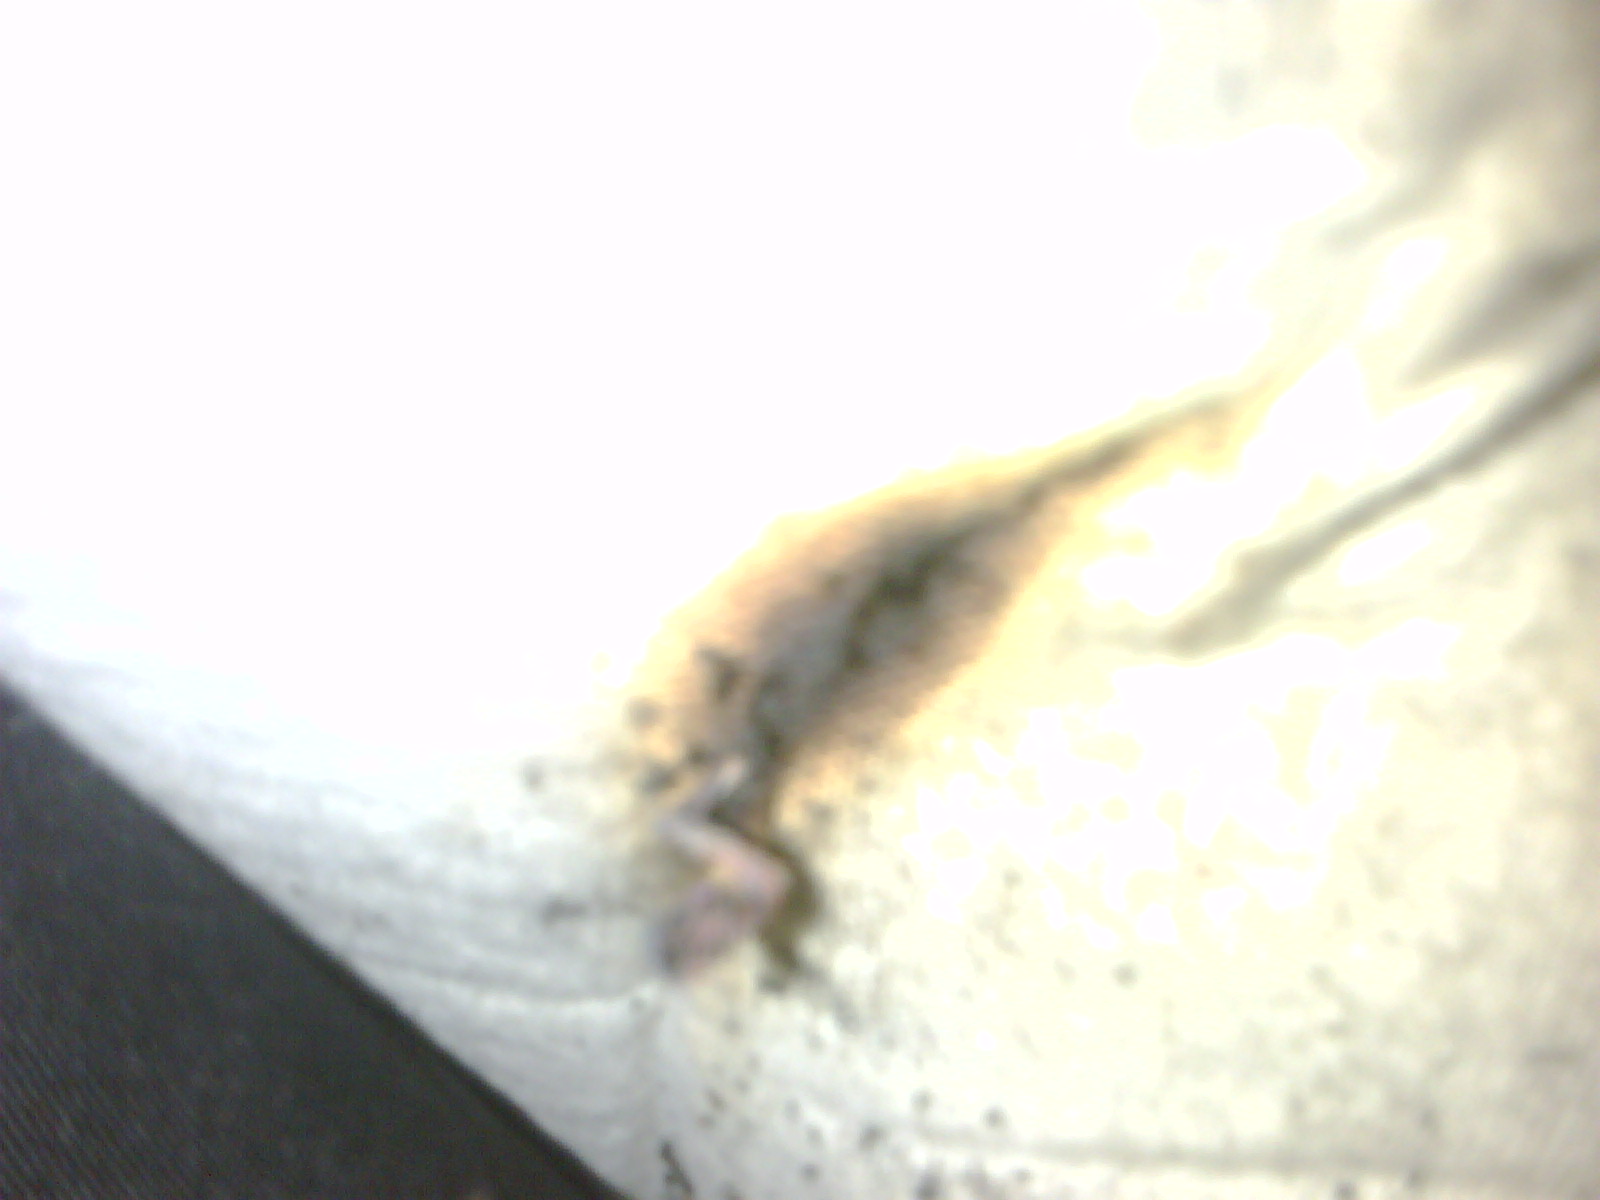
So I pulled the seat out today. Tested for continuity on the power leads going into the base and backrest heaters. Found that there was a problem on the backrest one. Undid the leather at the back of the backrest (it just clips off) and spotted that there was burn damage on the element around the wire just after where the cable is soldered into the heat element. Have attached two pictures taken with my mobile phone (they aren't great quality!). It seems that the wire there had become rusty on about an inch of the element wire. Must have caused it to overheat and the wire to break. I was lucky it was so close to the bottom of the seat so that I could spot it. Anyway, I managed to cut off the rusty bit of wire and solder the cable onto the clean bit. Put it all back together and bingo, I have a working heated seat again. Am delighted with my work, especially as we are having some of the coldest weather of the year here in Ireland at the moment. Thanks for the help. Greg
-
Heated Seat - Not relay or switch!
Keggers replied to Keggers's topic in 996 Series (Carrera, Carrera 4, Carrera 4S, Targa)
Hmm. I actually didn't try that. Put the passenger side relay into the drivers side seat, but not the other way around. Will try that next though. Do you mean that the relay holder/plug was faulty, rather than the relay itself? Cheers, Greg -
Hi I have a 1998 996 coupe with heated seats. The heating on my drivers side seat suddenly stopped working a few days ago. The red light flashes then immediately turns off again. The passenger seat still works find. I've tried swapping the switches over and both switches seem to be working fine. I have also just swapped the relays and the drivers side seat heating still doesn't work with the passenger side relay. As far as I can see the connectors providing power under the seat are also plugged in fine. So now I'm stumped. What else can I try?? Cheers Greg
-
Workshop manuals
Keggers replied to doug davis's topic in 996 Series (Carrera, Carrera 4, Carrera 4S, Targa)
They are available for free download here... http://www.cannell.co.uk/Manuals.htm -
Have you seen this thread from a few weeks back? Might be of help to you. http://www.renntech.org/forums/index.php?showtopic=26423
-
My car also has the exact same problem. Clunk that only appears on a warm day after around an hour. I've replaced the upper and lower control arms and the drop links but still no joy. I'm also very keen to hear if someone finds a solution!
-
Front Right Wheel - Noise When Cold
Keggers replied to Keggers's topic in 996 Series (Carrera, Carrera 4, Carrera 4S, Targa)
Thanks RFM. -
Hi All I've got a 1998 996 C2 Coupe. For the last month or so my car has made a slight noise/sensation when the weather is very cold and I'm on full lock pulling out of my parking space. Its hard to describe, but it feels like I am running over a coke can, despite there being nothing under the wheel. It is only at certain points in the wheel's revolution, so if I continue to drive forward/back then it happens again a second later. Disappears as soon as I have driven a minute and doesn't seem to happen when the weather is warmer. Is this likely to be a wheel bearing, or something else along these lines? Cheers Greg