Welcome to RennTech.org Community, Guest
There are many great features available to you once you register at RennTech.org
You are free to view posts here, but you must log in to reply to existing posts, or to start your own new topic. Like most online communities, there are costs involved to maintain a site like this - so we encourage our members to donate. All donations go to the costs operating and maintaining this site. We prefer that guests take part in our community and we offer a lot in return to those willing to join our corner of the Porsche world. This site is 99 percent member supported (less than 1 percent comes from advertising) - so please consider an annual donation to keep this site running.
Here are some of the features available - once you register at RennTech.org
- View Classified Ads
- DIY Tutorials
- Porsche TSB Listings (limited)
- VIN Decoder
- Special Offers
-
OBD II P-Codes - Paint Codes
- Registry
- Videos System
- View Reviews
- and get rid of this welcome message
It takes just a few minutes to register, and it's FREE
Contributing Members also get these additional benefits:
(you become a Contributing Member by donating money to the operation of this site)
- No ads - advertisements are removed
- Access the Contributors Only Forum
- Contributing Members Only Downloads
- Send attachments with PMs
- All image/file storage limits are substantially increased for all Contributing Members
- Option Codes Lookup
- VIN Option Lookups (limited)


kbrandsma
-
Posts
1,103 -
Joined
-
Last visited
-
Days Won
8
Content Type
Profiles
Events
Forums
External Paint Colors
Downloads
Tutorials
Links Directory
Collections
Store
Posts posted by kbrandsma
-
-
You are WELCOME!
-
Doesn't sound like the issue would come from the accident. Check fuse and make sure key is on and emergency brake is pulled.
-
-
They also make a spray like "spray paint" that works exceptionally well.
-
Try Eurosport.com
-
Thanks Logray!
-
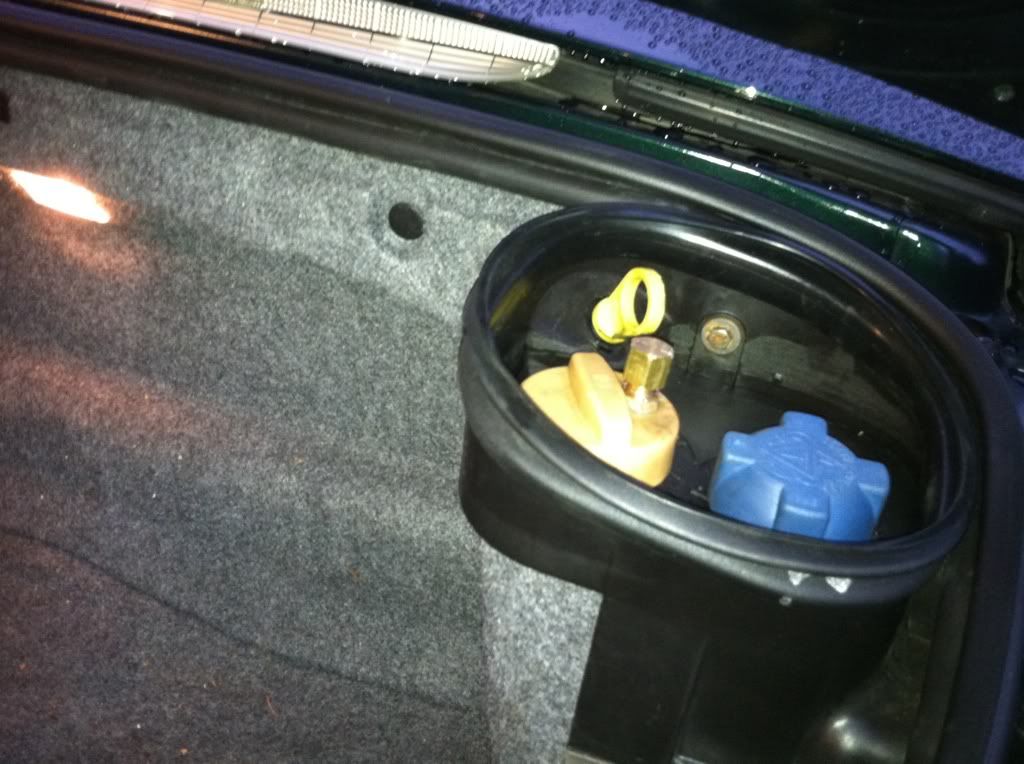
I recently used your DIY and created my own AOS tester. Here is a shot of an adapter attached to my oil cap.

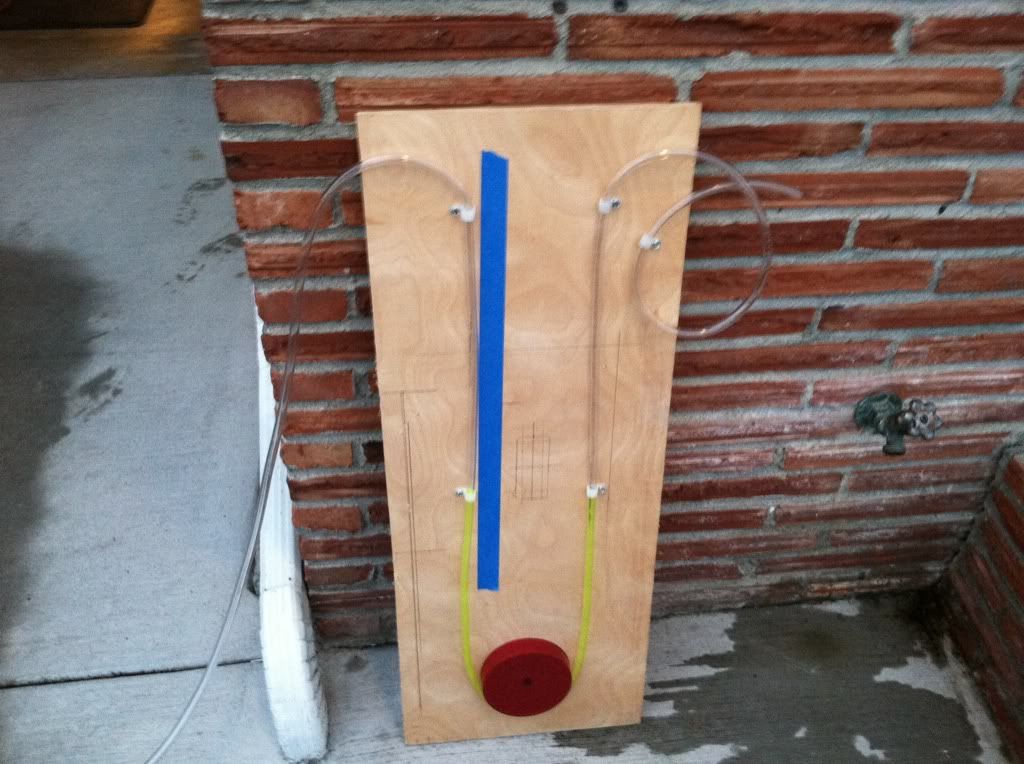
Here are two photos of the air tube with one end attached to the oil cap and the other to the gauge.
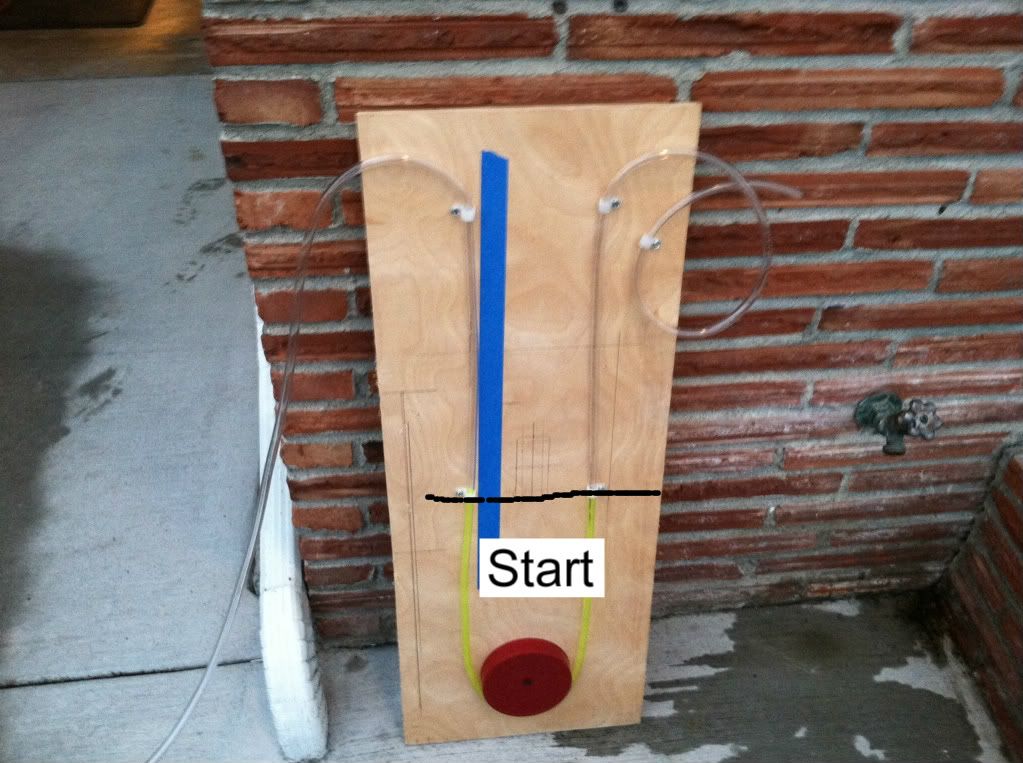
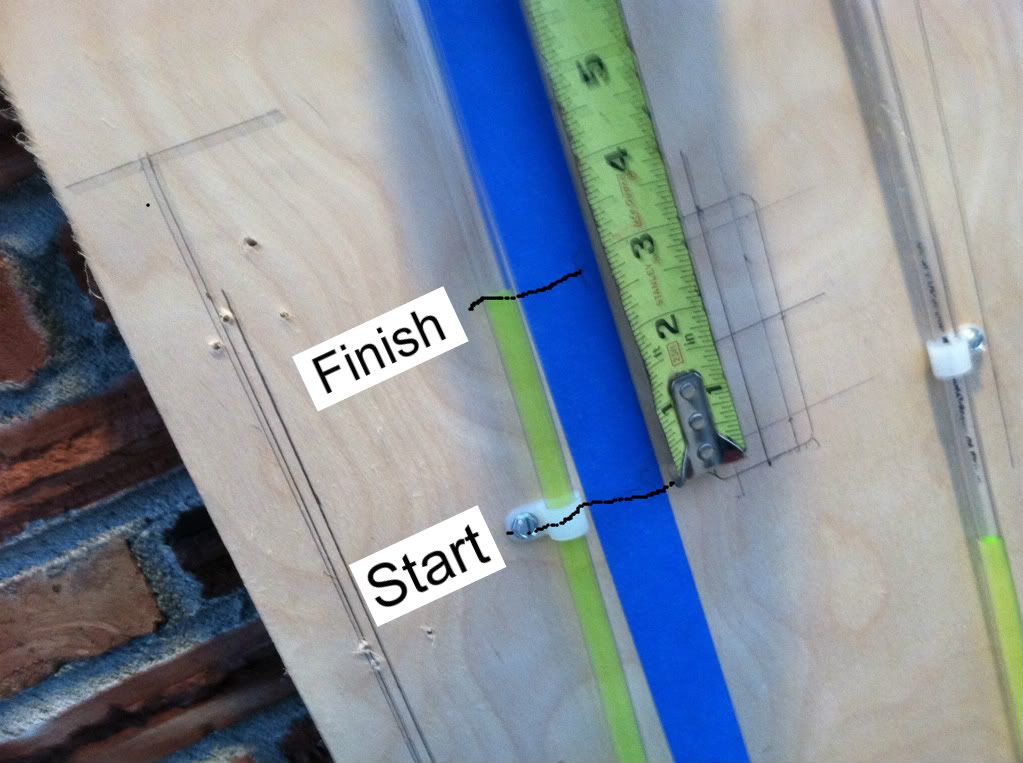
I marked the start and then the finish after opening the valve to the oil cap.
Here s a short movie clip of activating the valve by the oil cap.
-
Anybody come across anything like this?
-
Thank you for reply.
Where can I order new socket if I know the number?
I broke my socket last winter replacing my summer tires for my winter ones. I drove it to a dealer and the service guy came out and replace the lug nut for me. We had to special order a new one. He said there are 25 different (+- 1 or 2 I can't remember) combinations. It was like $40-$50 for one and took a week to receive it.
-
I was working on a soft top of a 2000 S and came across the nut below. It takes a 14mm wrentch to turn it. Any idea as to what it is for or what it came off of?
-
Perfect! That's exactly what I needed to know. I saw the bottom nut on the evap canister, but didn't see the top one, so didn't know how to remove it. Plus, the write-up (and pics!) at the link you provided was great. Thanks!
No problem, glad to help and welcome to Renntech!
:welcome:
-
 1
1
-
-
How did you get to the actuator? Does it involve removing the fender?
The actuator is in the passenger fender(under the gas cap). To access it you need to remove front wheel and the black wheel well liner. There are two nuts (10mm) and four (4) plastic rivets.
Here is a DIY in the 996 forum PRESS HERE
-
The exact same thing happened to me two summers ago. My car was at idle and dumped a gallon or so of coolant. I replaced the radiator cap and installed a new bleeder valve and it has been fine ever since. I added additional coolant and distilled water and used the bleeder valve to burp the air out.
-
Just bought an 05 boxster s the light in front luggage compartment is now working? Any ideas replaced light but it didn't work, also swapped with rear luggage compartment light but it didn't work also,
You have a faulty micro switch in the front trunk. Here is the DIY. PRESS HERE
-
I'm working with a friend on his MY00 Boxster S that recently had a LN IMS Upgrade by a qualified Indy. The mechanic did not use the Camshaft lock tools that came with the kit. What if any should we be concerned with or be looking for to determine any faults with this installation? Can Durametric read any Actual Values that might help?
Thanks in advance!
-
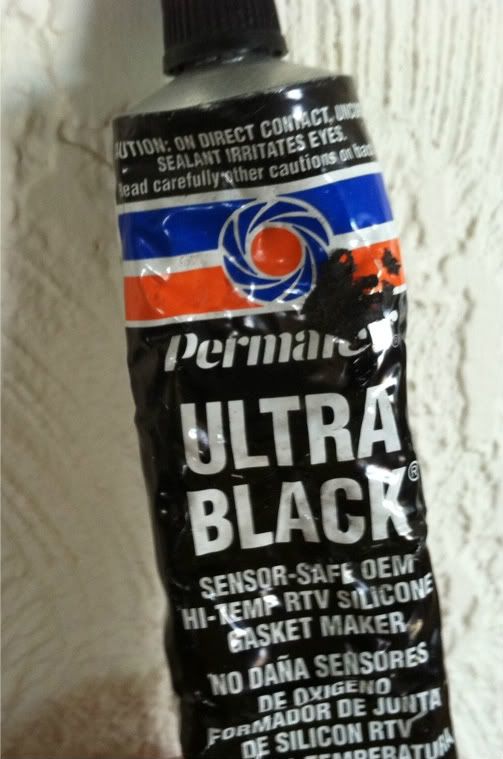
I cleaned my throttle body a couple of months ago and the gasket you are referring to literally fell apart when I removed the Idle Control Valve (ICV) to clean it. I ordered another from Sunset and while waiting assembled the unit with Permatex Ultre Black Gasket Silicon. It worked great and I haven't had to install the original gasket yet.
-
I surrender!!! My top is just totally unrelaible and I want very much to make it manual and free of all vehicle microswitch interactions. I know this has been done. Could you please direct me to information to accomplish a manual top operation. Many many thanks
I would not recommend going all manual. I fixed a top recently by readjusting the center latch microswitch. It was a 5 minute job. But its you car. To go all manual - on each side, under the clam shell, there is a "V" shaped wheel directly above each rear tire that have two push rods attached to each of them. Pry off the push rods. The short one from the "V" and the longer one at it's most forward position. The top then can be opened and closed manually.
-
I like the feature on my Escort 9500ix that stores false alarms after 2 0r 3 times on a route. It's great if you use the same road repetitively. I've never owned a Valentine but on the freeway most of my hits always seem to be going the other direction of the interstate. The arrow would seem beneficial to actually spot the source.
-
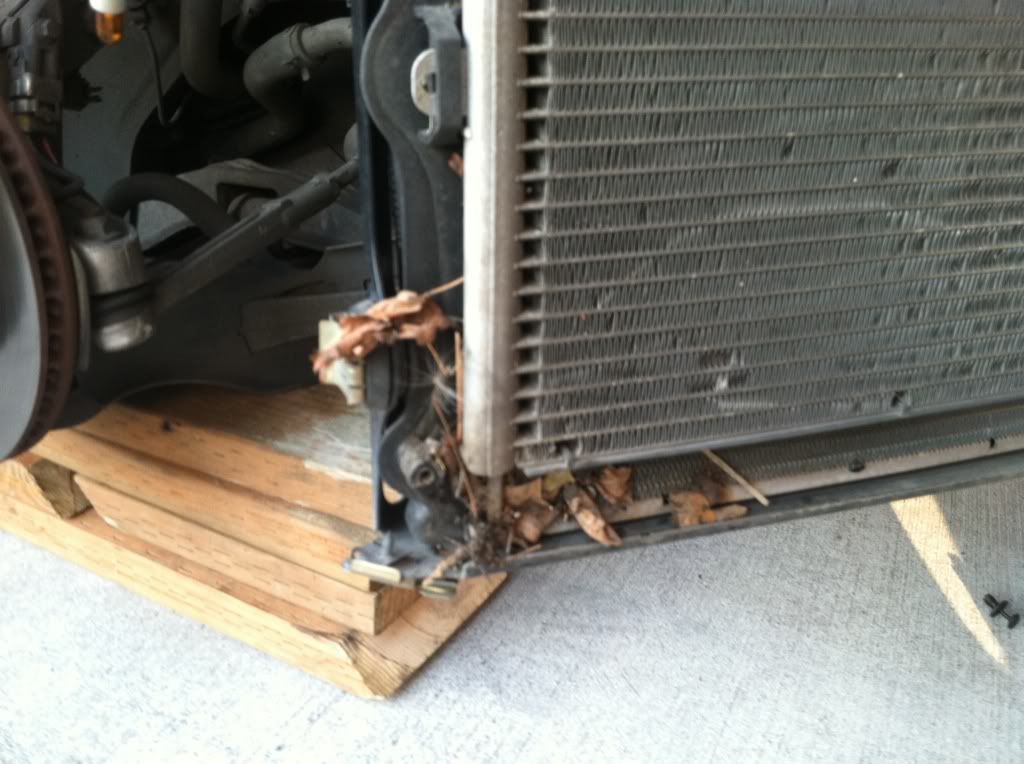
Check radiator cap and if ends in 00 replace. Also, I just cleaned my radiators this weekend and temperature gauge dropped quite abit.
And behind the AC Condenser
-
You're Welcome!
-
Good evening,
I recently purchased a '97 Boxster that hadn't been well taken care of.
I have a question about the vinyl curtain that goes behind the top and firewall to direct water to the drains. Mine was detached completely. I know the cables that hold the top down go into the slots about 8" from each end, and the plastic clips at each end must on somewhere at the base of the top mechanism. But I can't figure out where the long plastic channel clips onto, unless it is supposed to clip underneath the rubber seal at the rear of the top. If so, is the free vinyl between the channel and the slots also supposed to be tucked under the seal?
Thanks for info and the help on this forum!
John
At the rear of the engine bay are two (2) clips one on each side that the channel fits into to. Here is a photo of the passenger side.
-
Howdy, I have a 1999 991 cabriolet and all of a sudden the other night it started running rough and then the check engine light came on. The next day the light went off and the car is running fine. I just got an OBDII reader and P1314 code came up. Code reads engine misfire cylinder 2, emission relevant. Should I panic here. I have put about 100 miles since then and the car is running fine. Please advise.
Thanks,
bigpeps52
Wow! I was just going to post the same question (kind of). I have a MY03 996 Cab and yesterday after I filled up at the gas station the Check Engine light came on. I called for a service appointment but before I got home the light went off and it has not come on since. I am going to run it by the dealer to check the code but I know from other cars (not Porsche's) I have owned, something as simple as the gas cap not on tight enough can trigger a fault. Was it a coincidence that the mileage just turned over to exactly 49,800?
Yes, just a coincidence!
-
P0140 says correct P1117 and see if the problem persists.
Something chew on wiring? These were OEM Bosch with pigtails...not some off brand right? No homebrew connections? Correct part numbers?
They are non-Bosch with the correct OEM type connectors (no homebrew connections). I'll be replacing them with Bosch with OEM connectors. I couldn't see any issues with any of the wiring.
Mike is right. There is always problems with any non-OEM O2 sensors. It is better to re-install with orginal parts. Also don't spray any electrical cleaner on connectors but, rather connect and reconnect a few times to ensure a good connection.
-
I have the Escort Passport 9500ix. Here is the LINK to Crutchfields. I upgraded the window attachment from Escort to their deluxe one. I eventully hard wired the unit and I'm happy with the setup.


Removing Front & Rear Break Calipers 997.1 S
in 997-1 Series (Carrera, Carrera 4, Carrera 2S, Carrera 4S)
Posted
I did mine last Spring. I purchased the caliper paint from TireRack and left the calipers attached to the wheel.
Here is the link PRESS HERE