Welcome to RennTech.org Community, Guest
There are many great features available to you once you register at RennTech.org
You are free to view posts here, but you must log in to reply to existing posts, or to start your own new topic. Like most online communities, there are costs involved to maintain a site like this - so we encourage our members to donate. All donations go to the costs operating and maintaining this site. We prefer that guests take part in our community and we offer a lot in return to those willing to join our corner of the Porsche world. This site is 99 percent member supported (less than 1 percent comes from advertising) - so please consider an annual donation to keep this site running.
Here are some of the features available - once you register at RennTech.org
- View Classified Ads
- DIY Tutorials
- Porsche TSB Listings (limited)
- VIN Decoder
- Special Offers
-
OBD II P-Codes - Paint Codes
- Registry
- Videos System
- View Reviews
- and get rid of this welcome message
It takes just a few minutes to register, and it's FREE
Contributing Members also get these additional benefits:
(you become a Contributing Member by donating money to the operation of this site)
- No ads - advertisements are removed
- Access the Contributors Only Forum
- Contributing Members Only Downloads
- Send attachments with PMs
- All image/file storage limits are substantially increased for all Contributing Members
- Option Codes Lookup
- VIN Option Lookups (limited)


kbrandsma
-
Posts
1,103 -
Joined
-
Last visited
-
Days Won
8
Content Type
Profiles
Events
Forums
External Paint Colors
Downloads
Tutorials
Links Directory
Collections
Store
Posts posted by kbrandsma
-
-
I have/love my 2000 Boxster-S. I purchased this new over 11 yrs ago and the thrills of driving it haven't waned in all these years (95K miles). It just started having the following 2 issues:
- Minutes (15) to hours (3) after locking the door via the key in the doorlock (not thru FOB), the alarm starts sounding. Unlocking the car with the key stops this (expected).
- While driving with the top up or down, with the windows up (closed), I notice the windows go up/down sligthly (as if I'm parked and opening the door with the top up) and the door panel lights go on
The check engine light is not on.
These issues started happening after I had the battery changed at a mechanics shop. I don't know it that was the trigger or if it is just coincidence. I did ask the mechanic to put the car on some sort of bypass when removing/replacing mine.
Any ideas why the alarm blares minutes/hours after locking, or why the inside lights go on/off and driver/passenger windows go up/down slightly (as if the car door were being opened? These issues are repeatable, so I can't lock my car. I'm also concerned about draining my new battery when the car is parked, because the door panel lights sometimes remain on when the key is not in the ignition.
Any help would be greatly appreciated.
Thanks in advance,
Regards,
Mark
I had a similar issue and when I checked my codes with a Durametric the code (Alarm Fault Code 34) led me to replace the interior infared alarm sensors that are located right above the center rear view mirror.
Here is a link with more info. PRESS HERE
Check your codes and see what exactly you have.
-
Are you sure buckle replacement was required or did you just do both wiring & buckle since you were already taking the seat out?
TIA!
Depending on year of the car, fault Codes 45, 46, 48 and 49 refer to a selt belt problem on either the driver's side (45 or 46) or the passenger's side (48 or 49.) The Technical Service Bulletin is TSB 6924. This Bulletin replaces an earlier one dated 10-8-99. I followed the bulletin and replace both. I suppose you can try the buckle first and then the other. SImple enough to go back and do the wiring later.
-
No, on the Boxster it is called a changeover valve.
-
I had these codes and others as well. Replaced the gas cap. Mine is a MY98 and it had an orginal gas cap. The new ones have the leash which I find helpful. I then replaced the change over valve and these two(2) codes went away.
Always a good idea to reset the codes with durametric tool and drive a couple of drive cycles between any repairs. Good luck and let us know how you resolve the codes.
-
or remove the light......
-
My 2007 911 tt is missing the small rubber mudflap that is at the bottom of the right rear wheel well. Could you help with its part number and where to buy it from.
Thanks
I replaced all four of mine and purchased them from Bob at Sunset Porsche in Oregon. Thet are located under the "Special Offers Menu", then "Porsche Parts at Dealer Cost" above. The fron are fastened with three screws each.
-
The maintenance schedules are located on the DIY Menu at the top of this page. Im not sure if you have to be a contributing member or not. The 60K schedule is very important as it is considered a major maintenance interval.
I would Do It Yourself (DIY), contribute to Renntech and keep your money in your pocket.
-
Hi,
Well, we've finally had some temperatures above 30 degrees Celsius, and my turn signal has become intermittent. It seems to stop blinking when it gets warm inside the dash through sun. Works better on the highway as it gets cooled a bit and first thing while still in the garage. Hazard Lights don't work when this happens either. Am wondering whether the relay could be faulty to cause this? I opened up the relay (popped the plastic cap) and cleaned it out with electrical contact cleaner but no change.
Thanks
Skip
Sounds like a faulty relay. Try swapping wth someone in your area.
-
 1
1
-
-
You may have to replace the line that is leaking.
-
I would be interested to hear the entire story. Sunset is great for OEM new parts.
Try one of the reputable used part yards like Oklahoma Foreign or LA Dismantler
Los Angeles Dismantler for Porsche 911, Boxster, Cayman & Cayenne
9819 Glenoaks Blvd, Sun Valley, CA 91352
(818) POR-SCHE (767-7243)
818-768-0911 fax
http://911pcar.com and http://ladismantler.com
To contact Oklahoma Foreign:
For general information: info@oklahomaforeign.com
For Parts request: parts@oklahomaforeign.com
By phone: 800.462.2446 800.462.2446 (Toll Free)
-
Hi,
The knobs on my CDR-220 have started to slowly turn into a sticky goo. I'm not sure what has caused this, since nothing else in the car seems to be affected. I tried pulling on the knobs to remove them, but they don't seem to want to come off. Is there a secret or do I just need to pull harder? Once I get them off are replacements available? Failing replacements, if I buy a new faceplate from ebay will it work? Is the radio code a function of the radio or the faceplate?
Jon
Pedro's Garage has a fix. You can buy new ones for $30 US.
Pedro's link is here: PRESS HERE
I sent you a PM
-
1
-
-
I really like the additional comments by VWEICH. Great job! :beer:
Thanks for the directions (and for those who posted pictures, which really helped).
In my case I was just replacing the switch, but one of the set screws was stuck so I ended up pulling the whole lock assembly to get at it (yes, I wish I had just ordered the whole lock assembly and replaced it).
My suggested improvements to the directions:
- First, as others have suggested, go ahead and take off the instrument cluster: I used these directions. It makes things much easier to be able to get in from above.
- Once you get the cluster off the there is a cowl around the column you have to remove: first remove the two Torx screws; then it's not entirely clear what the right procedure is, but I was able to rotate the cowl 90 degrees and then it flexed enough to come off of the column.
Removing the key cylinder was the hardest part for me, probably because I didn't know where the number 1 position was. Turn the key as far as it will go before you would be starting the car. Then the paperclip should go in a couple of inches. Once you get the key in the right place, the paper clip goes in without too much effort. (I suspect some people may be having problems because their switch is broken and the key is not catching in the normal positions; I suggest just keep turning the key and trying the paper clip.)<LI>Reading the directions, I though the silver spring button to release the lock from the column was tiny. It's about the size of a pencil eraser. If you remove the instrument cluster, it (as well as the 10mm bolt) are easy to get at.<LI>Reassembly - I also had no problem getting the housing into the steering column.<LI>Before you put the key cylinder back in, reconnect its wiring harness. It is much easier to do before you put it back in. I ended up taking it back out, plugging in the harness and then re-installing the cylinder.<LI>Getting the key cylinder back in was a little tricky. There are three things that have to line up: (1) the receptacle for the electrical harness and the slot it fits into, (2) the tab on the back of the cylinder (that turns with the key) and the corresponding slot it fits into, and (3) a blue rim on the back of the cylinder and the slot it fits into. The receptacle and the blue rim are fixed, so you need to turn the key to align the tab with its slot; look in the lock and notice the position of the slot the tab fits into and turn the key so all three things line up.
- If you pull out the paper clip and the cylinder doesn't catch, don't worry, with the cylinder out, it's easy to get the paper clip in and try again. About halfway down the side of the cylinder is a spring loaded tab that sticks out. The tab has a hole on one end, which is what the paper clip goes into to hold it in, allowing the cylinder to be removed/inserted. Squeeze the tab back in, turn the key to the right position and the paper clip goes in easily.
- First, as others have suggested, go ahead and take off the instrument cluster: I used these directions. It makes things much easier to be able to get in from above.
-
I ues the Rhino Ramps from Pep Boys but as an added safety measure I put 2 concrete cinder blocks 1 behind each wheel to hold them in place ad it adds an extra 1.5 feet of length in case you overshoot backing up.
:)
Post a picture next time you get a chance. Thanks!
-
I've got an unusual problem with my 2002 Boxster S CDR-220 audio system. Stated simply, when I listen to the radio head unit, I receive no sound from the laft dash speaker at all. Yet, when I switch the source to the single CD player within the radio unit, the same speaker works just fine. So, obviously it's not the speaker itself. But, would it be the receiver, the amplifier, the wiring, or something completely different?
I had a similar issue and when I replaced my iginition switch all was normal. I swapped radios with a friend and my unit worked fine in his dash and his radio had the same issue in mine. We even swapped AMPs to be sure. Without knowing or thinking the switch and radio were related, I got around to replacing the ignition switch and voila! The switch also fixed some other quirky things as well all electrical.
-
Have you had any other strange electrical issues prior to installation. ALmost sounds like a faulty ignition switch.
-
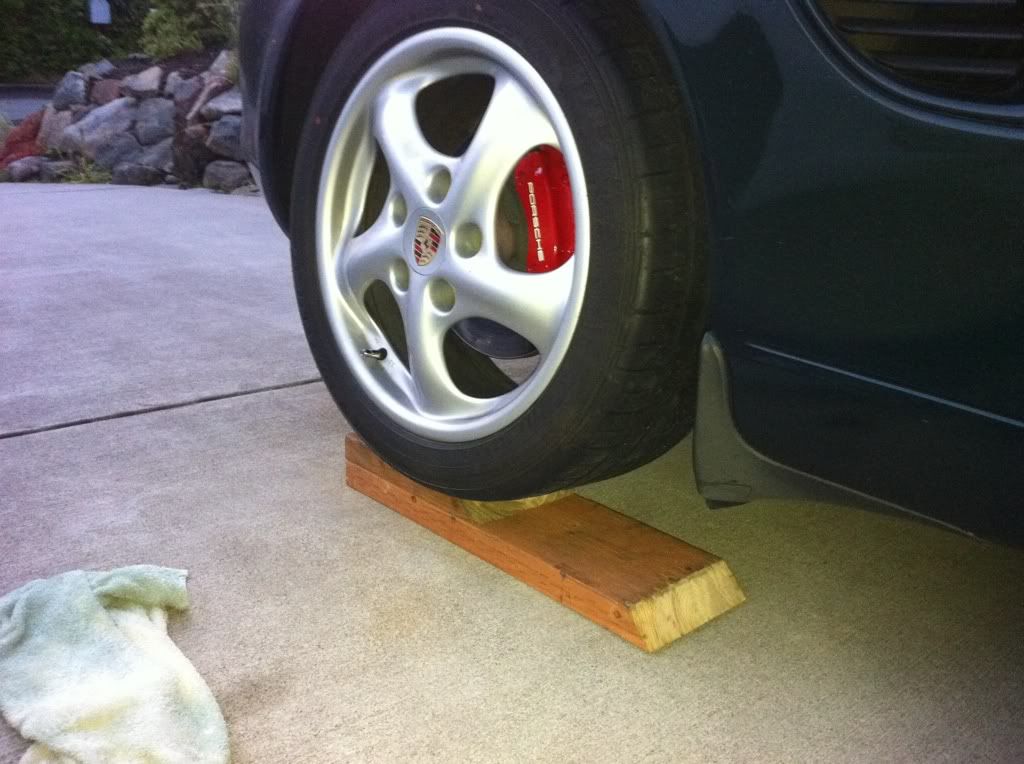
I use wooden ramps for misc stuff as well as to raise the car slightly to get my jack underneath. They also make quick and easy wheel chocks.

-
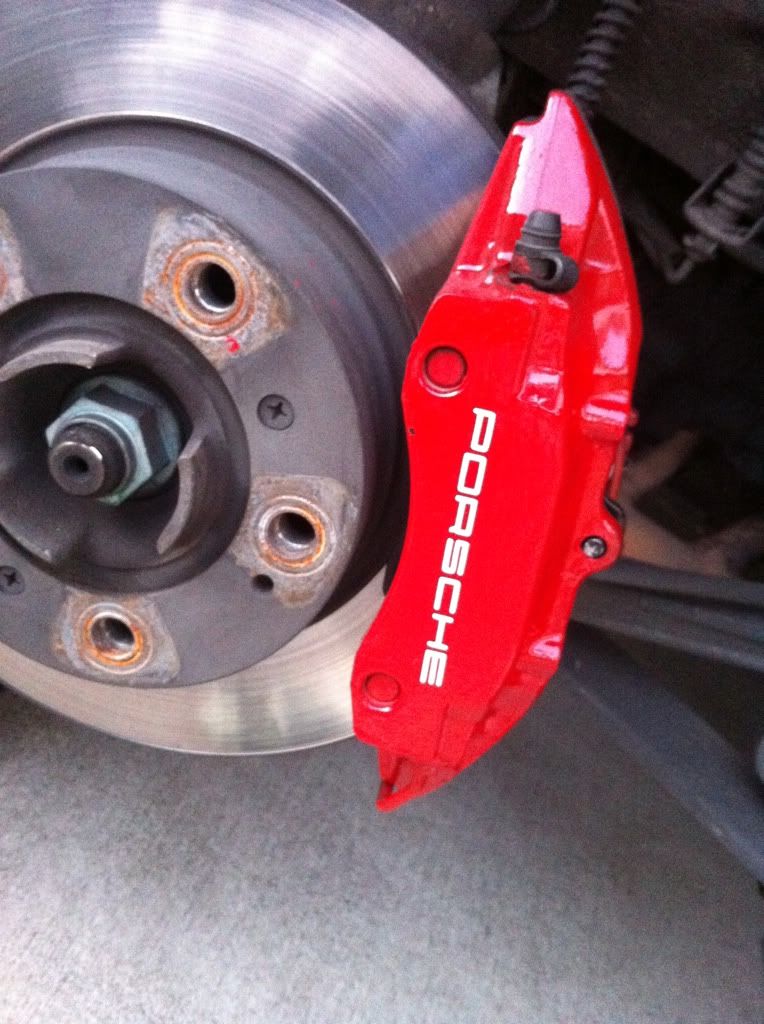
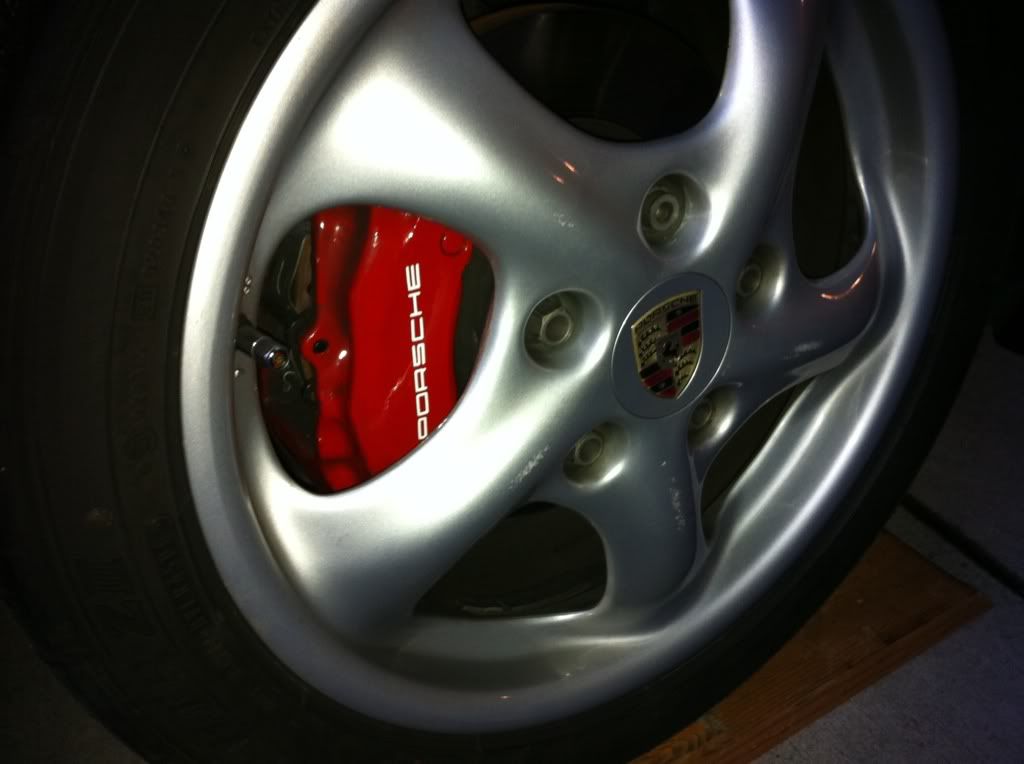
I installed the brake decals today.
-
1
-
-
Congratulations and nice job!
-
I tried to look at my engine last week and tried to open up the top by pressing the button and removed all the covers ...but now i was trying to open the roof...the button seem to be not working...did i bust the fuse? I dont know if i have put back the hanging canvass cover with two cables...if not does it have an effect on the operation of the roof?
I will try to look at the fuse if its is burned...
I'll appreciate your opinion...thanks
:welcome: to Renntech
To open the top:
1. Turn ignition on (engine running or off)
2. Set emergency brake
3. push the latch open so the hook (claw) on the top disengages with the catch above the mirror
4. Activate dash push button rocker switch
To close the top:
1. Turn ignition on (engine running or off)
2. Set emergency brake
3. Activate dash push button rocker switch
4. Secure catch and lock into place
Relay is in Relay panel 1 above and to the right of the fuse panel by driver's left ankle
and is in socket 14 and 15
Fuse (D3) is in Row D number 3 slot and fuse is a 30 AMP fuse
Regarding the 2 cables, take the ball on the cable of the cable and press hard on the smaller ball attached to the frame. You will hear it snap into place. Practice a few times so that you know what it sounds and feels like.
-
I am just wondering why there are times when i start my 986 smokes come out...is this common to 986 or i may need to replace the valve seals...
Its common. Should dissipate right after start-up. Is it white smoke? How long does it smoke? At every startup?
-
:welcome:
Yes, but you will need to buy either used clear or new clear headlights.
Anybody selling clear lights at a good price?
Check around. A good price will be about $600. PM me if you want more details.
-
Depending on the height, you may not be able to use all four at one time. The low clearance of the car would not allow you to slide them into place.
-
+1 for an oil filler tube leak.
-
Brake light/tail light P21/4W Bulb
Check with NAPA or Autozone - cost $4.00 US for a two pack.
Backup light P21
Amazon - Cost $3.72 for a two pack PRESS HERE
Anybody have link to photos/videos fo changing sidemarker ligths?
in 987-1 Series (Boxster, Boxster S)
Posted
Here you go!
PRESS HERE for video