Welcome to RennTech.org Community, Guest
There are many great features available to you once you register at RennTech.org
You are free to view posts here, but you must log in to reply to existing posts, or to start your own new topic. Like most online communities, there are costs involved to maintain a site like this - so we encourage our members to donate. All donations go to the costs operating and maintaining this site. We prefer that guests take part in our community and we offer a lot in return to those willing to join our corner of the Porsche world. This site is 99 percent member supported (less than 1 percent comes from advertising) - so please consider an annual donation to keep this site running.
Here are some of the features available - once you register at RennTech.org
- View Classified Ads
- DIY Tutorials
- Porsche TSB Listings (limited)
- VIN Decoder
- Special Offers
-
OBD II P-Codes - Paint Codes
- Registry
- Videos System
- View Reviews
- and get rid of this welcome message
It takes just a few minutes to register, and it's FREE
Contributing Members also get these additional benefits:
(you become a Contributing Member by donating money to the operation of this site)
- No ads - advertisements are removed
- Access the Contributors Only Forum
- Contributing Members Only Downloads
- Send attachments with PMs
- All image/file storage limits are substantially increased for all Contributing Members
- Option Codes Lookup
- VIN Option Lookups (limited)


97boxsterred
-
Posts
82 -
Joined
-
Last visited
Content Type
Profiles
Events
Forums
External Paint Colors
Downloads
Tutorials
Links Directory
Collections
Classifieds
Store
Posts posted by 97boxsterred
-
-
Loren,
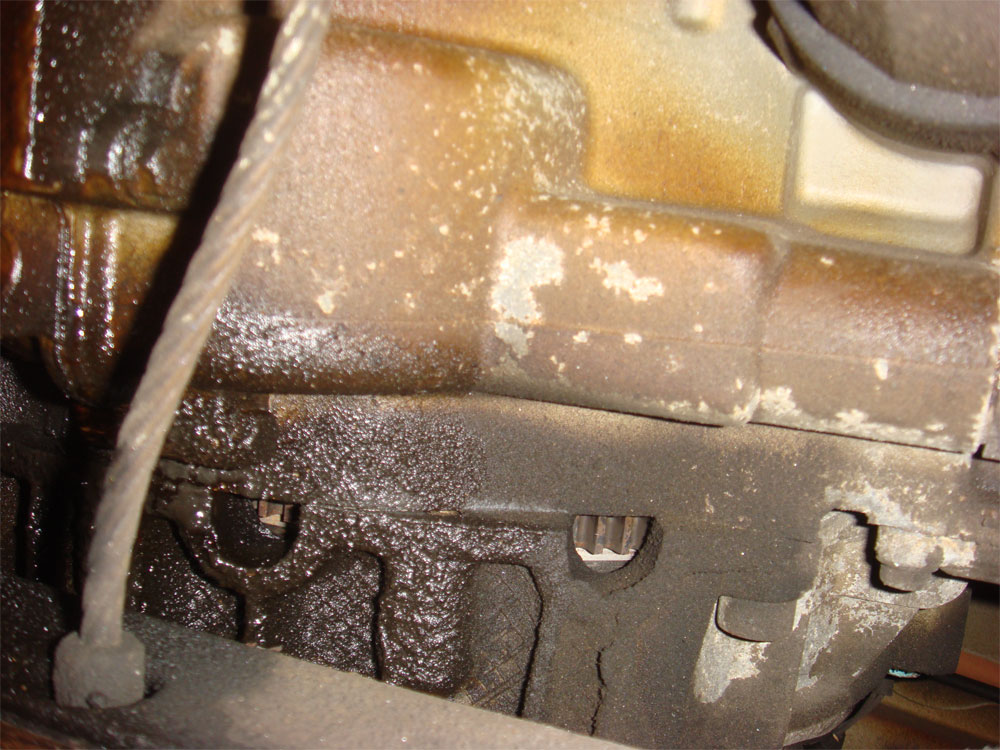
What is RMS and IMS? And in the photo why does it look like you can see the gears and the metal casing has eroded away?
-
Hi,
I have a 1997 Boxster and today I noticed some oil on the garage floor. It looks like its dripping from about 8 inches right of the oil filter container when viewed from the rear. I have attached some photos, can someone help me with this one?
I hope its nothing major, the car has only has 30K miles.

-
RFM:
The good news is that I finally located the temperature sensor. When you said left rear side of engine from above, I assumed it was the passenger side. However the temperature sensor is on the driver side. The location is just terrible, rear of the engine near the firewall, very tight and impossible to work on. Just follow the large pipe water coolant pipe out of the front radiator towards the back of the engine and it turns into this temperature housing location.
I took out the pin holding the sensor and all the coolant leaked out. Now its impossible to get the pin back in since the space is so tight. When I finally do manage to get it in, is there anything I need to do about the coolant to make sure no air gets trapped in there. How do I properly refill the coolant again.
Thanks
-
I was unable to locate where the temp sensor is, I tried looking everywhere including where you mentioned. Do you know which parts I have to remove to get to the location of the temp sensor? If you can provide some instructions that would be great. I have a 2005 v6 cayenne.
-
I know that most of the major components (suspension, exhaust, chassis, etc) on a vw touareg are the same as on a cayenne? Are the engine's on the v6 version also similar? Bently publishing sells the entire touareg service manual on dvd , its less then $100 online. Maybe this will help on many repairs we do on a cayenne since they are so similar.
Volkswagen
Touareg, Touareg 2
2004, 2005, 2006, 2007,
2008, 2009
Repair Manual on DVD-ROM
by Volkswagen of America
DVD-ROM, eBahn Version 3.0,
Windows 2000/XP
Bentley Stock Number: V7L5
VWoA Lit#: W42 V7L5 V030 DVD
ISBN-13: 978-0-8376-1269-0
-
There are directions on how to test the fuel pumps on the post titled "hesitation starting". I recently had to check both fuel pumps in my cayenne and that post has good information.
-
Hi,
can someone tell me where the thermostat housing is located on a v6 cayenne. I am trying to replace the coolant temp sensor but can't find where it's located. The picture I have of the part diagram is no help, I need to physically find the part in the engine bay first.
-
Keith I have PMd you, I have not received what I bought form you over 2 months ago! Right now you have all my money and I have received nothing, this is not how one does business over the internet, please sort this out!
JP
This is interesting, this member Porschelibrarian also told me for $109 he would send me the service manuals on disk. I didn't expect there to be any problems, at least not from members on this board. Has anyone else had problems with this member Porschelibrarian?
-
there could be something wrong with the fuel cap, you can clean it or get a new one, porsche updated the part. Also you could have put bad fuel in the car, if at the gas station rain water gets in the tank, that will cause your engine to hesitate, shake or run rough. That happened to be once with a brand new cayenne, the gas station paid for all repairs. I try never to put gas after heavy rain, I learned my lesson the hard way.
-
Is there an aftermarket repair/service manual available for the Cayenne? Does the dealer sell the original books or CD, and does anyone know the part numbers and price?
Thanks.
-
Ok thanks, do you have a diagram that shows where the coolant temp sensor is so I can replace it and also the part number.
-
I had this problem on my cayenne, and the dealer replaced the light socket for the corning light, the part only cost $7-9 and its just a small black socket that the bulb goes into. Moisture usually causes it to go bad. Even though my car was out of warranty he only charged me for the part and it took 5 minutes to replace it.
-
It has been a week or so since I cleared the code and today they came back.
P0117 Engine Coolant Temperature Circuit (Short to Ground or Positive)
P3081 Engine Coolant Temperature Circuit (Short to Ground or Positive)
Also I had a hard time starting today, it took a few attempts before the car started. Can anyone guide me to how to resolve these code issues, where should I look.
-
Boxsters had an issue with the airbag lights coming on. I bought a durametric to reset it but it would come on again after a couple of weeks. The solution that worked for me was to spray something like CRC electric cleaner into the seat belt buckle that attaches to the seat.
-
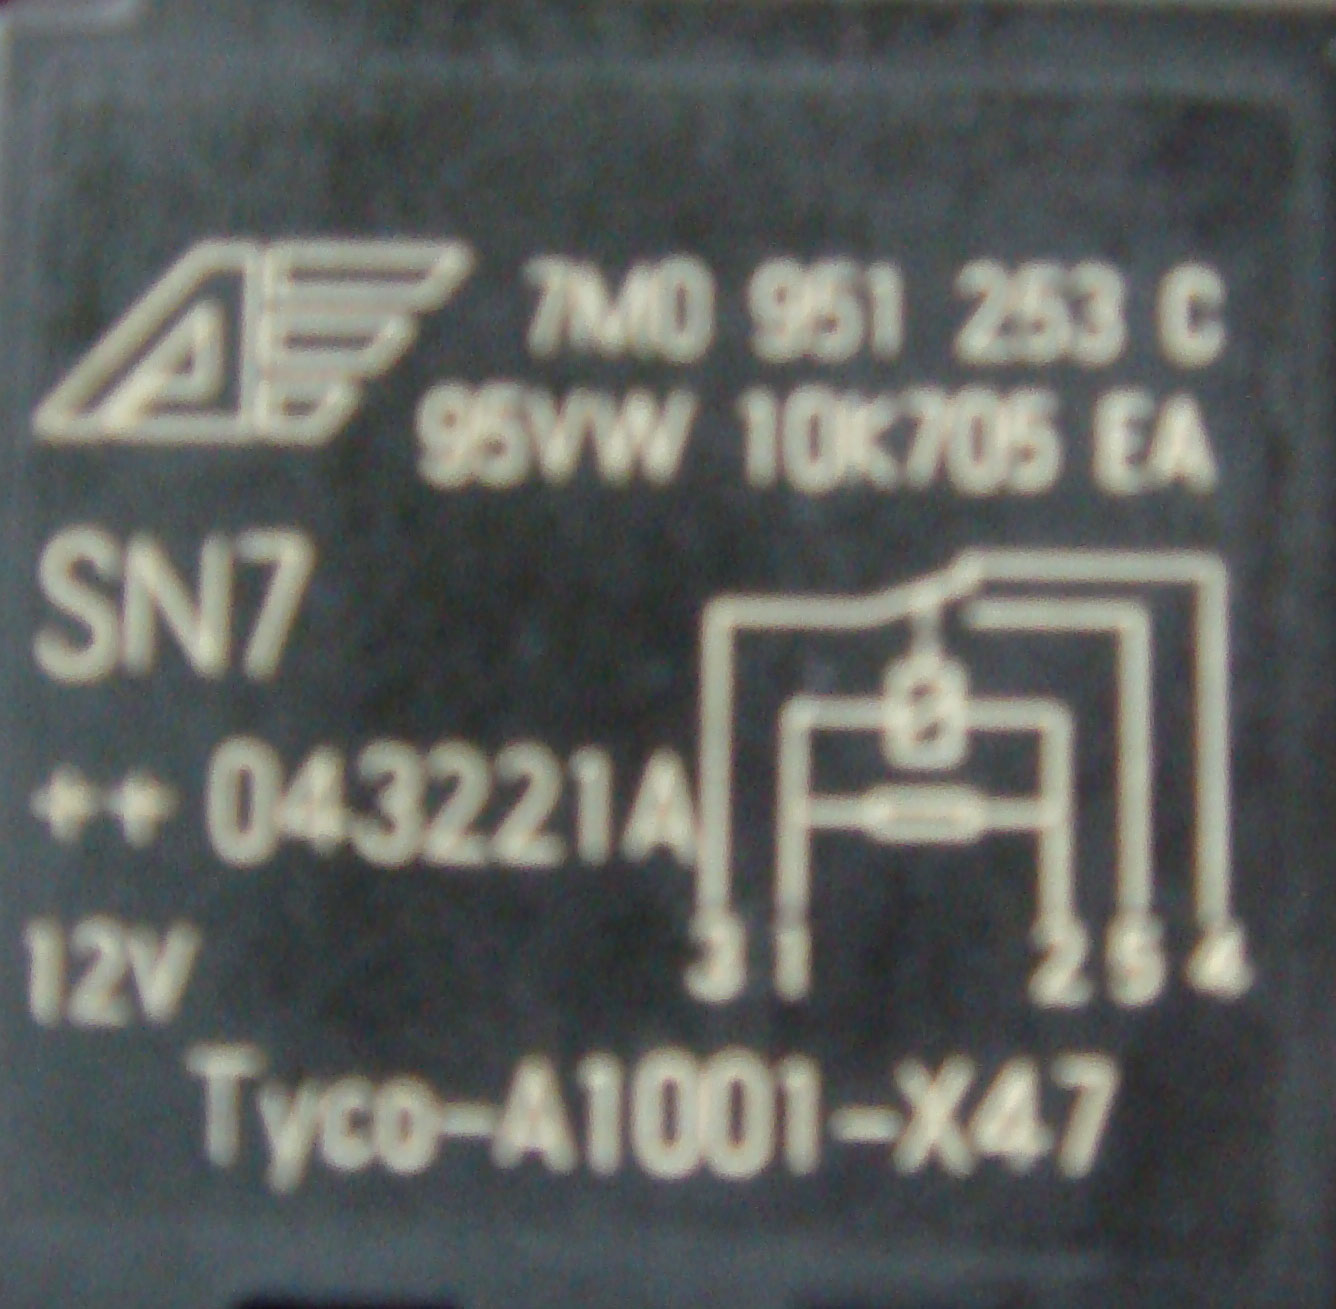
I checked both the fuel pumps today by removing the relays and then supplying 12volt power to the correct points. I heard the fuel pumps go on. I then checked the relays by supplying power to pins 1 and 2, and they both clicked, there was continuity in 3 and 5.
I guess everything is alright here, perhaps there is something else wrong with the car. Any Ideas?
On a separate note, While I was working on the car I attached a durametric and found the following codes, my engine light also went on today. I don't think this is related to the starting issue above so maybe I need to start a new tread now.
P0117 Engine Coolant Temperature Circuit (Short to Ground or Positive)
P3081 Engine Coolant Temperature Circuit (Short to Ground or Positive)
If the pumps do run by jumpering the 3 and 5 terminals, check that the relays are actually serviceable as well by applying correct voltage between pins 1 and 2 and confirming continuity between pins 3 and 5 with a multimeter. -
Thanks for the diagram.
Ok I have located the relays, now how do I make a bridge and to what pins? How will I know if the pump is working, will it make some sound? When when you say fuel pump relay - right, is this the drivers side?
Relay 19 is the fuel pump relay - right
Relay 1/6 is the fuel pump relay - left
-
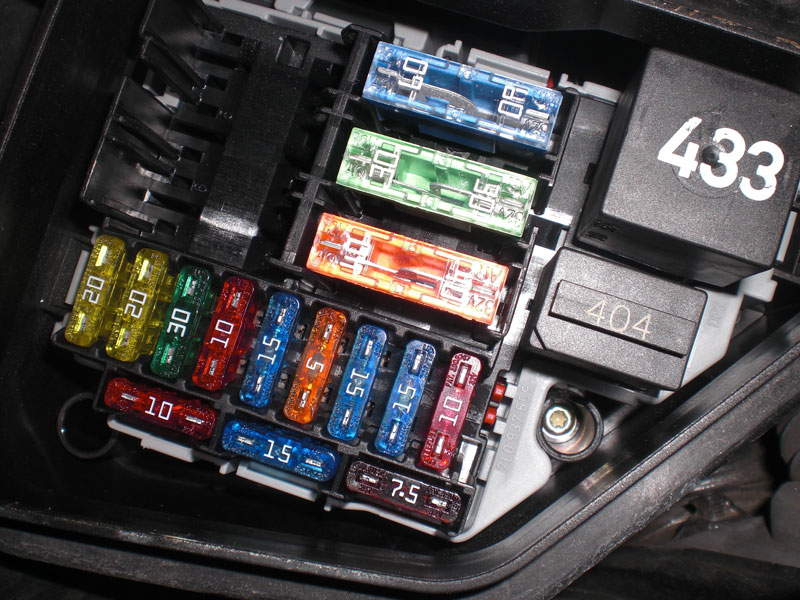
My owners manual doesn't list any fuel pump relays, can you confirm from the picture if the part labeled 433 is it, is the other smaller one 404 for the second fuel pump?
-
I checked the fuses and they are all good. I also checked the battery under load and its good. I went to a PCA club meeting at a dealership and asked their tech, he right away said most likely a fuel pump issue and its hard to replace since its under the rear seat on drivers side and you have to remove so many things.
How do I confirm if its a fuel pump and how do I replace this, anyone have experience. In the past 3 weeks the car has started perfectly every day except for 3 times where it tried to start but didn't.
-
I have a 2005 Cayenne with about 65K miles. Just recently and only randomly the car has had a hard time starting. When I turn the key the sound of the starter is coming but it just doesn't fire up. After a few attempts it starts and the last time it happened I pushed on the gas pedal and that got it to start.
Do you think it could be a fuel pump problem? Anyone have similar issues?
-
Here is a link to a video on how to install aftermarket Xenon HID lights with Ballast in your Boxster or 911. Its very easy and takes only 30 minutes per light. Everything plugs in smoothly, no wires to cut.
-
Here is a link to a video on how to install aftermarket Xenon HID lights with Ballast in your Boxster or 911. Its very easy and takes only 30 minutes per light. Everything plugs in smoothly, no wires to cut.
-
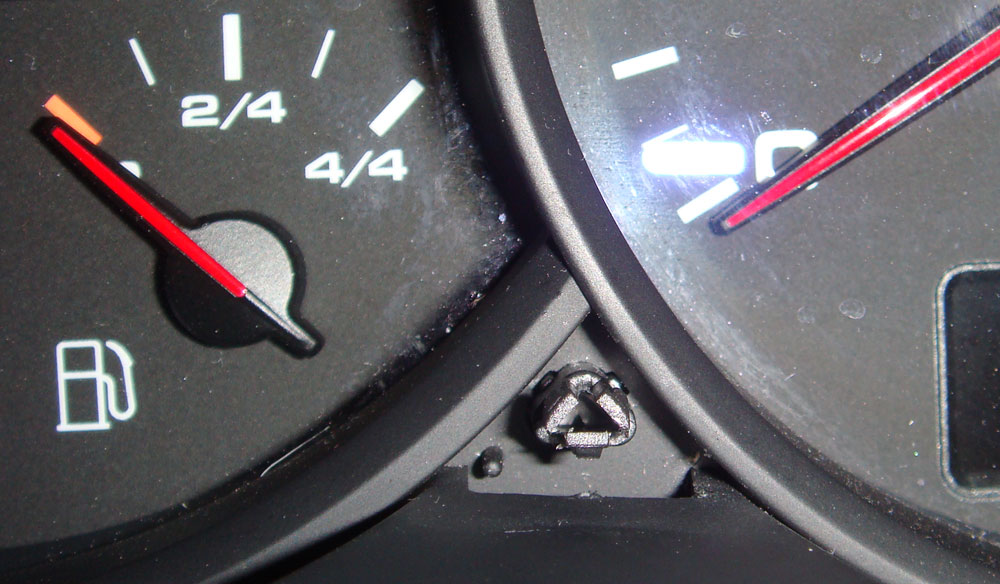
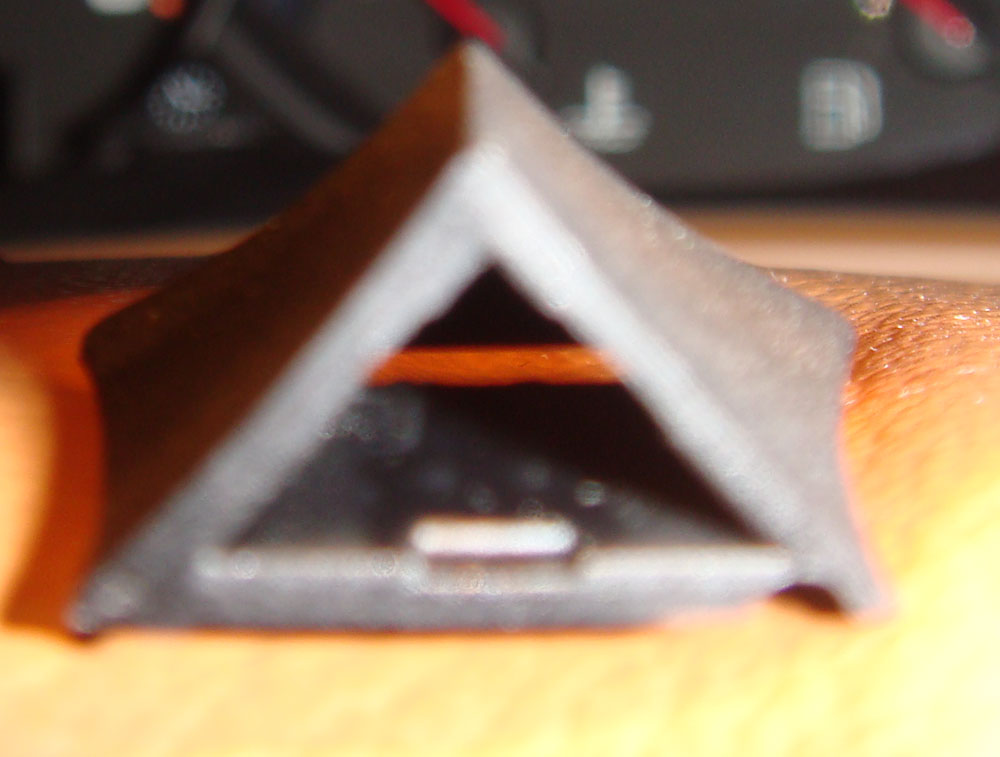
Ok I figured out the problem. I took off Odometer Trip reset button very carefully, you raise the front a little and pull lightly out towards you. Its just a plastic part and picture shows you what the other end looks like. They are suppose to go into the plastic reset button and catch on. I pressed this while the button was off and it RESET to 0 perfectly.
So the plastic button's inside groves are probably getting worn out after many years of use, or the fixed part in the instrument clusters groves are not holding tightly.
I will get a new button cap from the dealer, can't be more than a few bucks, if it is still a problem then maybe the only solution is to glue it on so there is no free play.
-
Yeh I also use Xpel, they use the 3m film and laser cut it. The headlight film is thicker than the normal body film. It will yellow over 5 years, but it doesn't cost that much and you can do it yourself so if you want you can change if after a few years. i got mine from autosupermart.com the part number should be H2502A for a 987 boxster
-
I replaced the brake pads on my 2005 cayenne about 1 month ago with the Hawk Ceramic Brake Pads and I can tell you they work really well. Before I would clean the wheels every few days, or once a week at least.. My wheels would be so full of brake dust with the original pads.
After changing to the ceramic ones, there is hardly any brake dust, I have only cleaned the wheels once in the past month. They really work well. I got them from autosupermart.com, and the Hawk part numbers for the Cayenne (not S or Turbo) are:
Hawk Performance Ceramic Brake Pads FRONT HB501Z625
Hawk Performance Ceramic Brake Pads REAR HB502Z606
Factory Trailer Hitch Wiring Install
in 9PA, 9PA1 (Cayenne, Cayenne S, Cayenne Turbo, Cayenne Turbo S)
Posted · Edited by 97boxsterred
I want to highlight my experience installing a CURT hitch on my 2005 Porsche Cayenne and the Porsche wiring harness and control unit. I bought a Pace trailer and wanted the lights to work, so I installed the Porsche OEM wiring harness and new control unit.
You will need these parts:
1) Porsche Part 955-618-040-10 Control Unit
2) Porsche 955-612-506-00 Wiring Harness
3) PNA-955-118-93 trailer hitch Connector (this is the 7 pin Pollak connector) This is where the factor wiring harness plugs into at the center of the bumper hitch location so you can plug in a trailer harness. This is just a socket connector, weatherproof with a cover)
4) PNA 955-127-08 7-4 way Adapter (this just converts the 7 way adaptor to a 4 pin adapter)
PNA-955-118-93 is the same thing as Pollak 11-893P 7 way sealed RV OEM Socket that you can buy on amazon.com for 11.60
Also will need Pollak Mounting Bracket for Pollak 7-pole Rv Style Trailer PK12711U
5) PK12711U Mounting Bracket for Pollak 7-Pole, RV-Style Trailer Connector - Vehicle End
6) 18140 No-Drill Mount Bracket, Short (to install the socket bracket to the curt hitch without drilling)
First, you should have the proper tools to take off plastic trim pieces without breaking anything. You should have patience and have experience working with cars, otherwise this can turn out to be a very difficult project. Not for a novice.
To remove the bumper you have to take off the taillights since there is a screw located there. Then there are screws found in the wheel well and under the bumper. There is one screw in the wheel well that is hidden from sight and you have to bend the plastic trim piece to get access to it. After removing the bumper you will see the location of large bolts on each side of the metal bumper that you will remove and then install the Curt hitch. The Curt directions are good so use that has a guide.
As for installing the Porsche wiring harness this is what I noted. The wiring harness itself is simple to install since the connectors just snap in. One connector is colored green and this matched the green socket that it plugs into and the other black connector goes into the new control unit. There is already a purple connector prewired in the cayenne that plugs into this control unit. Once you have these plugged, everything will work when a trailer is connected to the car and only if a trailer is connected to the car. The control unit can sense if something is connected.
Getting the wiring harness and control unit installed was a little harder. If you don't have a CD changer installed you should be able to use remove the little trim piece in the truck on the passenger side , it just comes off, and reach in there and install the new control unit and plug the new wiring harness into this. You can see the prewired purple connector sitting there wrapped in grey foam and it's located right where the control unit will be installed. However if you have a CD changer you will need to open up trim pieces and this is the hard part.
One way to do this is to take out the carpeting in the trunk floor, you will see screws for the tie down clips and 1-2 other screws. Then you will see screws for the sidewall carpeting. Then take off the top center light located on the ceiling, and pop off the top passenger side trim using plastic trim removal tools. Be very carefull because if you use too much force you will break the plastic clips on the trim pieces. There is also a screw on the side wall coat hanger. After popping off the side trim piece near the window (d pillar) you can bend the side carpet trim piece in the trunk outward so you can get you hands in the location of the new control unit mount. There is a piece of black vertical plastic that the new control unit just gets attached to with 1 screw. Very easy and the location of this is exactly where the purple connector is, which is wrapped in grey foam.
You will also need these two parts to install the 7 pin socket to the back of the car. The PK12711U mounting bracket is a metal bracket that perfectly fits the pollak socket and since it's very hard to drill into the metal of the Curt trailer hitch you are better off getting part 18140 which makes the install very quick. If you have all these parts then the installation will go very smoothly.
PK12711U Mounting Bracket for Pollak 7-Pole, RV-Style Trailer Connector - Vehicle End
18140 No-Drill Mount Bracket, Short
I got both from a website called etrailer.
Lesson learned,
I could have installed the control unit without removing the carpeting and trim pieces, but I didn't know better. The location of the new control unit mount and the purple connector were visible and I could reach it with my hands.
Using the factory wiring harness and new control unit work great. There is no need to program anything using a Porsche computer. Everything was plug and play.
The time I spent doing this was not worth it. It would have been better to get the parts on my own and just give it to a dealer to install or have an aftermarket porsche guy install it.
Unless you like to work on your car and don't care about how long it takes, it's worth it to pay someone to do it.