Welcome to RennTech.org Community, Guest
There are many great features available to you once you register at RennTech.org
You are free to view posts here, but you must log in to reply to existing posts, or to start your own new topic. Like most online communities, there are costs involved to maintain a site like this - so we encourage our members to donate. All donations go to the costs operating and maintaining this site. We prefer that guests take part in our community and we offer a lot in return to those willing to join our corner of the Porsche world. This site is 99 percent member supported (less than 1 percent comes from advertising) - so please consider an annual donation to keep this site running.
Here are some of the features available - once you register at RennTech.org
- View Classified Ads
- DIY Tutorials
- Porsche TSB Listings (limited)
- VIN Decoder
- Special Offers
-
OBD II P-Codes - Paint Codes
- Registry
- Videos System
- View Reviews
- and get rid of this welcome message
It takes just a few minutes to register, and it's FREE
Contributing Members also get these additional benefits:
(you become a Contributing Member by donating money to the operation of this site)
- No ads - advertisements are removed
- Access the Contributors Only Forum
- Contributing Members Only Downloads
- Send attachments with PMs
- All image/file storage limits are substantially increased for all Contributing Members
- Option Codes Lookup
- VIN Option Lookups (limited)


rockhouse66
-
Posts
71 -
Joined
-
Last visited
Content Type
Profiles
Events
Forums
External Paint Colors
Downloads
Tutorials
Links Directory
Collections
Classifieds
Store
Everything posted by rockhouse66
-
Well, I wish I could say yes, but I am going to buy another one tomorrow and give it another go. I installed it too deep, and was not willing to risk trying to fix it by reinstalling. Too much work to access the darn thing to take any risks. Thanks to you and Ashai for the replies on the tensioners. Of course, I have already removed the A/C compressor. It may have been the most challenging job I've done in the last 20 years or so. I absolutely could not get that 3rd bolt in the rear until I removed the throttle body, pointed a flash light in from the other end of the head and poked a mirror into the space opened up by the throttle body removal. Once I could actually see the bolt, I was able to get a wrench on it and remove it. Good practice I guess. I did find a mouse nest on top of the crankcase and removed it, so it wasn't a total waste!! I already have the IMS flange removed and it came off no problem so I think I am good to go. I have the puller in position to remove the old bearing and the new bearing and install tool are in the freezer.
-
BTW, it is the Bentley YouTube video that show removal of that additional tensioner, under the A/C compressor. I don't think mine looks like that in that area, but would really appreciate some reassurance here.
-
I have a 2004 C2 which is a 3 chain engine. I have locked both cams on bank #1 (defined as the right hand bank viewed from the flywheel end. I have removed the tensioner on the bottom of bank #1 and the IMS tensioner that is horizontal on bank #2. Am I done prior to IMSB removal? I ask because I have instructions found on the Internet which instruct to remove the A/C compressor and remove the tensioner below it. Do I have a tensioner in this location on my 3 chain engine and, if so, should I remove it? I am getting confused reading the online tutorials as most do not specify whether they are working on a 3 chain or 5 chain engine. Also, any point in removing the green cam plugs from Bank #2 on my 3 chain engine?
-
Measuring RMS Install Depth
rockhouse66 replied to rockhouse66's topic in 996 Series (Carrera, Carrera 4, Carrera 4S, Targa)
I removed the new seal and will try again Monday. I did some measuring and while there is plenty of seal surface on the crankshaft to make an increased installed depth work OK, there isn't that much depth on the OD at the crankcase. I was close to having it past the point of no return. I'll get it right this next time - my excuse this first time is the visibility was poor working under the car. -
Measuring RMS Install Depth
rockhouse66 replied to rockhouse66's topic in 996 Series (Carrera, Carrera 4, Carrera 4S, Targa)
OK, face of seal, and now that I look there really isn't any other place to measure is there? Thanks for the quick reply. I have already installed my new seal quite a bit too deep, so I guess it will be $30 stupid tax or practice or whatever you want to call it and I'll try again. -
I am probably being an idiot here, but I know the install depth is 13mm and I know it is measured from the flywheel flange of the crankshaft but....measure to where? Where the seal contacts the crank? To the edge of the outer metal rim of the seal? Where?
-
Flywheel Bolt Torque
rockhouse66 replied to rockhouse66's topic in 996 Series (Carrera, Carrera 4, Carrera 4S, Targa)
Thank you for the confirmation. I later remembered that I have Raby's torque values book and it provides this same info. I should have checked there first. -
Is the 19 ft.-lbs. plus 120 degrees still the proper installation procedure for new DMF to crankshaft bolts? I see that stated here; http://www.renntech.org/forums/topic/41719-torque-specs-for-ims-aos-and-clutch-replacement/?hl=%2Bflywheel+%2Btorque#entry222324
-
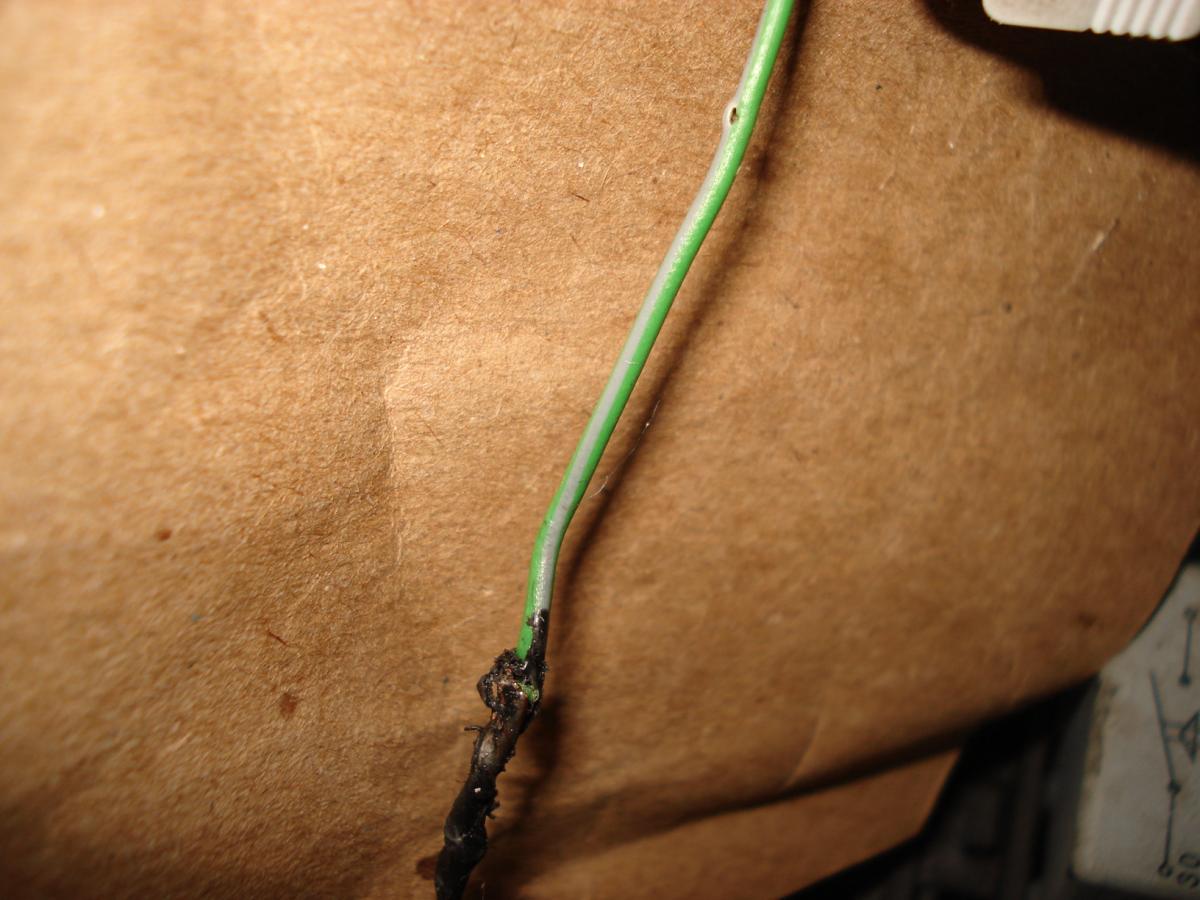
Just to close this out, I removed the horseshoe trim piece and found a short piece of green/grey wire from the power top switch spliced to the other end of the white wire that is spliced in back at the ECU. Mystery solved...well, sort of. Can't imagine what would require replacement of that complete wire from front to back. Thanks for all the assistance and support on this exploration. I could not have done it without RennTech!
-
OK, so this spliced in white wire should go to the dash mounted open/close switch and control the close?
-
OK, what do you think? green/white or green/gray or ???

-
I'll try to get a better look, but maybe green/gray? BTW, everything seems to work OK with the top. I thought that when closing the top with the key that the windows should also close and they don't, but the owners manual suggests that the window closing is not part of the key closing process. I guess I could disconnect it and see what doesn't work? Sounds a little risky though - knowing that strange things can confuse the computer.
-
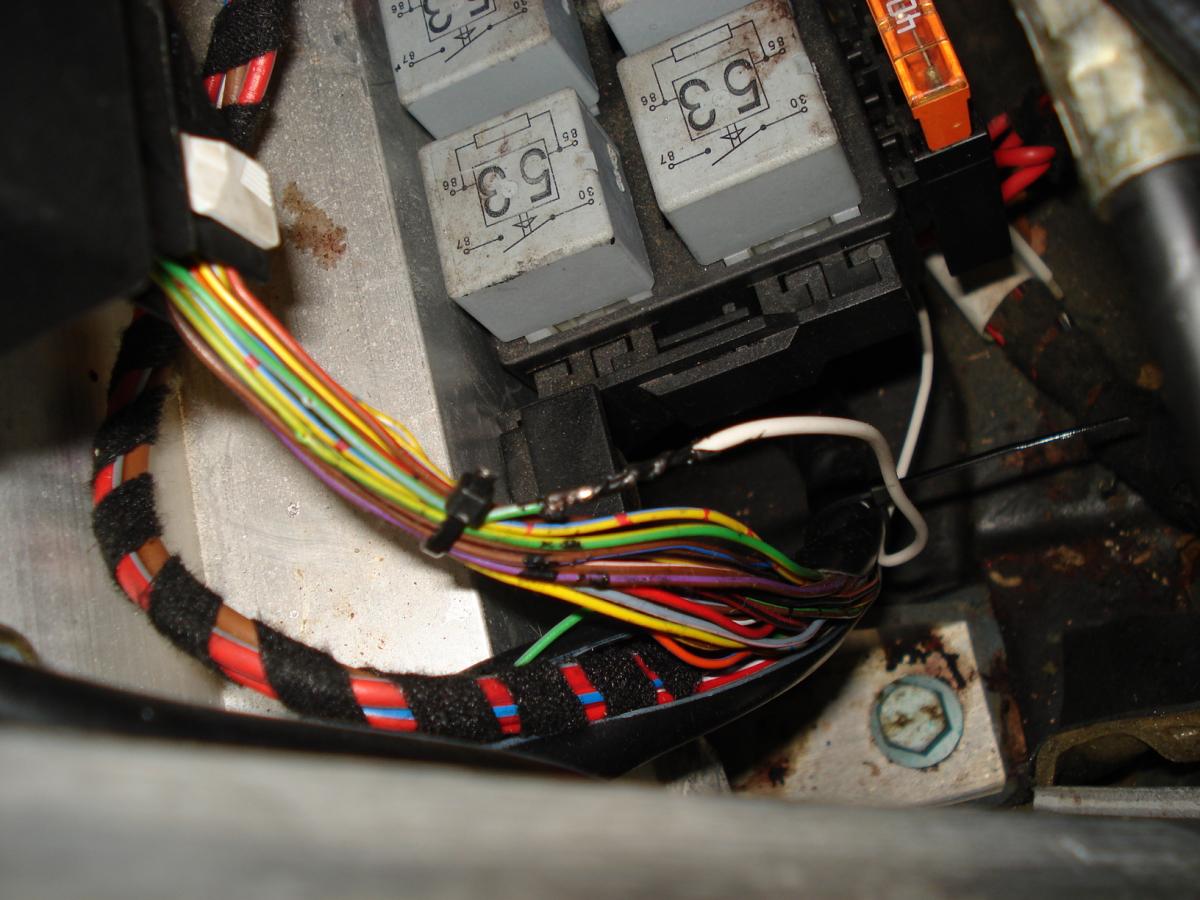
I am (or was) 100% sure that this white wire was added when the PO had a XM unit installed. I was going to just remove it but it was hot when the ignition was on so I thought I better wait until I trace it's origin. Now I know that it is not just spliced into an existing wire, it is a replacement for an existing wire. So now I am trying to figure out which wire got replaced so I know what to do with this thing. One more picture below. I don't think it is green/yellow as there is a green/yellow nearby...?
-
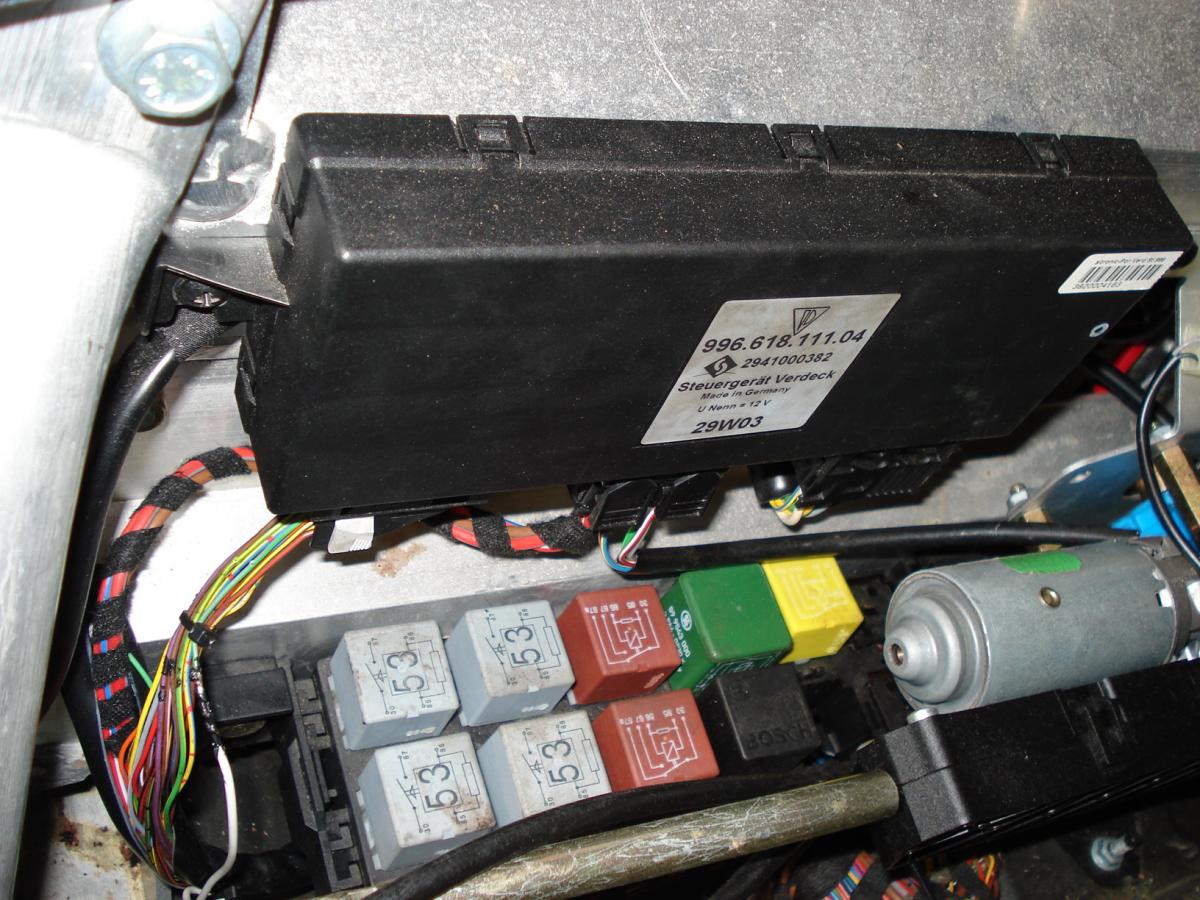
I am just trying to figure out this stray white wire. It is hot when the ignition is on (maybe all the time). And this green/white wire must have a purpose - yes? I am basing what I think this box is on the part number which is printed on it:
-
Can someone point me to an online source for a wiring diagram that would include the roll bar ECU? My '04 996 C2 Cab has a white wire wandering from back to front and I now see it is an extension of a green/white wire from the ECU. I have no idea where it terminates at the front - haven't been able to find it. Here is the area I am looking for:
-
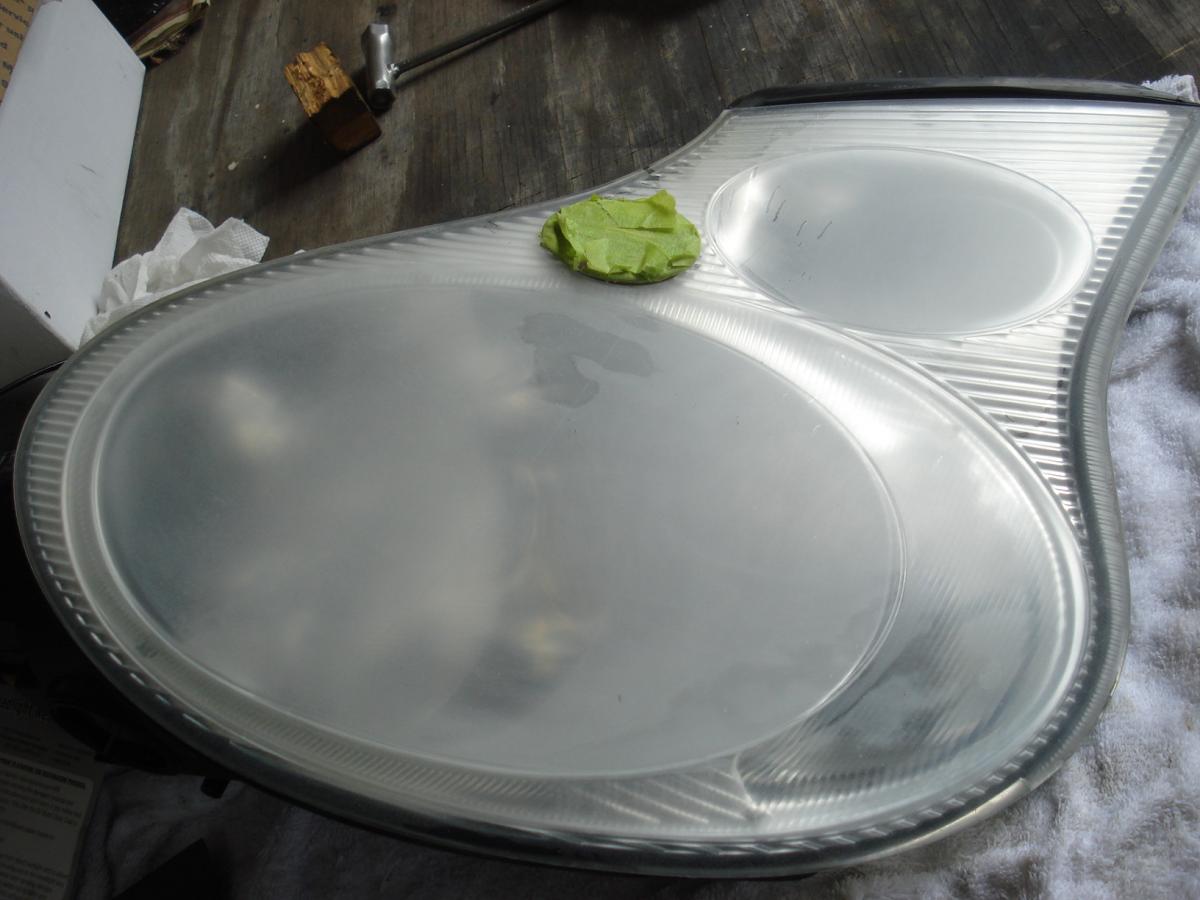
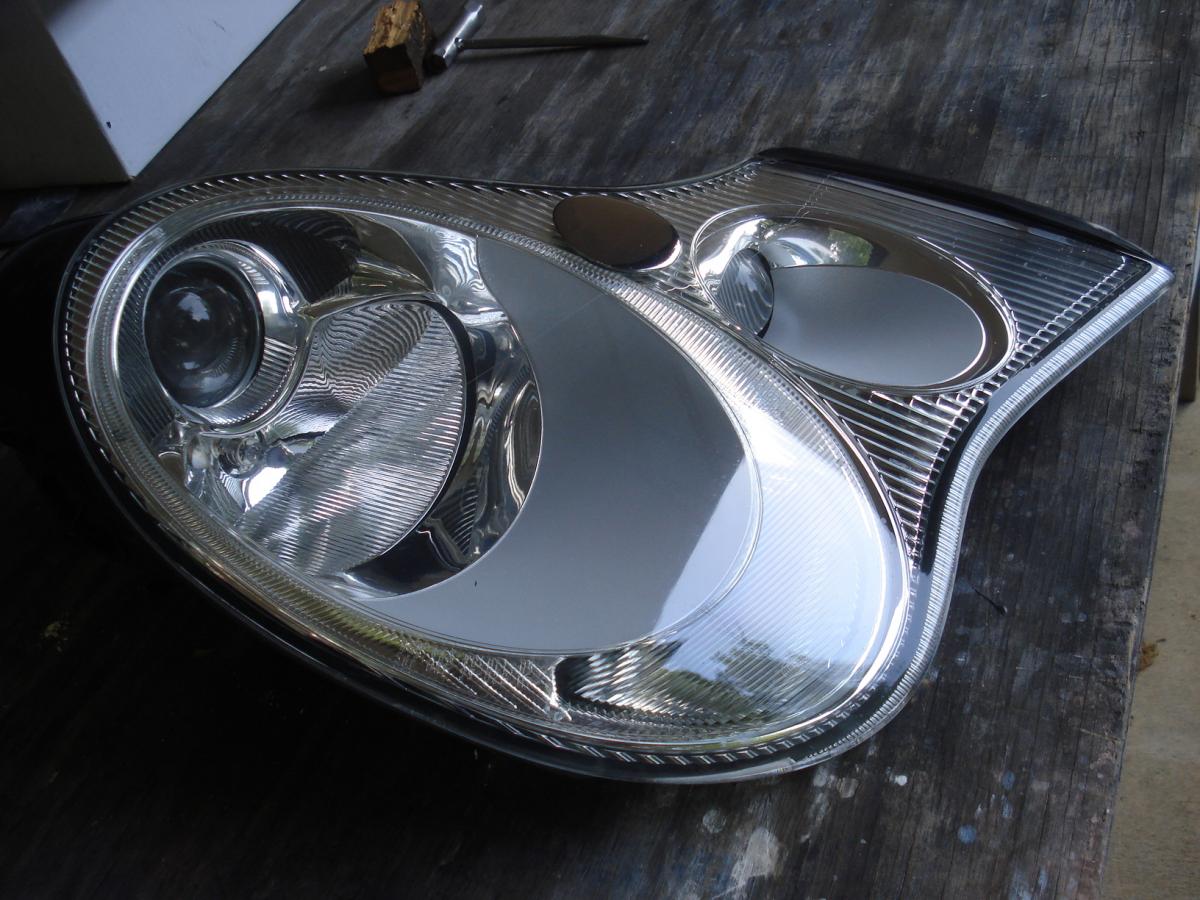
I think you missed the part in KevinH90s where he noted that the Sylvania kit includes a solvent for the existing coating. Worked like a champ for me.
-
I have used the blacksmith method on two occasions. Find a socket that almost fits over the security lug. Heat it red hot, place it over the lug and whack it with a BFH. Presto, you have made a key.
-
Well, I'm not sure if it will help, but it is interesting. I recently had the drivers seat out and disconnected all of the wires. Perhaps I did something to the alarm computer in the process? Or the connection to the computer? Hmm....wondering if this worked before I removed the seat? I haven't had this car long and I actually don't recall if I tested this earlier or not.
-
The issue with my 04 Cab is that using the key to close the top does not also close the windows. When I close the top with the dashboard button, and hold the button down, the windows close after the top is fully closed just as they should. But holding the key all the way to the right after the top is closed from outside the car will not close the windows. Ideas on what might be the fault?
-
+1 That is also what I did.