Welcome to RennTech.org Community, Guest
There are many great features available to you once you register at RennTech.org
You are free to view posts here, but you must log in to reply to existing posts, or to start your own new topic. Like most online communities, there are costs involved to maintain a site like this - so we encourage our members to donate. All donations go to the costs operating and maintaining this site. We prefer that guests take part in our community and we offer a lot in return to those willing to join our corner of the Porsche world. This site is 99 percent member supported (less than 1 percent comes from advertising) - so please consider an annual donation to keep this site running.
Here are some of the features available - once you register at RennTech.org
- View Classified Ads
- DIY Tutorials
- Porsche TSB Listings (limited)
- VIN Decoder
- Special Offers
-
OBD II P-Codes - Paint Codes
- Registry
- Videos System
- View Reviews
- and get rid of this welcome message
It takes just a few minutes to register, and it's FREE
Contributing Members also get these additional benefits:
(you become a Contributing Member by donating money to the operation of this site)
- No ads - advertisements are removed
- Access the Contributors Only Forum
- Contributing Members Only Downloads
- Send attachments with PMs
- All image/file storage limits are substantially increased for all Contributing Members
- Option Codes Lookup
- VIN Option Lookups (limited)


FourBowls
-
Posts
1 -
Joined
-
Last visited
FourBowls's Achievements
Member (1/1)
0
Reputation
-
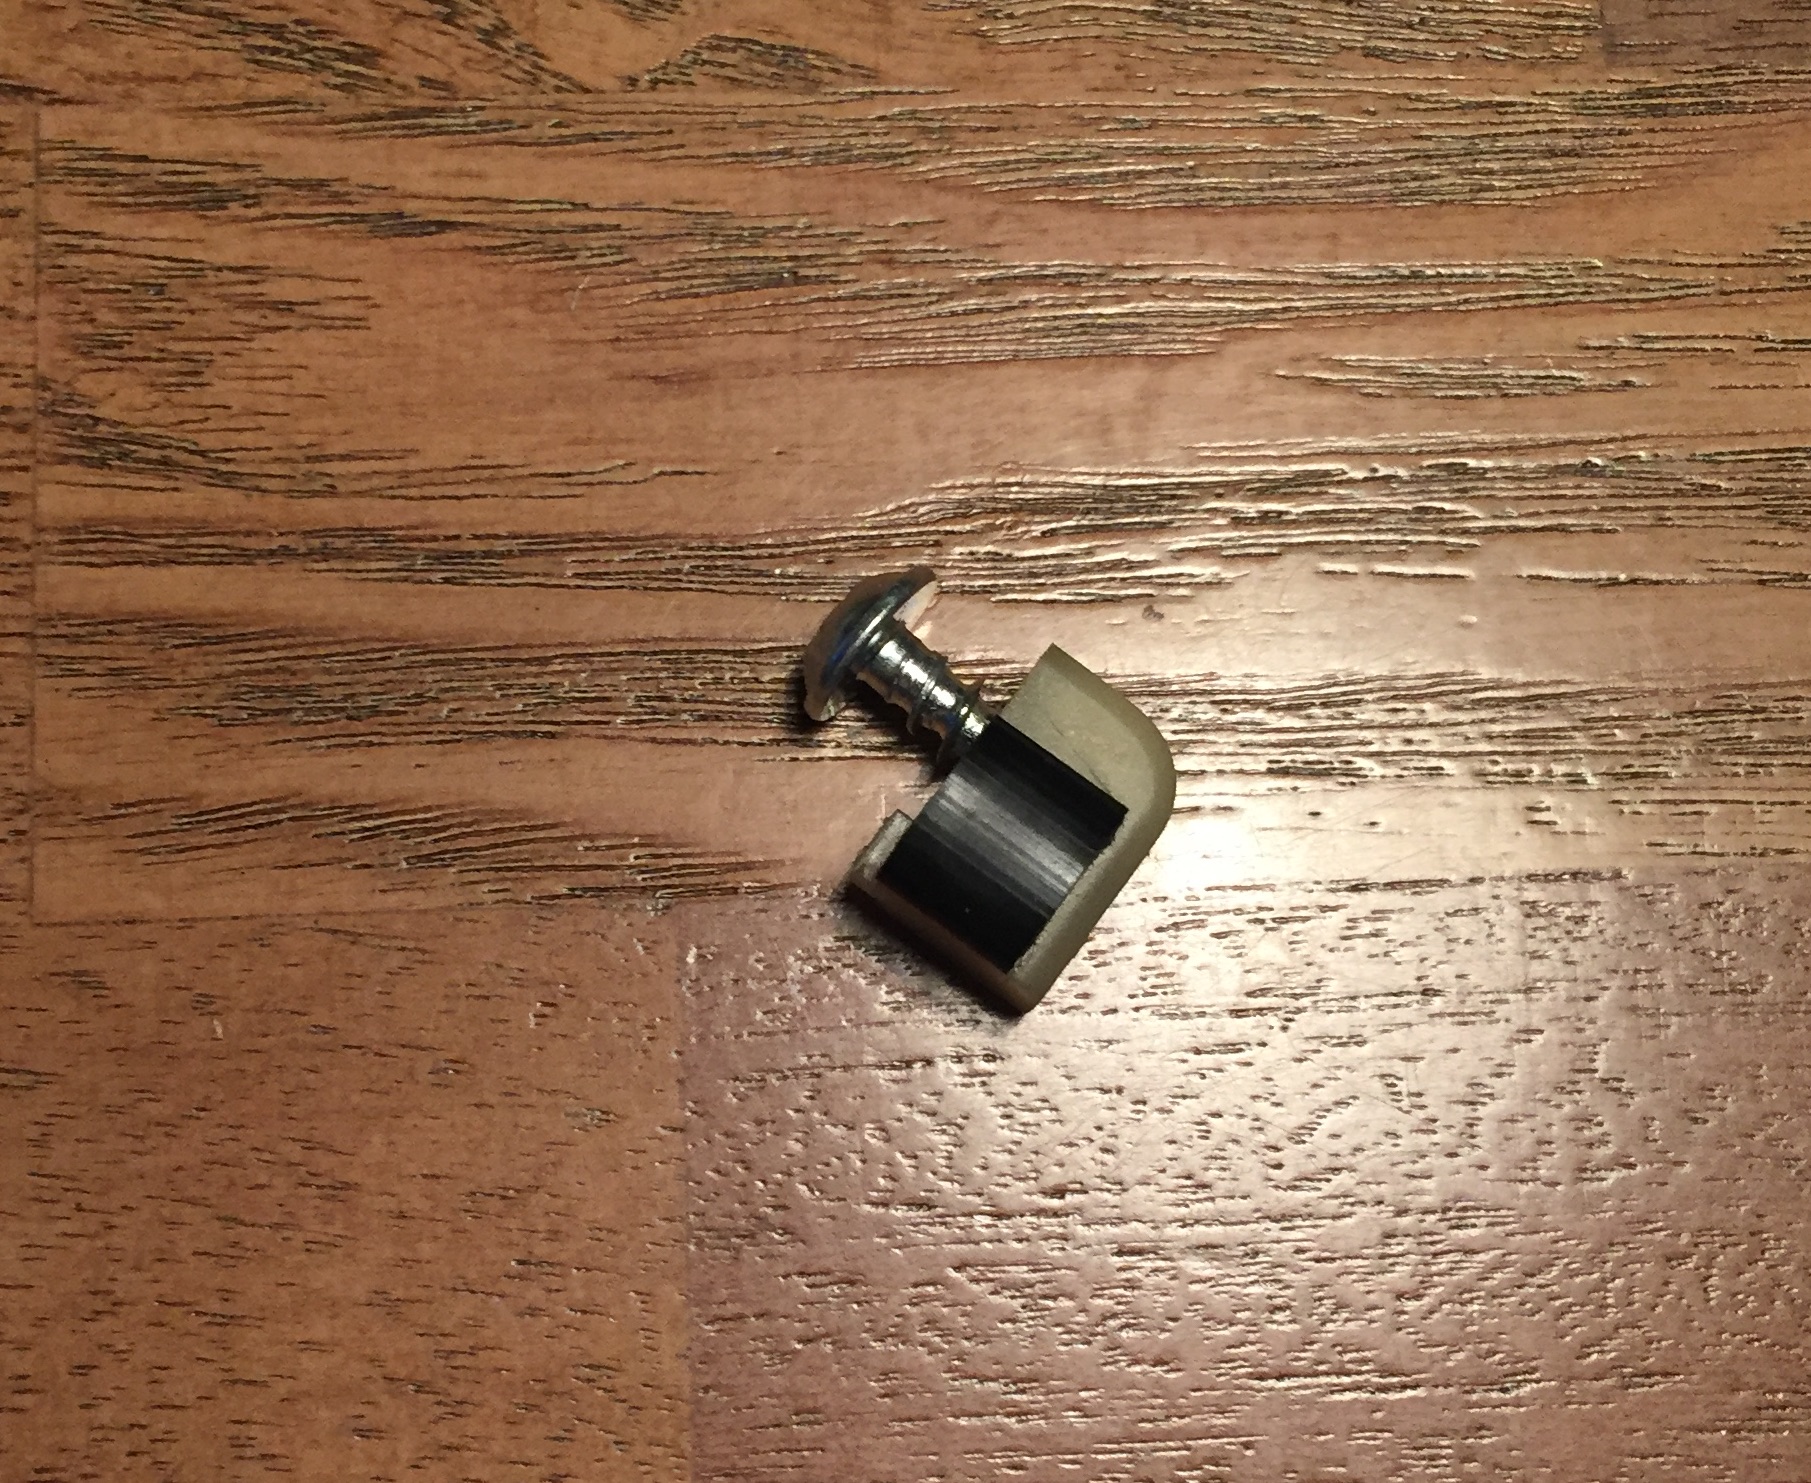
I just replaced my driver's side window regulator on my '04 C4S, and it was smooth sailing thanks to the info above- in particular, GromitInWA's photos. The other tutorials online were for either older 996's or Boxsters; while the repair is very similar, some of the screws are in different places on other models. Gromit's pics were perfect for my '04 996. I purchased the OEM regulator from Pelican (996-542-075-04-M100) for $287. I know there are cheaper options, but I didn't want to have to do this again and like the peace of mind of knowing that comes with an OEM repair. A few tips: - Use a heat gun to warm the adhesive behind the foam that keeps moisture out. If you take your time, you won't rip anything, and it's easy to just press the adhesive back into place when you are finished with the job. - The OEM part has two bumpers on the bottom of the right side rail. (pic attached.) Apparently both bumpers are needed if you have a Boxster. If you have a 911, you need to remove the top bumper, otherwise, the window will not go all the way down. Just loosen the torx screw and it comes right off. I didn't realize this until after I put the whole thing back together. Hope this saves someone else from having to remove the door panel twice. - I was very careful with the airbag so I didn't cause the warning light to come on. As noted in all tutorials, be sure to remove the negative battery cable, and wait awhile for complete discharge. By the time I got to the airbag on initial disassembly, the car had been without power for about 45 minutes, and I had no problems - I wasn't sure whether to leave the window up or down before starting the repair. I left it up. In hindsight, I recommend putting it down, so it's easier to mark the original position in the window claims with some tape. You can't access the glass as easily when the window is all the way up. - There is a cable that runs between the two rails, and on my old regulator it was zip-tied to the door frame. I had to cut the zip tie to remove the old regulator, and put a new tie on for the new regulator. I recommend this to avoid rattles in the door when the cable is loose. This was a relatively simple job once I got over the nerves of opening up my Porsche. Anyone with patience and novice mechanical ability can do this. Thanks to everyone above for paving the way and the encouragement.