Welcome to RennTech.org Community, Guest
There are many great features available to you once you register at RennTech.org
You are free to view posts here, but you must log in to reply to existing posts, or to start your own new topic. Like most online communities, there are costs involved to maintain a site like this - so we encourage our members to donate. All donations go to the costs operating and maintaining this site. We prefer that guests take part in our community and we offer a lot in return to those willing to join our corner of the Porsche world. This site is 99 percent member supported (less than 1 percent comes from advertising) - so please consider an annual donation to keep this site running.
Here are some of the features available - once you register at RennTech.org
- View Classified Ads
- DIY Tutorials
- Porsche TSB Listings (limited)
- VIN Decoder
- Special Offers
-
OBD II P-Codes - Paint Codes
- Registry
- Videos System
- View Reviews
- and get rid of this welcome message
It takes just a few minutes to register, and it's FREE
Contributing Members also get these additional benefits:
(you become a Contributing Member by donating money to the operation of this site)
- No ads - advertisements are removed
- Access the Contributors Only Forum
- Contributing Members Only Downloads
- Send attachments with PMs
- All image/file storage limits are substantially increased for all Contributing Members
- Option Codes Lookup
- VIN Option Lookups (limited)


Jsonorous
-
Posts
22 -
Joined
-
Last visited
About Jsonorous

Jsonorous's Achievements
Member (1/1)
0
Reputation
-
Hi, I have a 2007 997 Base Carrera manual, 42K, well maintained. When turning left (and only left) a good amount, there is a high pitched squeal or long squeak (kind of like rubbing your finger on the rim of a wine glass) both turning in and when the wheel returns to center. If you do a slight turn to the left or anywhere to the right it doesn't do it. I brought the car to the Porsche shop, and after a long day of driving in warmish weather it wouldn't do it for the tech. I did have all 4 corners of the brakes changed in the last 500 miles (rotors and pads). Any ideas? Thanks, Jason
-
I did lower my Cayenne S with the H&R springs, I love the result.
-
PASM will not raise or lower the car, that is the air suspension.
-
I had my rear wheel Carerra III (18x10) fixed after a minor curb rash. They fixed the rash and repainted the wheel. The wheel is a lighter silver than the other wheels, just a little but it is noticeable. Does anyone have the paint codes for these wheels? I did a search and couldn't get a clear answer.
-
Here is what I've found out so far: H&R springs from tire rack are $312 (part number 28938.1) I've gotten two quotes from dealerships, one was $1,059.20 and one was $1,200 (install springs and alignment) The independent shops have bee around $600 to install the springs and $200 for alignment. Also from my research it sounds there is a special tool for the PASM shocks needed for the spring install.
-
Hi, I have a 2011 Cayenne S with PASM and steel spring suspension. I am considering lowering the car with the H&R lowering spring set, which says it will lower the car 1.2". I can get the springs for a little over $300. My questions are: How much should I expect for labor (install springs and alignment)? Can I go to the dealership to get this done? Will I be voiding part or all of my warranty? Will the lowering put potentially too much stress on the PASM shocks? I'm considering doing this primarily for aesthetic reasons, although I do think lowering the center of gravity a little bit will help handling (it already handles very well). It will probably never see off road activity so I'm not concerned about losing clearance. Thanks, Jason
-
There is no resistance, it just slips back and forth. I've been leaving the car unlocked and when it "needs" to be locked I will lock the passenger side (which locks the whole car) and open the car by unlocking the passenger side and reaching across and opening from the inside. This week it is supposed to "heat up" (Minneapolis) and be in the 30's so I'll have a go at taking off the door card and doing some research inside the door. Thanks everyone for the help so far!
-
I used my Durametric and got a code 60. 60 Central Locking Limit Position Lock not reached Status: not present Frequency counter 3 It looks like I need part number 996 537 963 02, right around $300. It says that it is: support with lock cylinder (that is the mini oar piece right?). Does that mean I have to re-key my car? Any help or insight is appreciated! Thanks, Jason
-
Any idea what part number I am going to need? Easy fix or dealership visit? Thanks.
-
Hi, It seems like my power door lock mechanism went out yesterday. When I went to open the driver's side door, there was no resistance when turning either way, it turned 1/4 way each way with no resistance - it felt like it wasn't grabbing anything, just slipping back and forth. I was able to open the car by opening the passenger side door and opening the driver's side door from the inside. When I did get inside, the lock light on the dash was on. The car is a '99 2.5 US 5 spd 986 with no remote key entry, just standard "power" locks. I did a search on the forum and didn't find anything. I did find instructions on how to remove the door card, so I think I can get at "it" I just don't know what "it" is. I haven't used my Durametric yet to see if there are any codes, I'll have a chance to do that tomorrow afternoon. Any ideas what might have happened and what part(s) I need? Thanks for the help. -Jason
-
03/04 top conversion problem
Jsonorous replied to Jsonorous's topic in 986 Series (Boxster, Boxster S)
Got it! The top goes up and down perfectly, the latch is just missing the windscreen. I pulled the fame back as far as it would go and pulled up just a little, this allowed enough clearance for the latch to clear the windscreen and lay properly in center of the storage box. (on top of the storage box). I also gave the plastic balls one more turn (so the arm is longer) and that puts the top in the perfect position to latch effortlessly. The windows seal well when they are up all the way. The Smarttop relay is really the icing on the cake. It is a treat to use the one touch feature for opening and closing the top. I have been carefully watching the process and I am now confident that everything is aligned and functioning properly. I do think I am going to remove the Smarttop relay when I put the hard top on this winter. Thanks again to Maurice for the assistance! Best, Jason -
03/04 top conversion problem
Jsonorous replied to Jsonorous's topic in 986 Series (Boxster, Boxster S)
I am so close!!! The adjustment of the plastic ball joints worked well - the latch grabs correctly. I turned them 2 times first, it was still just a little shy. I then turned them two more times, for a total of 4 turns, and the latch grabbed perfectly but the windows didn't drop the 2-4" like they should as the top went up or down. Ugh, nothing good comes easy, or something like that right? I turned the plastic balls back one turn, so they are now three full turns. The latch still grabs well, but no window drop. I wiggled the top relay and the blue relay next to it, it started to work again. Any idea what was happening? The latch still just taps the windstop on the way down. I did pop off the plastic balls, loosen the three screws that hold the fame and pull it as far back as I could get it to go by myself. I'm guessing it needs to move back just a little more. I don't know what I am going to do with myself when I have this perfect, and it is going to be perfect! I'll probably find some more trouble, I mean mods/hacks I can do... Thanks, Jason -
Hi, If you crawl between the roll bars, open up the vinyl apron in the back, you'll see the motor in the center under the clamshell. There are two brass clips that pull up on either side, these hold the cables into the motor, I used a screwdriver to pry them out. Remove both of these clips and pull the cables out. With a cordless drill, low torque, stick the ends of the cable in the drill and slowly turn until the top moves or you hear a snap, if you hear the snap, reverse the drill, you are going the wrong way. The top and clamshell should slowly open up. Reverse the direction of the drill and repeat with the other side, slowly bring each side up (or down) until you can get at things. I've had to do this repeatedly in the last couple of weeks, it works great. Here is a link to Maurice's detailed description of the process, http://sites.google.com/site/mikefocke2/top-half-closed. Good Luck, Jason
-
03/04 top conversion problem
Jsonorous replied to Jsonorous's topic in 986 Series (Boxster, Boxster S)
One addendum... after multiple adjustments, I can't get the latch on the front of the top to easily "grab" the center section of the windshield. All I had to do on the old top was pull the handle down and the hook grabbed the frame tight and closed tight. The new top is just shy of grabbing (1-3 millimeters), so if I push the hook into the hole on the windshield it will grab, but it slips out if I just try to close the handle. Any ideas on this fine adjustment? Thanks, Jason -
03/04 top conversion problem
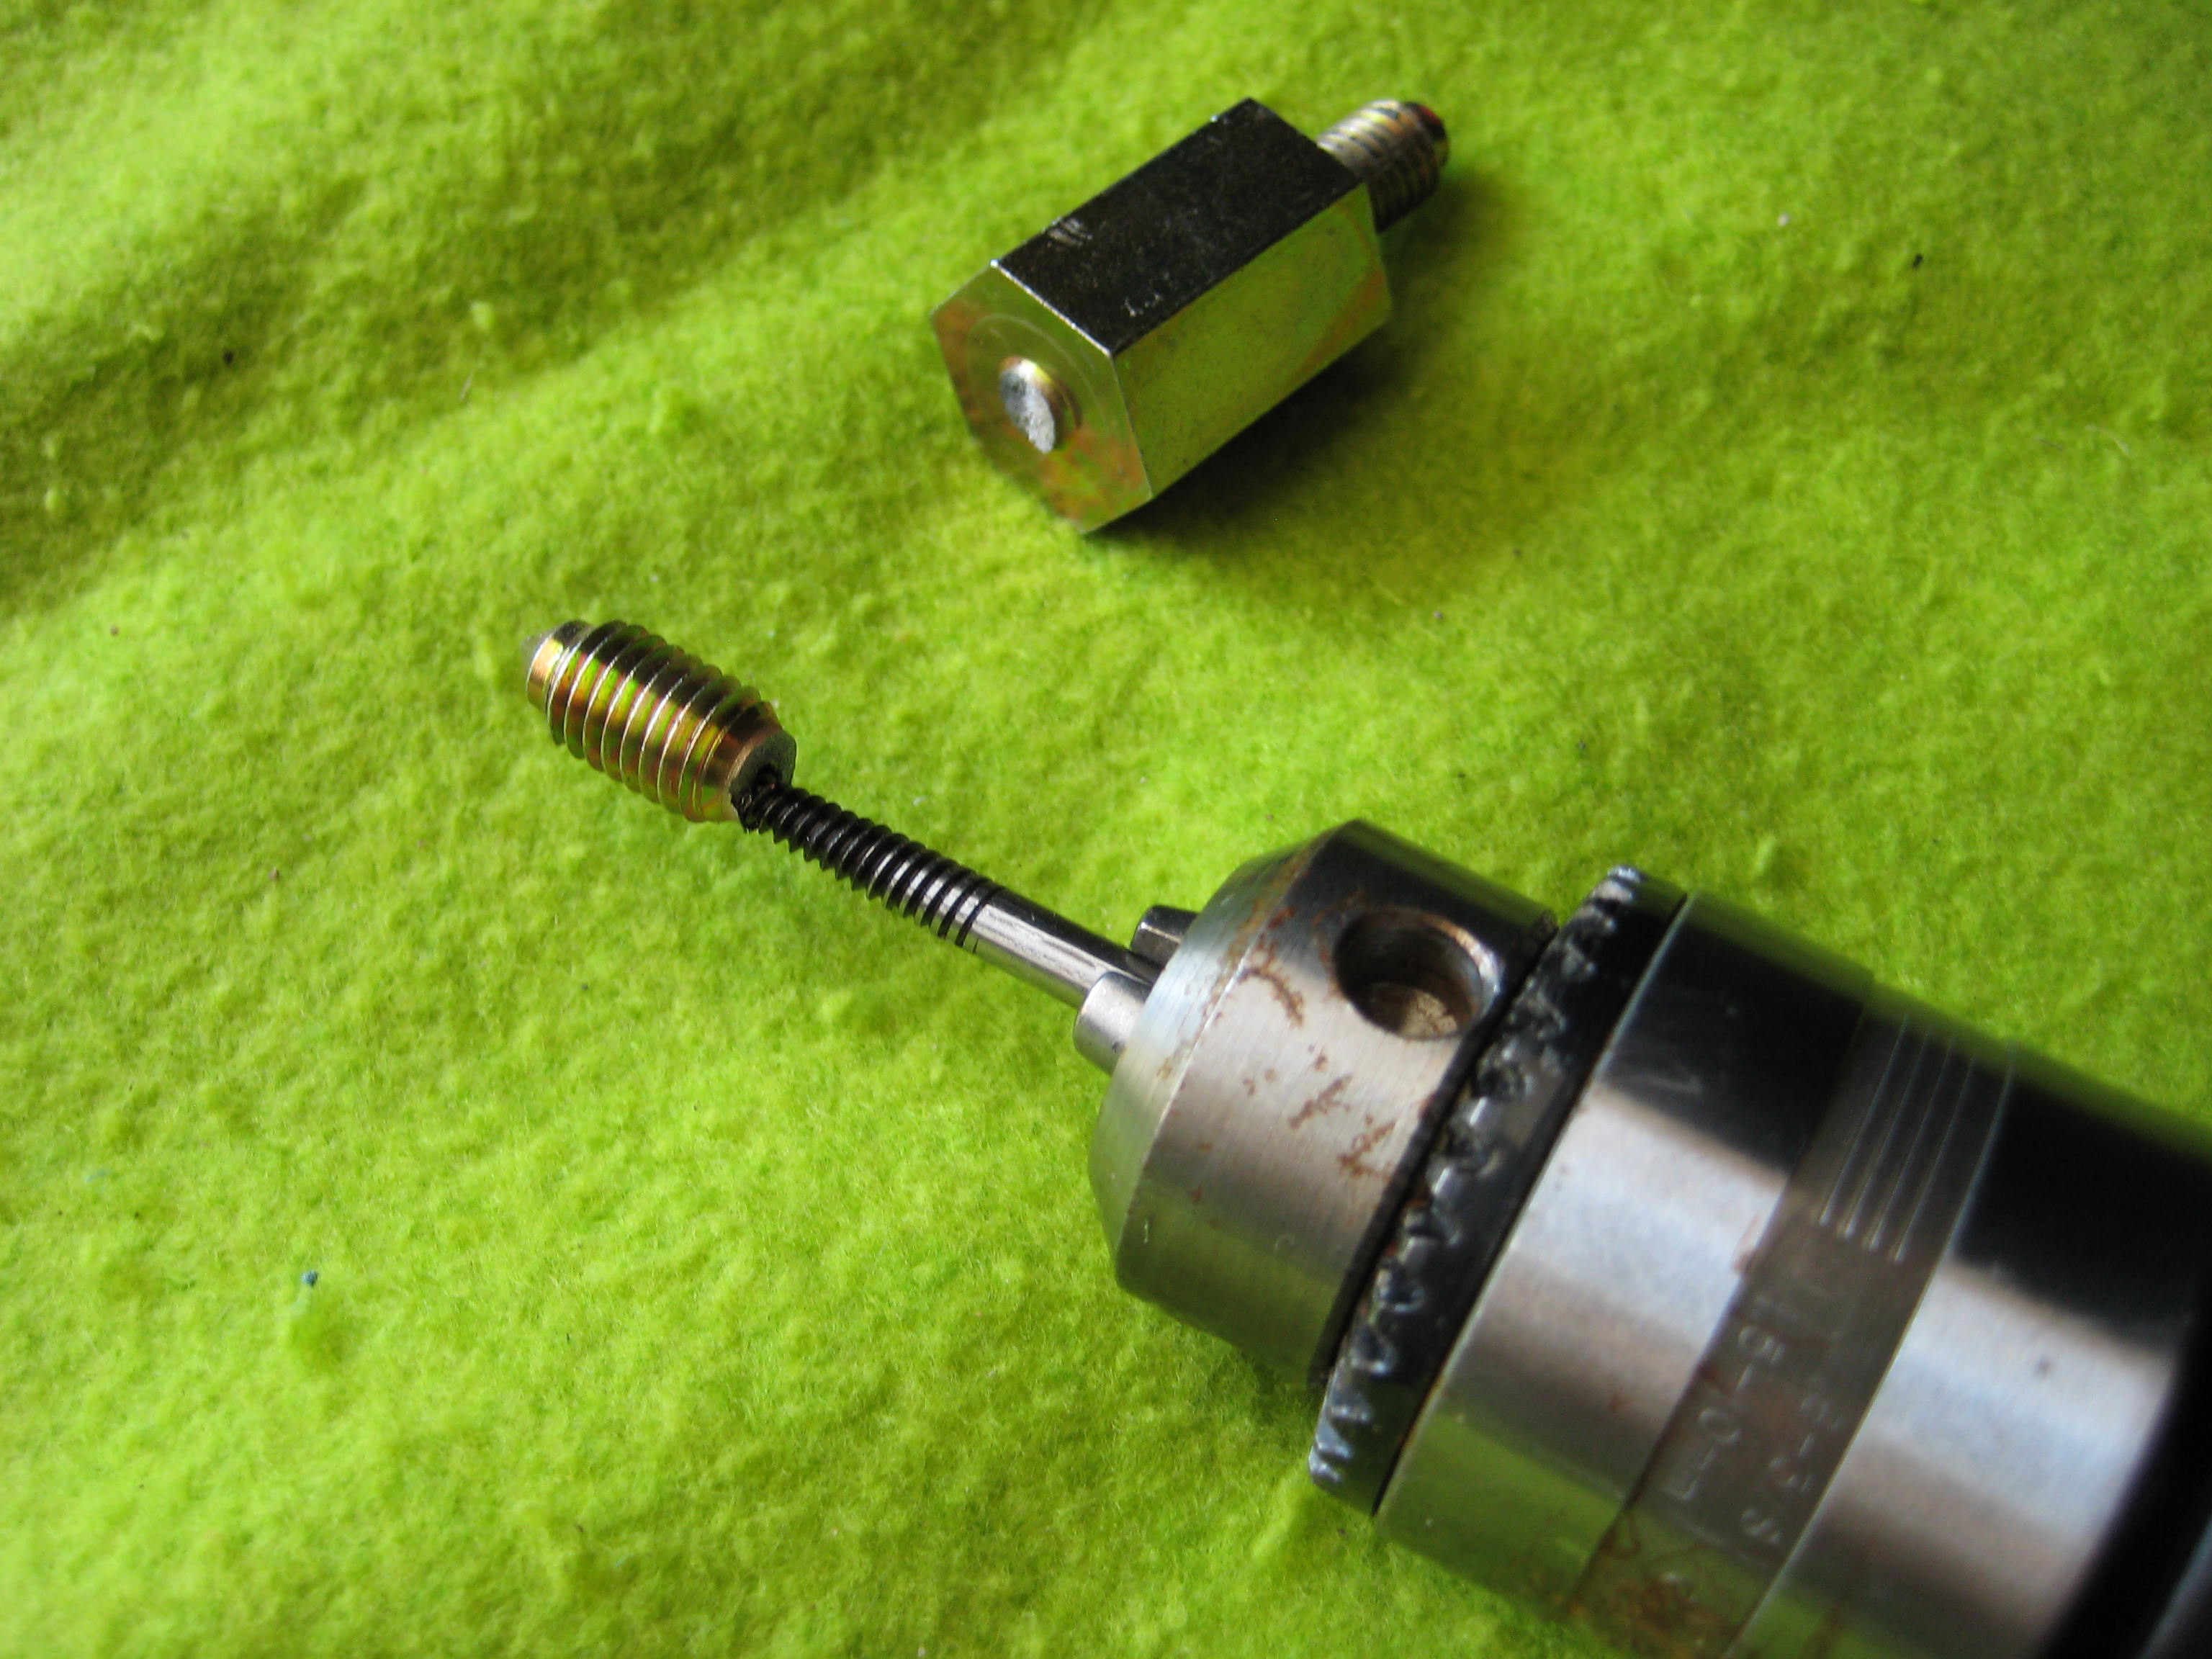
Jsonorous replied to Jsonorous's topic in 986 Series (Boxster, Boxster S)
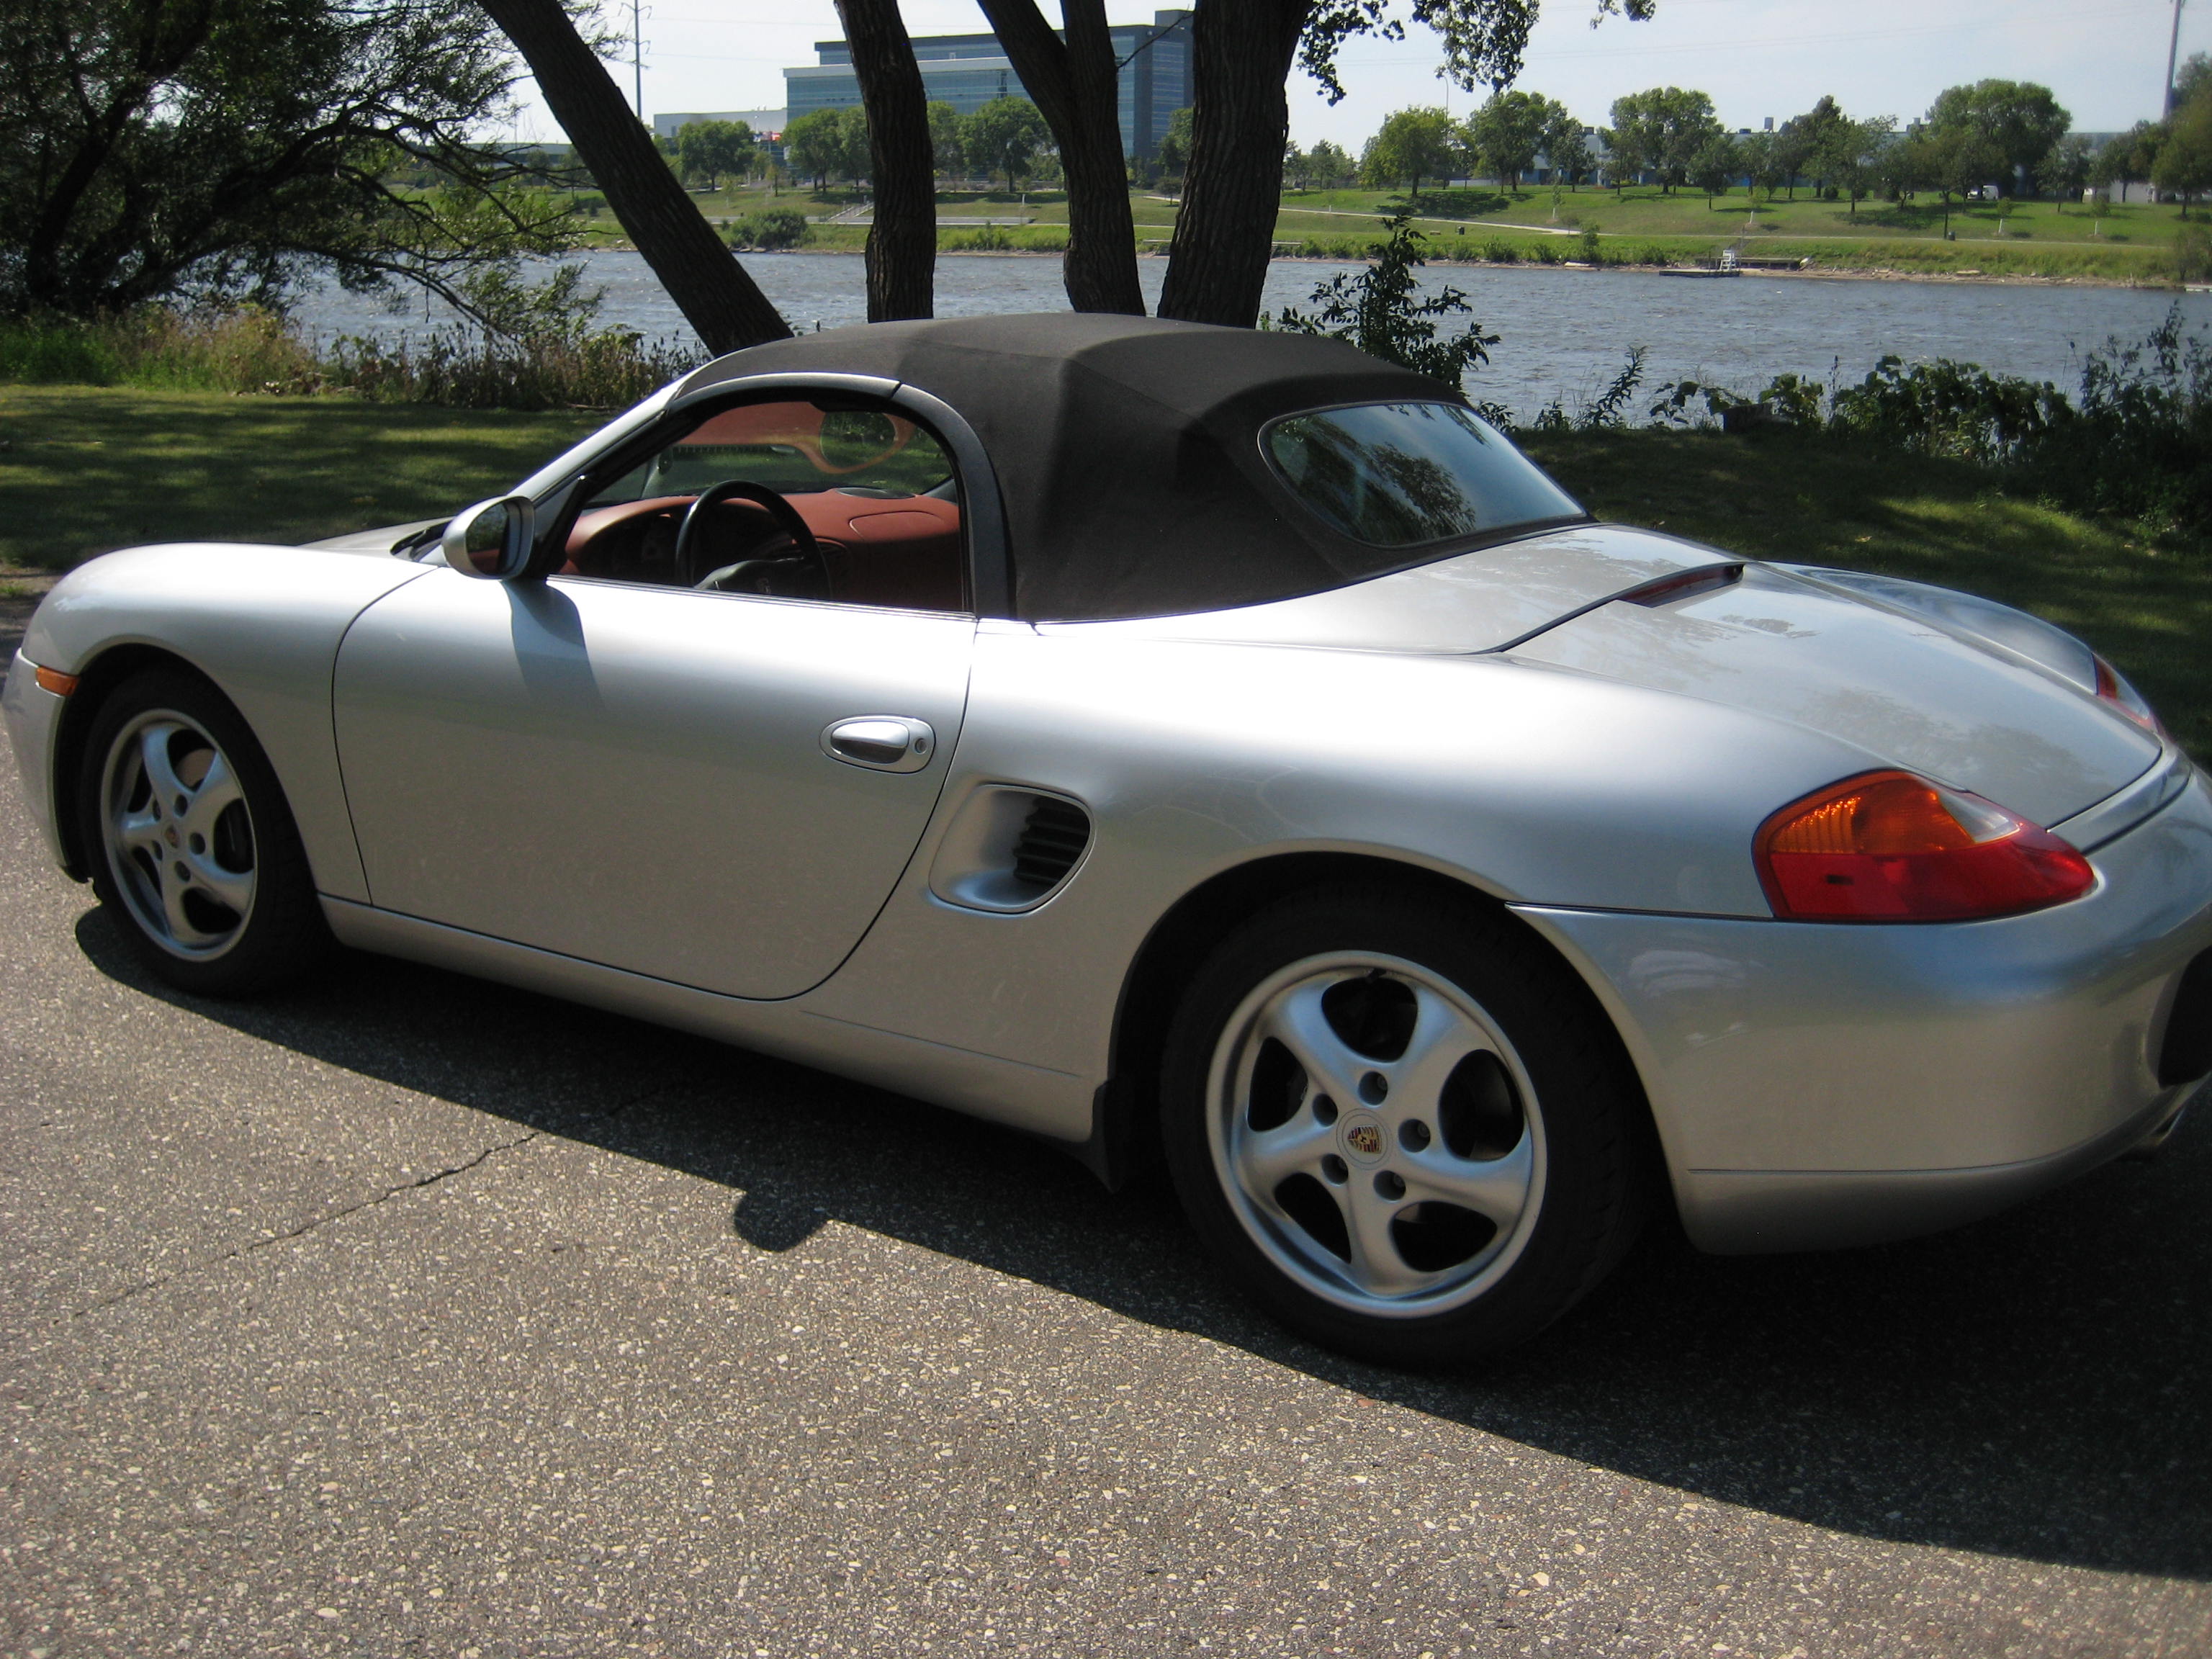
It's working! I was able to put the '03 top on and do the "B" style conversion along with the electrical modifications! It was not without some difficulty... I had to buy the 3 pin connector from a dismantler, it took a week to receive the part. When I did receive the box from the dismantler, I was disappointed to see that they sent me the connector that goes on the motor (larger 4 pin). After I sent them photos of the part and where it is on the driver's side transmission, they sent me the right 3 pin connector with about a foot of wire. This set me back a full week but luckily the top was closed so I could drive the car. This weekend I started the project, I had gathered all the parts I needed. I first tried to change out the new "B" style transmissions with the new top in the car, it became apparent that I needed to remove the top again. No problem, I removed the top. I removed the old transmission and the old shorter "A" style mounting studs. When I was installing the new "B" style mounting studs, I broke one of the bolts off in the socket. At first I wasn't sure what I was going to do, I considered just going with two bolts. I googled "broken screw" and I found out about screw extractors, off to Home Depot I went. I bought a drill bit and a screw extractor, and without too much hassle I got the end of the bolt out of the body of the car. Luckily, my Porsche dealership had an extra mounting stud that I picked up the next morning. I finished the drivers side transmission installation and moved on the the passengers side, when installing the transmission and torquing the bolt to 16 lb/ft that attaches the transmission to the stud, I broke another stud. This time it wasn't broken off in the body of the car like last time so it was easier to get out. The dealership was closed at this point, so I ended up using one of the "A" style mounting studs and adding seven 1/4" washers to make it the size of the "B" style studs - it worked. I guess I'm trying to caution anyone from being too rough on the mounting studs, they are somewhat fragile. I am a recording engineer by trade, so the wiring was pretty easy. The only anomaly I found from Maurice's excellent instructions was that I only had one brown with grey stripe wire going to 19 on the relay, it worked fine. (this is on the rear of the relay tray) After putting everything together including the new B relay with a square instead of a triangle, the time of reckoning had come. I got everything ready, the top moved back about 6 inches and froze, I couldn't get it to move at all! After some deep breaths, I got back at it. It worked for a little bit, so I knew that the wiring job was probably good. I had purchased to Smarttop relay, so I thought I would give that a try - it worked! The used relay I had bought from Oklahoma Foreign was broken! I did have to take the relay tray out again and snip the brown wire with blue stripe (pin 14 on the relay) from the rear of the tray to get the idiot light to work properly. So after a number of obstacles, I was able to get the top to work. I don't know if I would have taken the job on if I knew that it was going to be this laborious, but I am very pleased with the new top with glass rear window, new transmission and the Smarttop relay. SIncere thanks to Maurice for the well written instruction and the coaching/help along the journey! Here is my car with the new top. (Mississippi river in the background) ...