Welcome to RennTech.org Community, Guest
There are many great features available to you once you register at RennTech.org
You are free to view posts here, but you must log in to reply to existing posts, or to start your own new topic. Like most online communities, there are costs involved to maintain a site like this - so we encourage our members to subscribe or donate. All subscriptions and donations go to the costs operating and maintaining this site. We prefer that guests take part in our community and we offer a lot in return to those willing to join our corner of the Porsche world. This site is 99 percent member supported (less than 1 percent comes from advertising) - so please consider an annual subscription or donation to keep this site running.
Here are some of the features available - once you subscribe RennTech.org
- View Classified Ads
- DIY Tutorials
- Porsche TSB Listings (limited)
- VIN Decoder
- Special Offers
- Paint Codes
- Registry
- Videos System
- View Reviews
- and get rid of this welcome message
It takes just a few minutes to register, and it's quality Porsche information at a low cost.
Contributing Members also get these additional benefits:
(you become a Contributing Member by subscribing or donating money to the operation of this site)
- No ads - advertisements are removed
- Access the Contributors Only Forum
- Contributing Members Only Downloads
- Send attachments with PMs
- All image/file storage limits are substantially increased for all Contributing Members
- Option Codes Lookup
- VIN Option Lookups (limited)


ericinca
-
Posts
21 -
Joined
-
Last visited
Content Type
Profiles
Events
Forums
Exterior Paint Colors
Downloads
Tutorials
Links Directory
Collections
Classifieds
Store
Everything posted by ericinca
-
I have the stock 4-channel amp in my 99 Boxster and am looking to replacing it with a newer amp. I'd like to mount the new amp in the existing location just behind the spare tire. Problem is how to mount it, since the steel panel behind the tire doesn't appear continuous, as the new amp is wider than the stock amp and requires new holes to be drilled there is actually nothing to drill or mount the amp onto. It is really a steel frame (to save weight I guess). Anyone have any thoughts about how best to mount a new map in this area? Thanks in advance. Eric
-
I've been driving around in the last week with a couple of these threaded inserts having dropped into the frame below the door. I've paid close attention when I went over bumps to see if I could hear them. FWIW, the rattling noise seems almost non-existent, or I could not really tell. So I've decided not to do anything and let them lie. At first, I was going to try the suggested wax method but that doesn't seem necessary now. Eric
-
Replacement Top
ericinca replied to tommy_z's topic in 986 Boxster Convertible Top Issues and Solutions
I got the foam material at Home Depot. They have a roll of it in the weatherstripping department. It's 3/4" wide and black. It appears to be exactly the same as the original material and has worked perfectly on my install. Eric -
Has anyone found a solution for this issue? I too now have this problem trying to replace a broken sun visor over the weekend. Again, I'm surprised about the flimsy engineering design Porsche made in this area with the brass nuts and their tendency to break. Eric
-
Can You Replace Knobs On Cdr220?
ericinca replied to blackboxster's topic in 986 Series (Boxster, Boxster S)
I recently replaced these knobs on my CDR-220. Contact Stefan @ www.swstereo.com. They can sell you the parts you need. (Although the website appears to be down at the moment.) Eric -
Ordered Glass top from Robbins
ericinca replied to pmpjuil's topic in 986 Boxster Convertible Top Issues and Solutions
Maurice, Thank you again for your enlightening advice. I got a tube of the 3M 1300 adhesive and it worked wonders. With the rated 150lbs per square inch of shear strength coming from the adhesive, getting the plates and cloth to align to the holes in the frame was a breeze. And I'm happy to report that it can safely be used on the opposite sides of the visible areas of the canvas with no fear of leakage to the other side. This was handy for neatly creasing the canvas around the bend of the aluminum plates. As you can see from the attached screenshots (left and right sides), there are now no wrinkles on the left and right sides over the plate. A little bit of the 3M adhesive helped greatly here too. I have now only to attach the front of the canvas to the frame. The problem I'm seeing is how to get out those wrinkles in the canvas beyond the plates in the middle area of the top. You can see them in the photos as rippled color variations on the canvas. The wrinkles are caused by the looseness of the cloth in those areas. I've tried pulling the canvas tight but that minimizes but does not entirely eliminate those wrinkles. Will these wrinkles come out if I leave the top in the sunlight for a couple days, or must I do my best to exert force and pull the canvas forward as much as I can to eliminate the wrinkles before attaching the front of the canvas? Also, the attachment of the GAHH top to the front has been unclear also. The top came with a cardboard strip that was unattached to the canvas, and I'm unsure which bonding method should be used to attach the strip to the canvas. I first discovered that the strip was actually 1/8" to 1/4" too short so that the screw cutouts did not align with the screw locations on the frame. I had to cut the strip into two halves to attach it to the frame. After solving this problem, I then realized that because of the strip's material, neither the double-sided auto tape or the 3M material would be strong enough to bond the canvas to the strip. The only solution I can see at this point to attach the canvas in the front is to actually use the 3M adhesive to attach the canvas directly to the metal part of the frame. This is OK, but the OEM top IMHO had a much better attachment method with a leather strip sewn directly to the canvas. I feel like I'm missing something obvious here that I should be doing. Eric
-
Ordered Glass top from Robbins
ericinca replied to pmpjuil's topic in 986 Boxster Convertible Top Issues and Solutions
Back from the field... I've still been working on pulling the aluminum plates back onto the top frame with the GAHH top. (Progress has been slow recently.) I managed to pull the plates to align with the screw holes and even fastened the plates with the screws. Unfortunately, pulling the combination of the cloth and the aluminum has still proved to be impossible. The suggested 06384 3M automotive tape hasn't been strong enough to hold the cloth to the plates. So I'm considering using glue as mentioned by one of Mike Focke's articles on installing the Robbins top. I'd like to glue the canvas onto the plates and let it dry using clamps. However, the article did not mention the what type of glue would have the right strength to bond canvas and metal. Any recommendations there? I have some epoxy lying around and wonder if that would be suitable. There are only a million different kinds of glue out there! (OK, I exaggerate.) Eric -
Ordered Glass top from Robbins
ericinca replied to pmpjuil's topic in 986 Boxster Convertible Top Issues and Solutions
Thanks again, Maurice. About those aluminum plates... they are taking quite a bit of effort to line up with the holes on the frame. At their resting state, the holes are about 2" back from where they should be relative to the holes in the top frame. I don't know if I've done something wrong with the previous steps in the installation (although appears OK), but I haven't been successful and it appears to take a LOT of strength to pull those forward to line up with the holes, even with the "awl through the screw hole" method on Mike Focke's page. So much so I'm concerned I might be damaging the motor mechanism by pulling on the canvas and plates too much. Is this normal? Should I just give it a good yank? Is there any particular position of the top that would make it easiest to align everything? For those who don't know, on the GAHH top, the 3 holes are already pre-drilled into the canvas, so I didn't have to re-align the holes on the canvas with the plates. My task is only to line them up with the plates and pull the plates and the canvas forward to match the holes on the frame, which is proving challenging. Eric -
Ordered Glass top from Robbins
ericinca replied to pmpjuil's topic in 986 Boxster Convertible Top Issues and Solutions
Thanks, Maurice. It's a beautiful weekend here in CA (first in a while) and this gives me another opportunity to make more progress on the top. I inquired about the 3M Adhesive Cleaner and learned that it's no longer sold here in CA because of new laws pertaining to air quality. The auto paint store recommended another adhesive cleaner called "SEM Solve", which can still be sold here in CA. They reported painters had good success with it. So I bought a can. It's an aerosol that you can spray onto a cloth to wipe. It worked like magic. Still needed some elbow grease but the sticky tape residue that could not be removed with alcohol melted away immediately. That channel is so clean now it's amazing. And I have finally crossed the important threshold between removing the top and installing the new top. Making good progress now! Eric -
Kojiro, I recently purchased the same top from the same seller on EBay. It is a GAHH top and comes in a brand new GAHH box. I contacted the seller prior to purchasing and he confirmed it was a GAHH top. He said he sells both the GAHH and Robbins top and can deliver both, although at different prices. He's been in the business of selling tops for 35 years, and he sells more GAHH tops than the Robbins tops. He says both are equivalent in quality but because GAHH is a smaller company, they can offer a comparable at a price slightly cheaper than the Robbins top. FWIW, I was originally going to get a Robbins top, but because of the information he provided, I decided to switch to getting a GAHH top. I haven't regretted it at all. I am in the process of installing the top myself. It is definitely not a project for the timid, but I am getting through it and I consider myself quite handy. The GAHH top appears to be very high quality in terms of build and fit, and I'm looking forward to have a nice, new top on my Boxster. I definitely recommend buying through this seller. He was very helpful. Hope that helps. Eric
-
Ordered Glass top from Robbins
ericinca replied to pmpjuil's topic in 986 Boxster Convertible Top Issues and Solutions
Eric: Glad to help. When you get it done, post a couple of pics! If you have a "before" pic, that would be even better. Regards, Maurice. Guys, I'm having a h*ll of a time removing the residual tape in slot #3 where the fat weather strip goes before putting on the new top. I've got most of the tape off, but there appears some residual that seems permanently bonded to the metal, especially at the end of the bow. Repeated application of denatured alcohol does not help. I'm thinking about using something stronger, like an adhesive remover to take off the remaining adhesive. Is this safe to use on metal? I want to get to the exciting part of installing the new top, but am being slowed by cleaning out the old tape. Any advice much appreciated. Eric -
Ordered Glass top from Robbins
ericinca replied to pmpjuil's topic in 986 Boxster Convertible Top Issues and Solutions
Eric: Definitely a good idea to redo the heat shrink tubing. If not, you will get a creaking noise every time the top goes up and down. It was not added into the article because I had a new OEM top that already had cables attached when I wrote that part up. Remember... Don't cut any corners and when you are finished and step back to look at your handiwork for the first time, you will think you just got a new car! Regards, Maurice. Thanks Maurice. Your experience with the top installation is very helpful to the rest of us! Eric -
Ordered Glass top from Robbins
ericinca replied to pmpjuil's topic in 986 Boxster Convertible Top Issues and Solutions
Thanks Maurice. That article is a godsend! One question as I install the new top... I noticed during disassembly (and was mentioned in the article) that there was heat shrink tubing around the spring and cable that I removed. I didn't see mention in the article of redoing the tubing when installing the new top. The only reason I could see doing it is that the spring and cable might bang against the aluminum plate and cause clanking noise during driving. Is it necessary to redo the heat shrink tubing? Eric -
Ordered Glass top from Robbins
ericinca replied to pmpjuil's topic in 986 Boxster Convertible Top Issues and Solutions
Maurice, Thanks so much for your insights. Those pins were definitely tight in there! After thinking a bit about what I could do, I decided to spray some WD40 onto the pins to see if they would loosen them. That did the trick! I still had to use the pliers to wiggle each pin in all directions before they would come loose. After I heard a "snap" sound while wiggling, the pins would become unstuck and pull right now. (Not that I actually know, but I felt like a dentist pulling teeth.) I'm not sure what caused the assembly to be so tight. Upon inspecting the pins after they were out, I didn't see anything out of the ordinary. Perhaps it was years of being fastened together which caused the parts to stick. In any case, I'm glad I got them out, and the top is off! And this forum has been a tremendous help so far! Eric -
Ordered Glass top from Robbins
ericinca replied to pmpjuil's topic in 986 Boxster Convertible Top Issues and Solutions
Guys, I'm taking apart the top now to replace it with a top from GAHH. I'm having a lot of trouble pulling out the pins for the clamping rails and slider. Are they supposed to come out easily? I used long-nose pliers but they seem very stuck in there. All I'm doing so far is destroying the pin. :( Any advice is much appreciated. Eric -
Interior fan rattle
ericinca replied to ericinca's topic in 986 Boxster Convertible Top Issues and Solutions
Loren, Just wanted to let you know that you are a genius! I just replaced the pollen filter with a new one (it was dirtier than the engine's air filter!) and put my hand into the opening. Lo and behold, there was a loose piece of insulation in there that was tumbling with the fan! Don't know how it got there, and as I felt around the opening, I didn't feel that anything had come off around the sides. In any case, I put in the new filter, turned on the fan, and the rattle was gone! What had been bugging me for a year is now fixed. Thanks again for your help! Eric -
Infinity speakers on dash & doors
ericinca replied to ericinca's topic in 986 Series (Boxster, Boxster S)
Gary H, nice writeup! Nice touch on the Infinity badges on the grilles! I may do the same! -
Infinity speakers on dash & doors
ericinca replied to ericinca's topic in 986 Series (Boxster, Boxster S)
Thanks for all the responses and the help from members of this board! This forum has been such a great source of info. I am now in the heat of installing the dash speakers. Any advice on how to seal the tweeter area, since I'm using new 2-way speakers to replace the full range and tweeter pair? I heard that the sound will be better if the front and the back of the speaker are sealed from each other to prevent the sound waves from canceling each other. Taking out the old tweeter obviously leaves a big hole for the sound to get through! I'm sure I'm not the first to encounter this! Eric -
Interior fan rattle
ericinca replied to ericinca's topic in 986 Boxster Convertible Top Issues and Solutions
Loren, thanks. I did do a search before posting but didn't locating any relevant articles. Apologies if I missed something that was a popular topic some time ago. Maybe you can give a pointer? Eric -
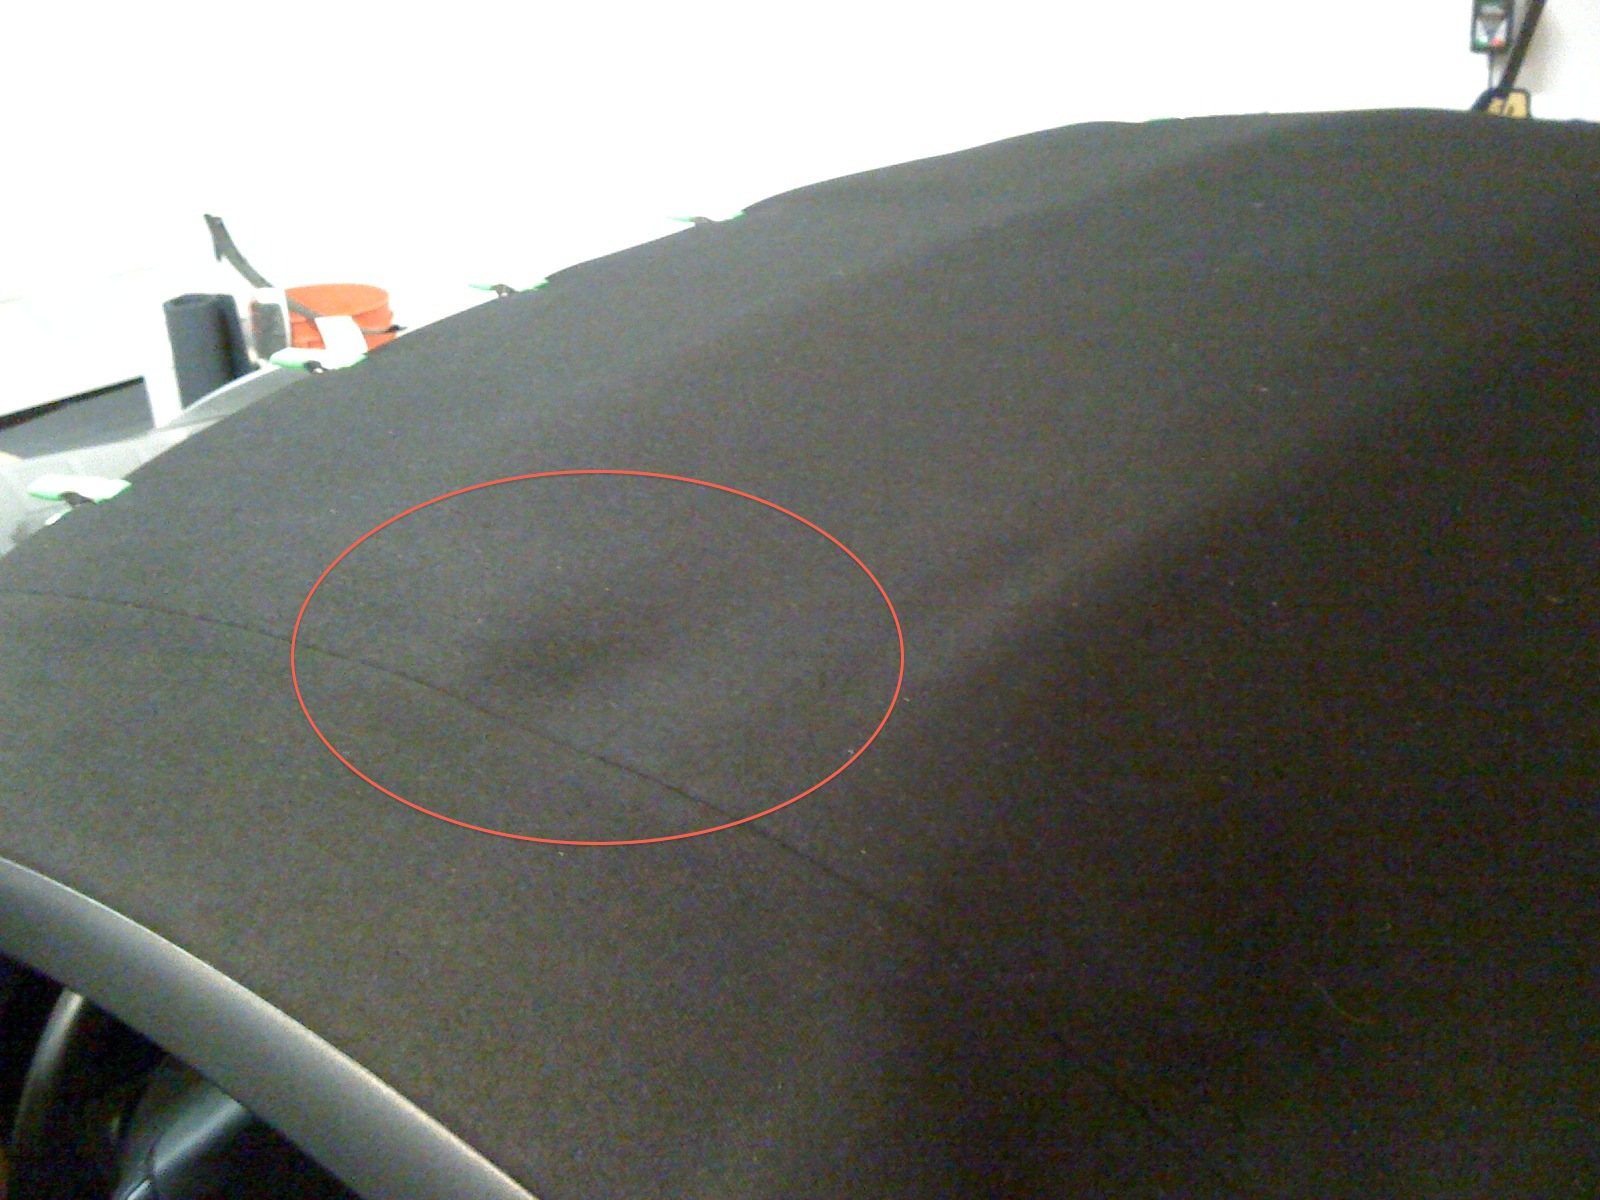
I have a 99 Boxster and have noticed that within the last year, my interior fan rattles when it is turned on at high speed. "High speed" means anything above 3 bars on the climate system. The noise starts to be heard. The higher the fan speed, the louder the rattle. It doesn't sound like a leaf got stuck in there, since it sounds "harder" than that. It sounds like some piece of plastic is knocking against another at a high rate. (Besides, there's a filter, so leaves should not get into the vent system.) Anyone have this happen to them? And more importantly, is there a way to fix it assuming the cause is known? Otherwise, the fan works perfectly; the noise is just a bit annoying. That's all. Eric
-
I've wanting to upgrade the speakers in my 986 for many years. This is the year! I've been investigating speakers recently and like the sound of the Infinity Kappas. A couple questions: 1. Has anyone had experience installing Infinity Kappa 42.9i into the dash? I'm concerned about the mounting depth and want to make sure these speakers fit before I order them. I saw several posts mentioning successful installs with this speaker, but it might depend on the particular mounting configuration. This is a coax speaker, and the tweeter protrudes from the main mounting bracket by 5/8" and the rest of the speaker is 1 7/8" deep, so I don't know if there's enough clearance. Rather than cutting the original speaker bracket, I'm considering using the mounting rings from: http://www.directcircuit.com/products/Porsche-Audio-Speaker-Upgrade-Kit-%28US-Only%29.html 2. About the door speaker... is the signal traveling to them really low-passed for a subwoofer, or is there a full-range signal going to those speakers? I'm wondering whether I should spend the money on putting coax speakers there or just getting a single "woofer" speaker there. Appreciate feedback from this setup... Eric