Welcome to RennTech.org Community, Guest
There are many great features available to you once you register at RennTech.org
You are free to view posts here, but you must log in to reply to existing posts, or to start your own new topic. Like most online communities, there are costs involved to maintain a site like this - so we encourage our members to subscribe or donate. All subscriptions and donations go to the costs operating and maintaining this site. We prefer that guests take part in our community and we offer a lot in return to those willing to join our corner of the Porsche world. This site is 99 percent member supported (less than 1 percent comes from advertising) - so please consider an annual subscription or donation to keep this site running.
Here are some of the features available - once you subscribe RennTech.org
- View Classified Ads
- DIY Tutorials
- Porsche TSB Listings (limited)
- VIN Decoder
- Special Offers
- Paint Codes
- Registry
- Videos System
- View Reviews
- and get rid of this welcome message
It takes just a few minutes to register, and it's quality Porsche information at a low cost.
Contributing Members also get these additional benefits:
(you become a Contributing Member by subscribing or donating money to the operation of this site)
- No ads - advertisements are removed
- Access the Contributors Only Forum
- Contributing Members Only Downloads
- Send attachments with PMs
- All image/file storage limits are substantially increased for all Contributing Members
- Option Codes Lookup
- VIN Option Lookups (limited)


magnus c
-
Posts
12 -
Joined
-
Last visited
About magnus c

- Birthday 11/17/1973
magnus c's Achievements
Member (1/1)
0
Reputation
-
PSE electronic problem
magnus c replied to magnus c's topic in 996 Series (Carrera, Carrera 4, Carrera 4S, Targa)
Thank you for helping me with all my questions :D :king: Now everthing works and it sounds very nice I crimped the BU/RE wire into the BK/RE One last thing I notice After a few minutes, when the mufflers and the cats had been warm they started to smoke a little, is this normal? /Magnus -
PSE electronic problem
magnus c replied to magnus c's topic in 996 Series (Carrera, Carrera 4, Carrera 4S, Targa)
I have tried again, it wont fit , strange! My connector is in 2 pieces, one outershield and one smaller inside where the wire is fixed, shall I remove the outershield? I have removed the grey plastic thing It will fit like the other connectors, right ? -
PSE electronic problem
magnus c replied to magnus c's topic in 996 Series (Carrera, Carrera 4, Carrera 4S, Targa)
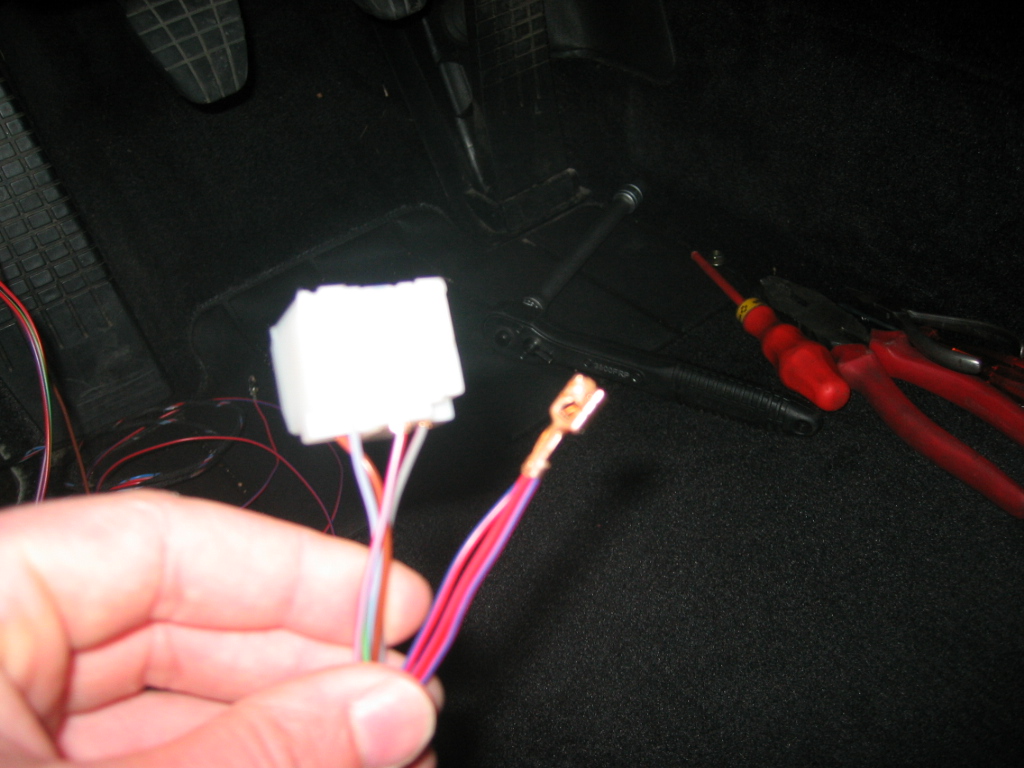
Piece of Cake! The fuse box has a carpet cover on it that is held on with 4 screws. Take the black cover off to expose the fuses, and you will see the 4 screws. Take them off, and pull off the carpet cover. The fuse block is held in by 4 clips on each corner of the box (block). You can see 2 of the clips in this picture. Just pop the clips free and pull the fuse block free so you can get at its backside. Here is a picture of fuse box mount with the clips. I have already pulled off the fuse block. Crimp and or solder a female spade connector onto the red/blue wire that will be attached to the fuse block. Turn the fuse block over and insert it in an open spade where my finger is pointed. As you can see, I have already attached my red/blue wire there. (2nd row, outboard connector) That is it! Now put everything back and you are done. If you have not already installed the relay plug on the relay support bracket, it is easier to get at with the fuse block detached. Thank you for your replies I have detached the fuseblock and turned it over and it is a free spot to put the wire in but it wont fit! Here is a picture of the connector. It is a grey plastic thing halfway down, can I move this one? Is this the right way to connect the wire? In the Technical Info from Porsche it says that you should crimp it to the BK/RE wire for fuse B10. In your picture it seems that the RE/BU wire is not connected to the fuse becouse the power source is on the same side as you have connect the wire. Right or wrong? /Magnus
-
PSE electronic problem
magnus c replied to magnus c's topic in 996 Series (Carrera, Carrera 4, Carrera 4S, Targa)
Thank you You are right about the wires, the 3 wire Red/Blue bundle comes with 1 wire from the switch and are connected together as the picture shown and goes back with 2 wires, one to the back of the car and one to the fuse box. How do I split the fusebox? And the big question How do I connect the wire to the B10 fuse? -
PSE electronic problem
magnus c replied to magnus c's topic in 996 Series (Carrera, Carrera 4, Carrera 4S, Targa)
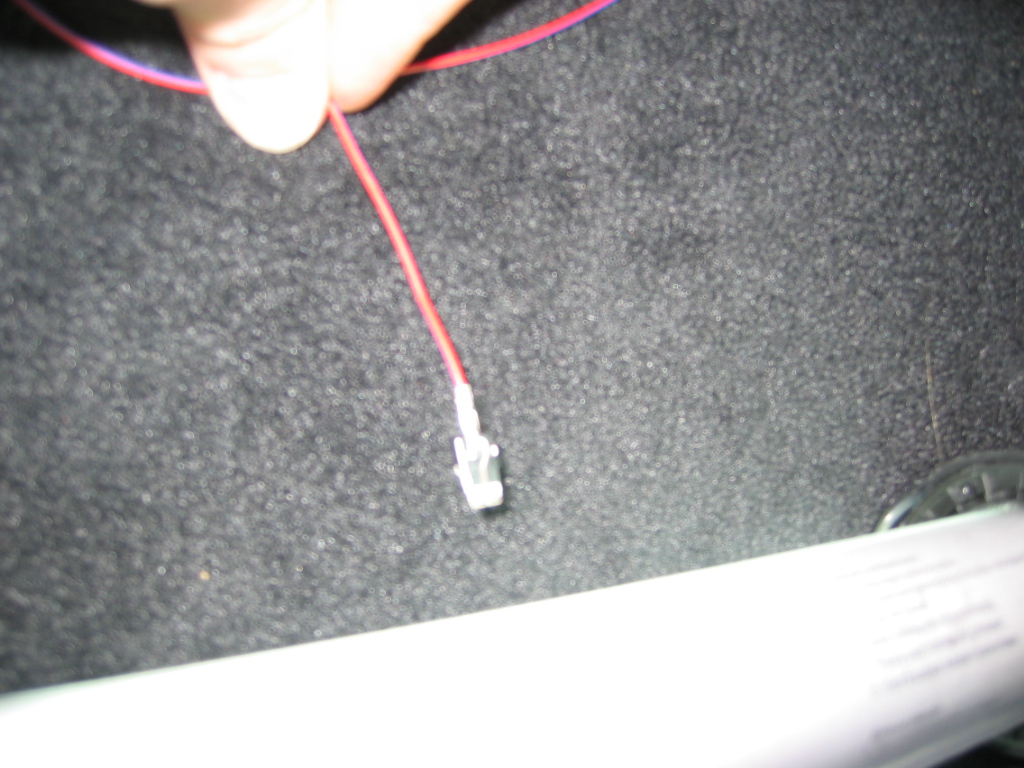
It´s a 996 Here is a picture of the wire with the 3 wires into one connector, in the background you will see the other red/blue wire Is it a diffrent Technical Information for the latest PSE xxxxxxx21 or is it the same as for xxxxxxx19 /Magnus -
PSE electronic problem
magnus c replied to magnus c's topic in 996 Series (Carrera, Carrera 4, Carrera 4S, Targa)
It´s a 996 Here is a picture of the wire with the 3 wires into one connector, in the background you will see the other red/blue wire
-
PSE electronic problem
magnus c posted a topic in 996 Series (Carrera, Carrera 4, Carrera 4S, Targa)
I ám almost ready with my install of the PSE, but i have a little problem On the wiring harness that comes from the switch there are 3 blue/red cables (one of these are 3 wires connected to one with a connector ( the same connector that fits in the relay socket ) and the other has just a connector, this one is approx 60 cm longer than the first one and the last one is for the switch-over valve ) I have the Technical Info from Porsche but i dont understand how to do Can someone explain to me how i connect these wires /Magnus -
Remove trim around PCM I
magnus c replied to magnus c's topic in 996 Series (Carrera, Carrera 4, Carrera 4S, Targa)
PULL! Work from one side (under lighter) with a plastic spatula, but go slowly. When you can grip the edge, pull gently outward from the dash, and work your way around the horseshoe piece pulling it out. Thanks It was easier then i thought /Magnus -
How do I remove the trim around PCM I ? I ám going to install the PSE switch /Magnus
-
PSE vacuum problem
magnus c replied to magnus c's topic in 996 Series (Carrera, Carrera 4, Carrera 4S, Targa)
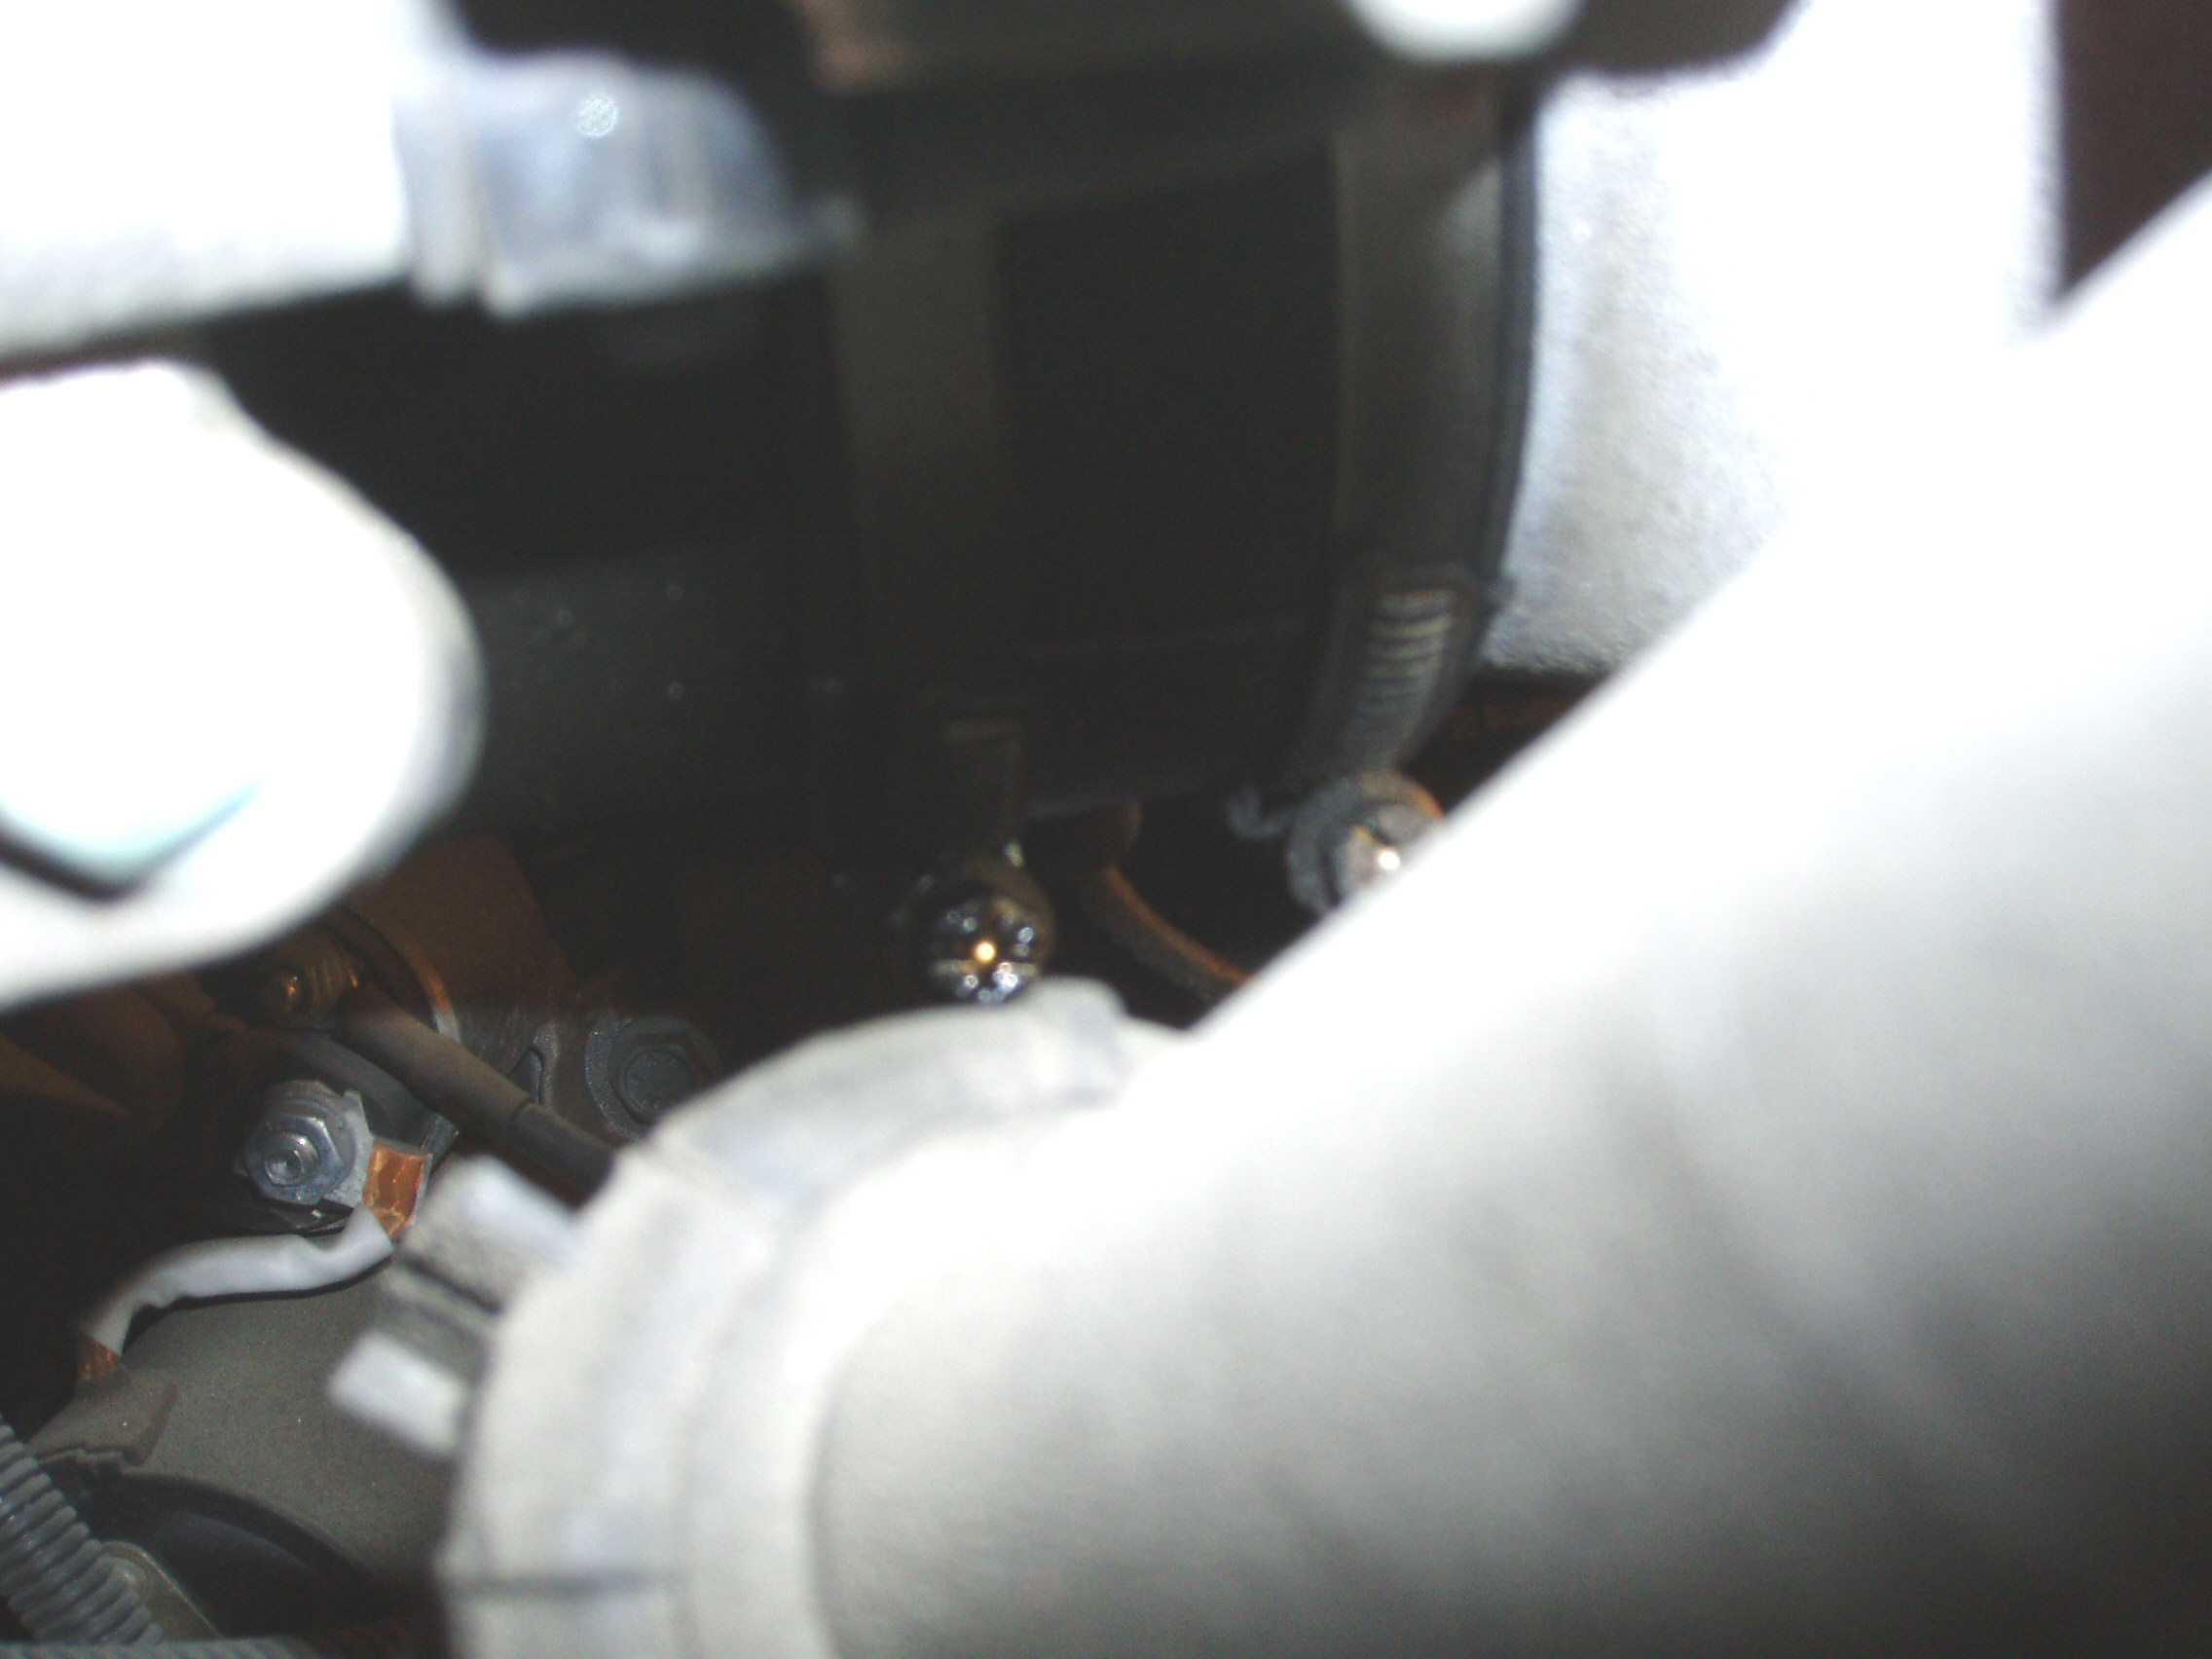
Correct me if I am wrong but droping the engine you have to do to get to the tuning pipe (infront of the throttlebody) and the rubber sleeves. I hope that my left sleeve has no connector so i can use the PSE connector /Magnus -
PSE vacuum problem
magnus c replied to magnus c's topic in 996 Series (Carrera, Carrera 4, Carrera 4S, Targa)
Now I´am a contributing member How do I use the TSB? regards Magnus -
can someone explain to me how the vacuum for the PSE works ? I ám into do the full installation of the PSE and not sure how it works and how to do. I have checked on my car and I have a connection nipple on my right rubber sleeve next to the throttle body, can I use this one ?