Welcome to RennTech.org Community, Guest
There are many great features available to you once you register at RennTech.org
You are free to view posts here, but you must log in to reply to existing posts, or to start your own new topic. Like most online communities, there are costs involved to maintain a site like this - so we encourage our members to subscribe or donate. All subscriptions and donations go to the costs operating and maintaining this site. We prefer that guests take part in our community and we offer a lot in return to those willing to join our corner of the Porsche world. This site is 99 percent member supported (less than 1 percent comes from advertising) - so please consider an annual subscription or donation to keep this site running.
Here are some of the features available - once you subscribe RennTech.org
- View Classified Ads
- DIY Tutorials
- Porsche TSB Listings (limited)
- VIN Decoder
- Special Offers
- Paint Codes
- Registry
- Videos System
- View Reviews
- and get rid of this welcome message
It takes just a few minutes to register, and it's quality Porsche information at a low cost.
Contributing Members also get these additional benefits:
(you become a Contributing Member by subscribing or donating money to the operation of this site)
- No ads - advertisements are removed
- Access the Contributors Only Forum
- Contributing Members Only Downloads
- Send attachments with PMs
- All image/file storage limits are substantially increased for all Contributing Members
- Option Codes Lookup
- VIN Option Lookups (limited)


Halo
-
Posts
52 -
Joined
-
Last visited
-
Days Won
1
About Halo

- Birthday 03/10/1963
Halo's Achievements
Member (1/1)
1
Reputation
-
Instrument Cluster LCD not illuminated in 986
Halo replied to 2muchfast4u's topic in 986 Series (Boxster, Boxster S)
Thanks everyone for the info as I have just experienced an Air Bag idiot light (1.2 watt) as well as my Clock/ Oil level light (1.5) go out recently. To anyone that has replace them; can the bulbs be bought from any auto store or are the specific to Porsche? Thanks, Halo -
Pick it up today
Halo replied to phillipj's topic in 997-1 Series (Carrera, Carrera 4, Carrera 2S, Carrera 4S)
Great find Phillip, I wish you the best with this one. it made me sick when I came over and you showed me the oil in the anti-freeze (I think I threw up in my mouth a little). Then you fixed it and then it tranny problems........ enjoy my friend. see you on the 210. Gil -
Steering wheel shake...
Halo replied to greenrob's topic in 986 Boxster Suspension, Brakes, and Wheels
I had the same issue with my '99, my mechanic performed what they called 3 plane balance on my wheels. a simple balance dont cut it. good luck Halo -
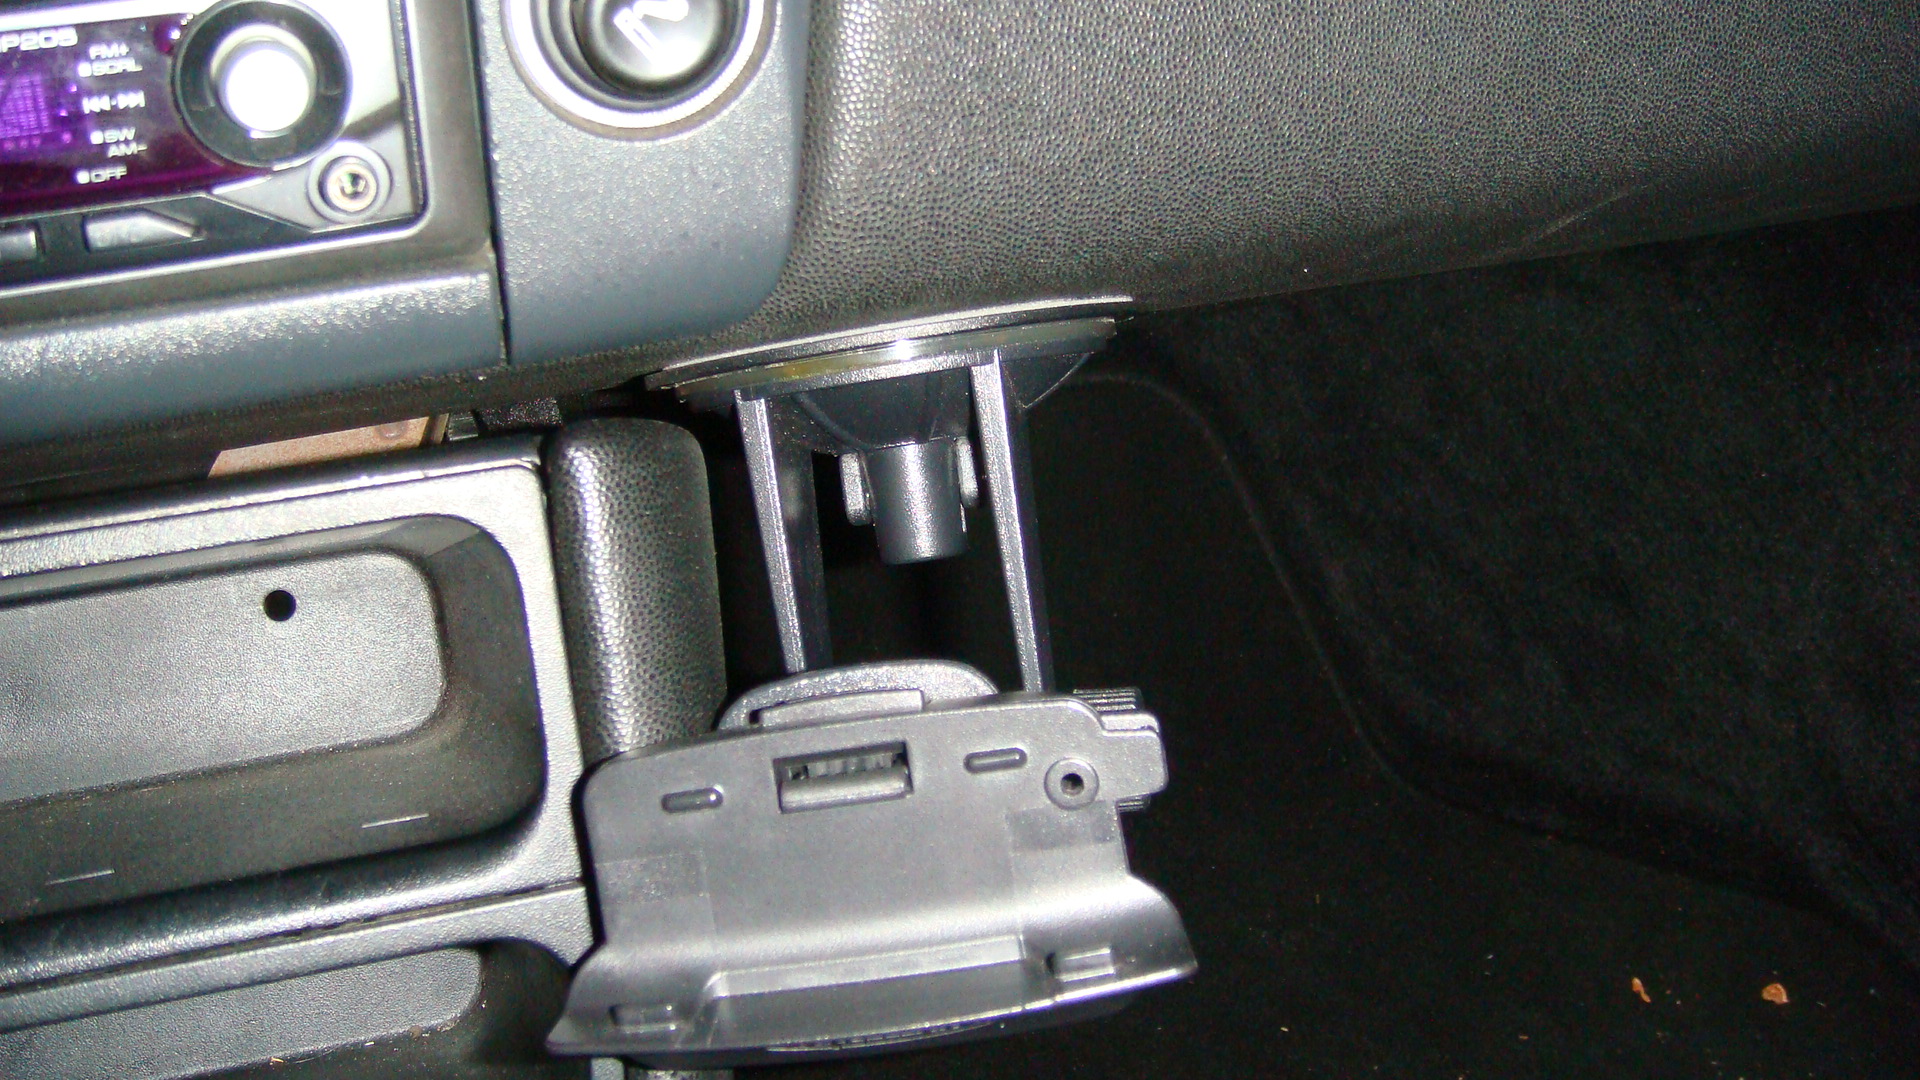
Chigurth, that is where I wanted to put the mount but as you see from my photos, my mount has a higher standoff from the disk. yours is perfect, maybe I will switch mine out for a TOMTOM when mine breaks. as for the sleeve, I thought they had something at Radio Shack. good minds think alike. Halo
-
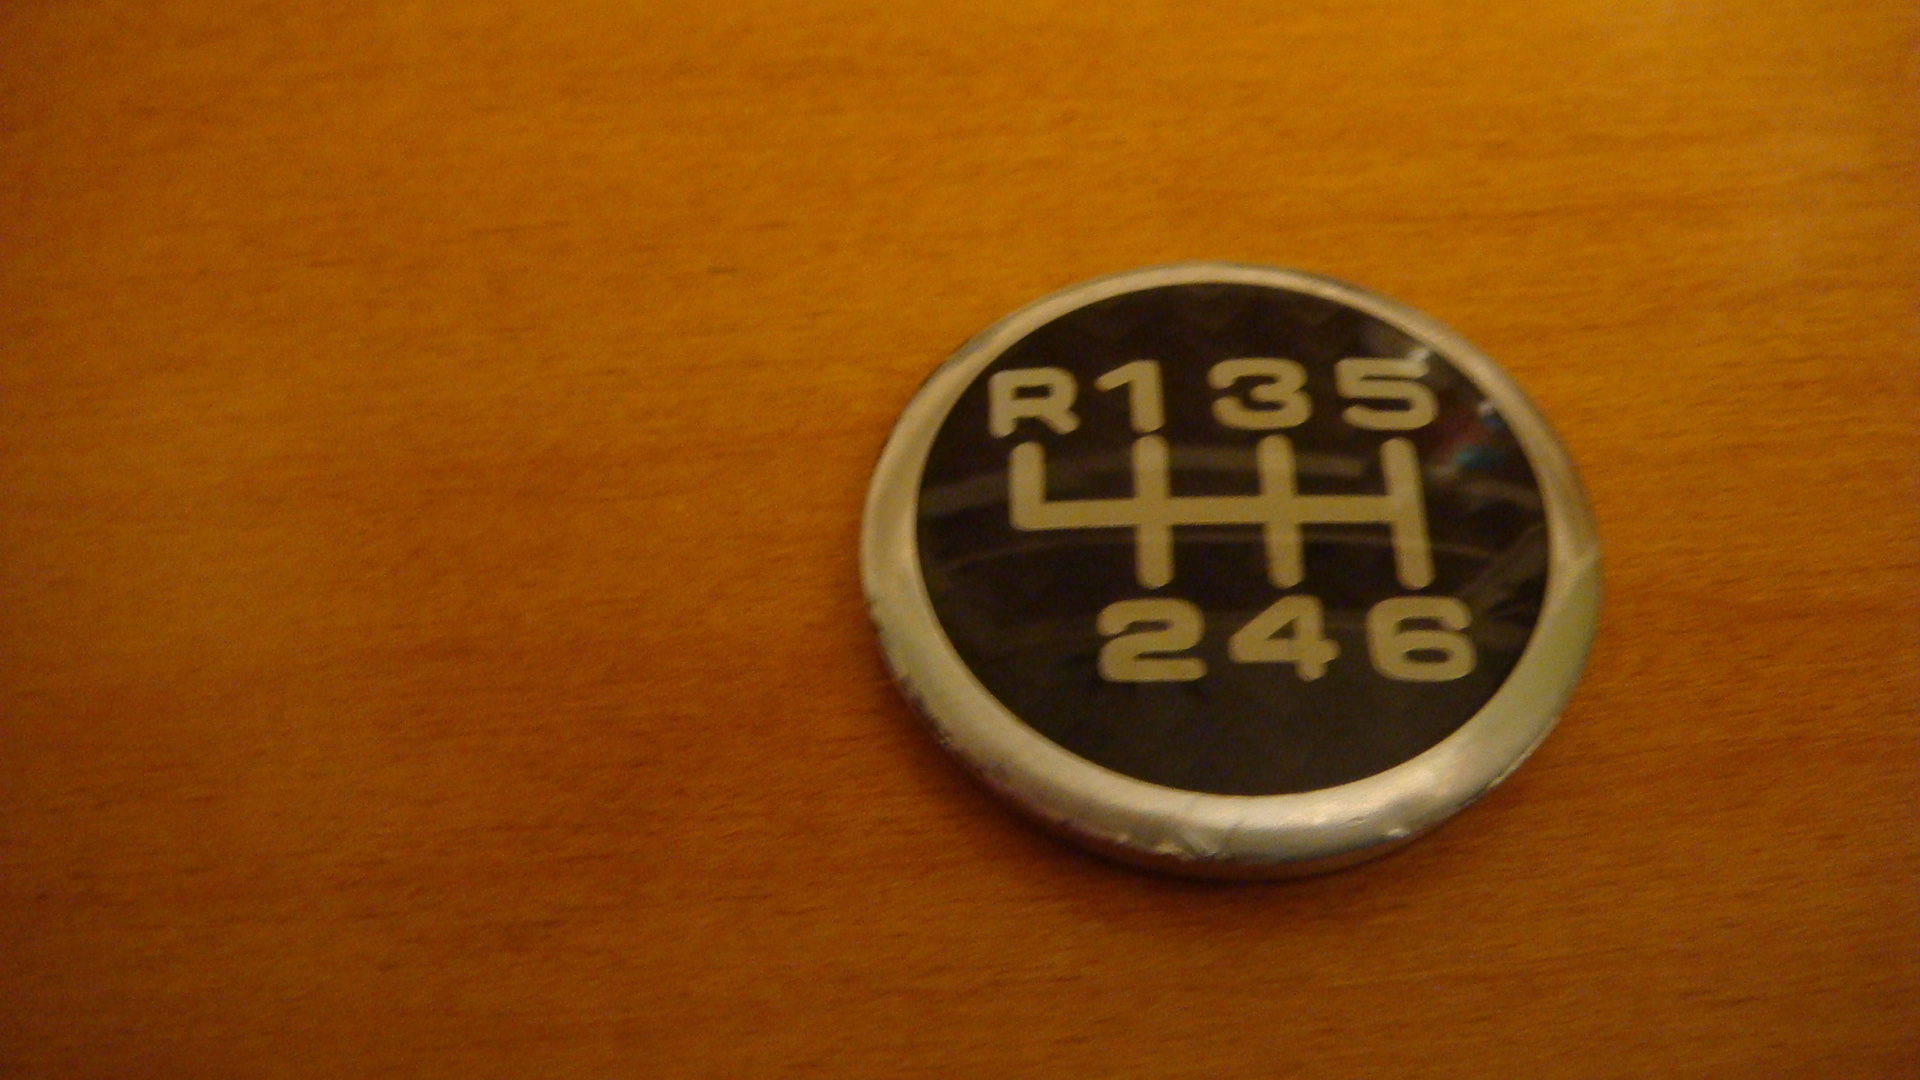
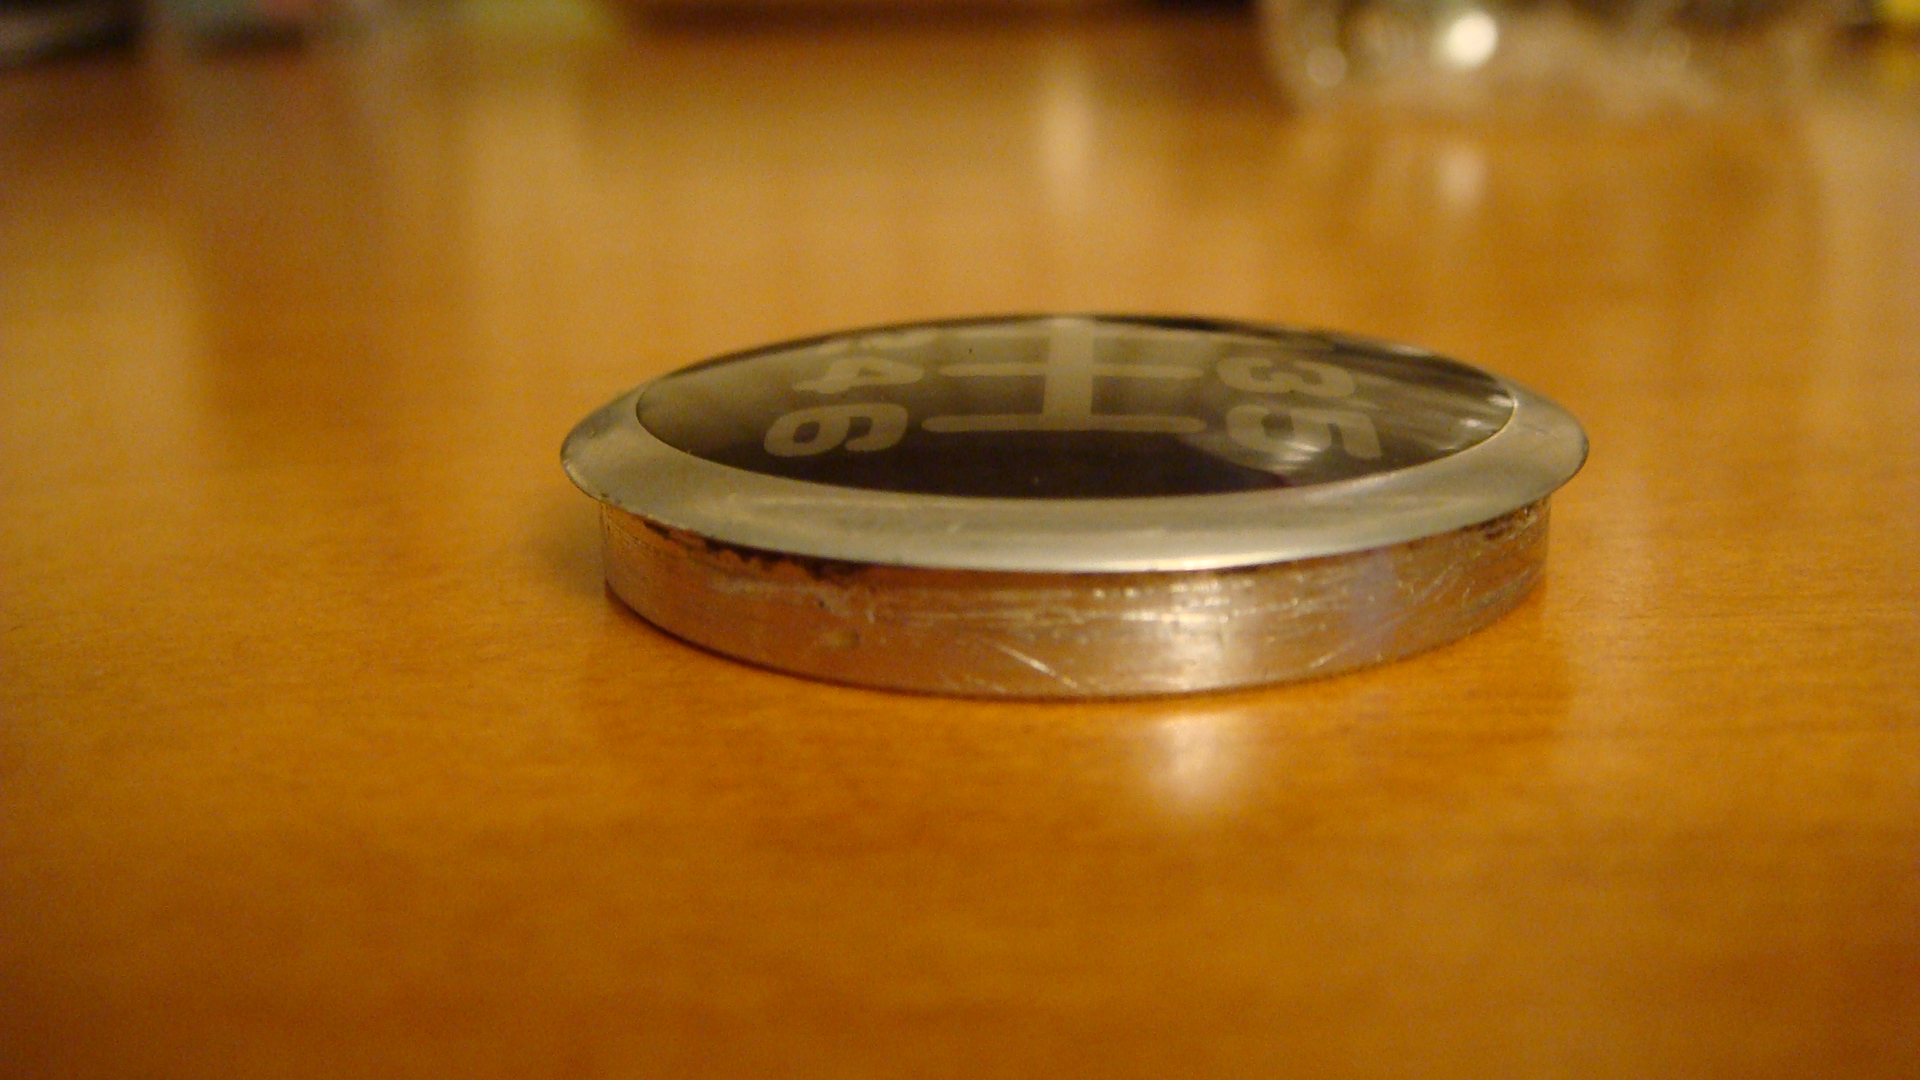
Is the CF Shifter shift pattern a replaceable insert?
Halo replied to LVDell's topic in 986 Series (Boxster, Boxster S)
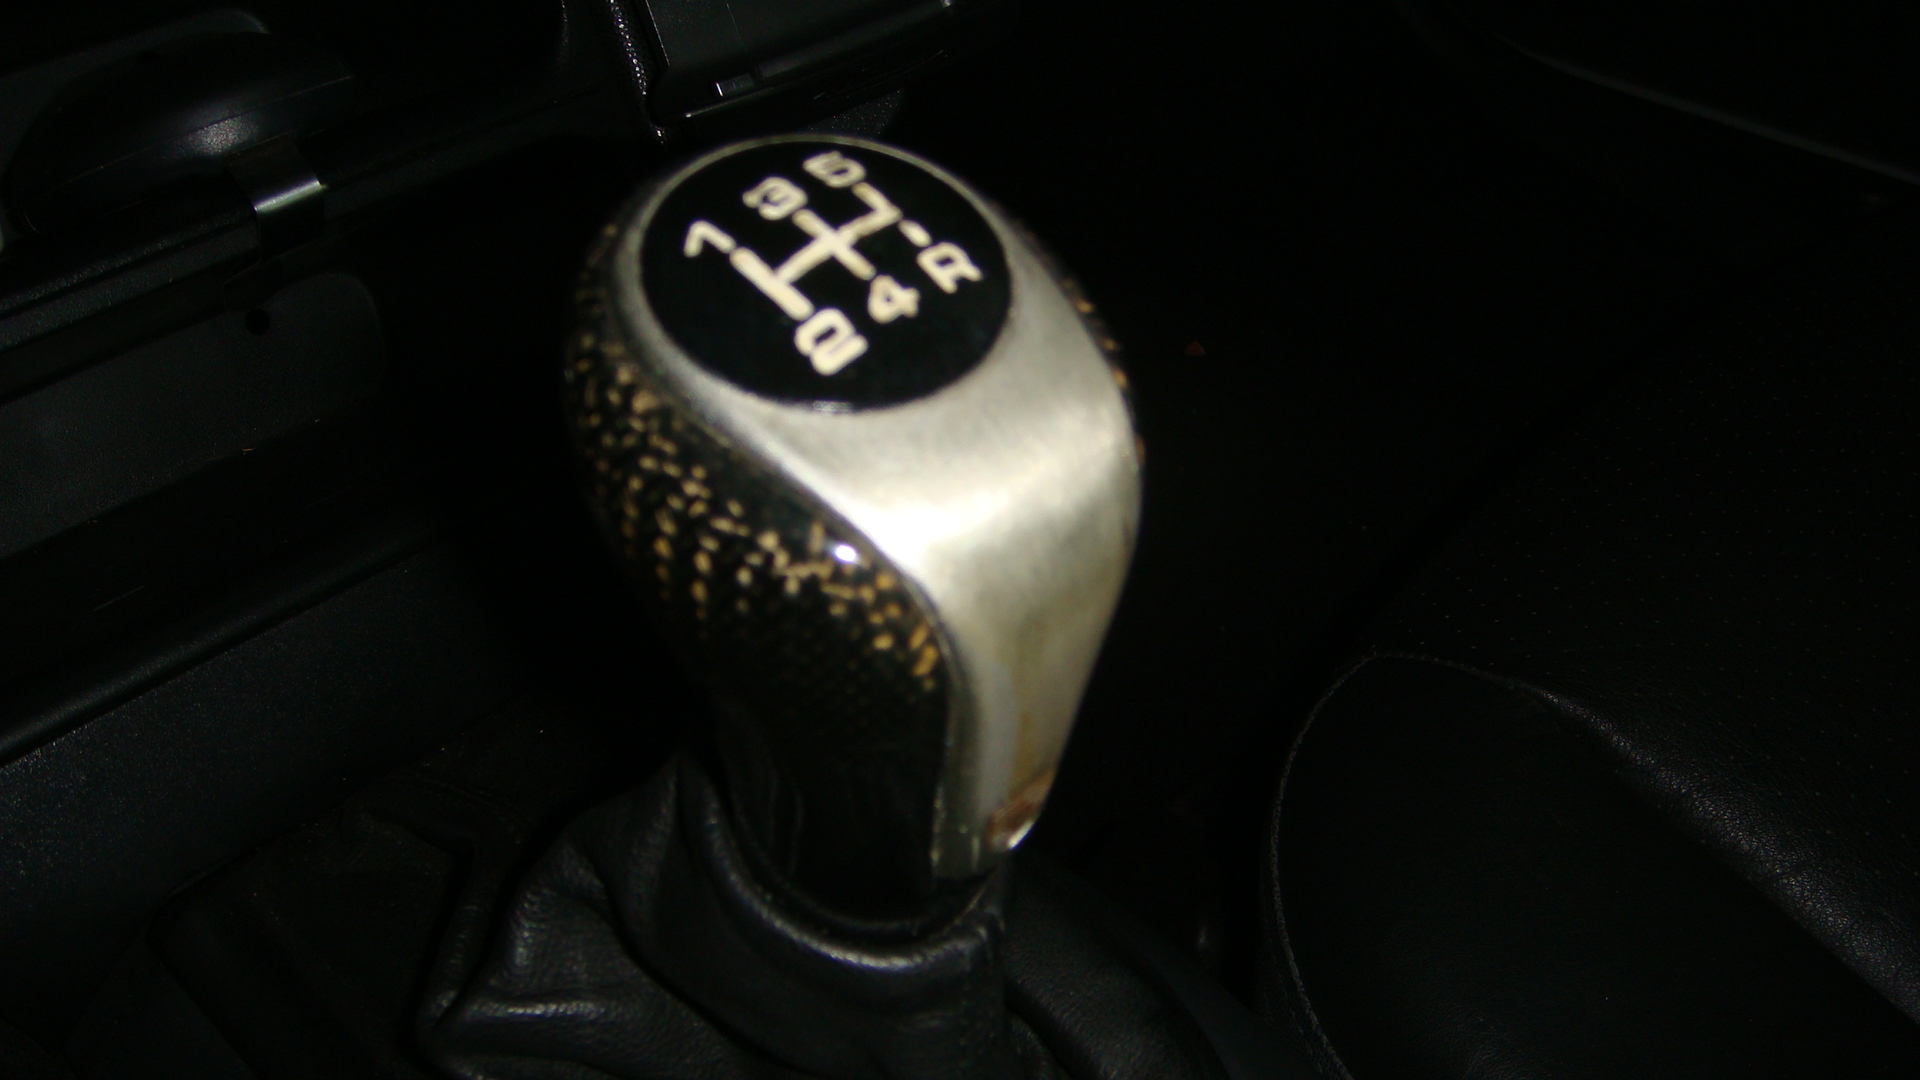
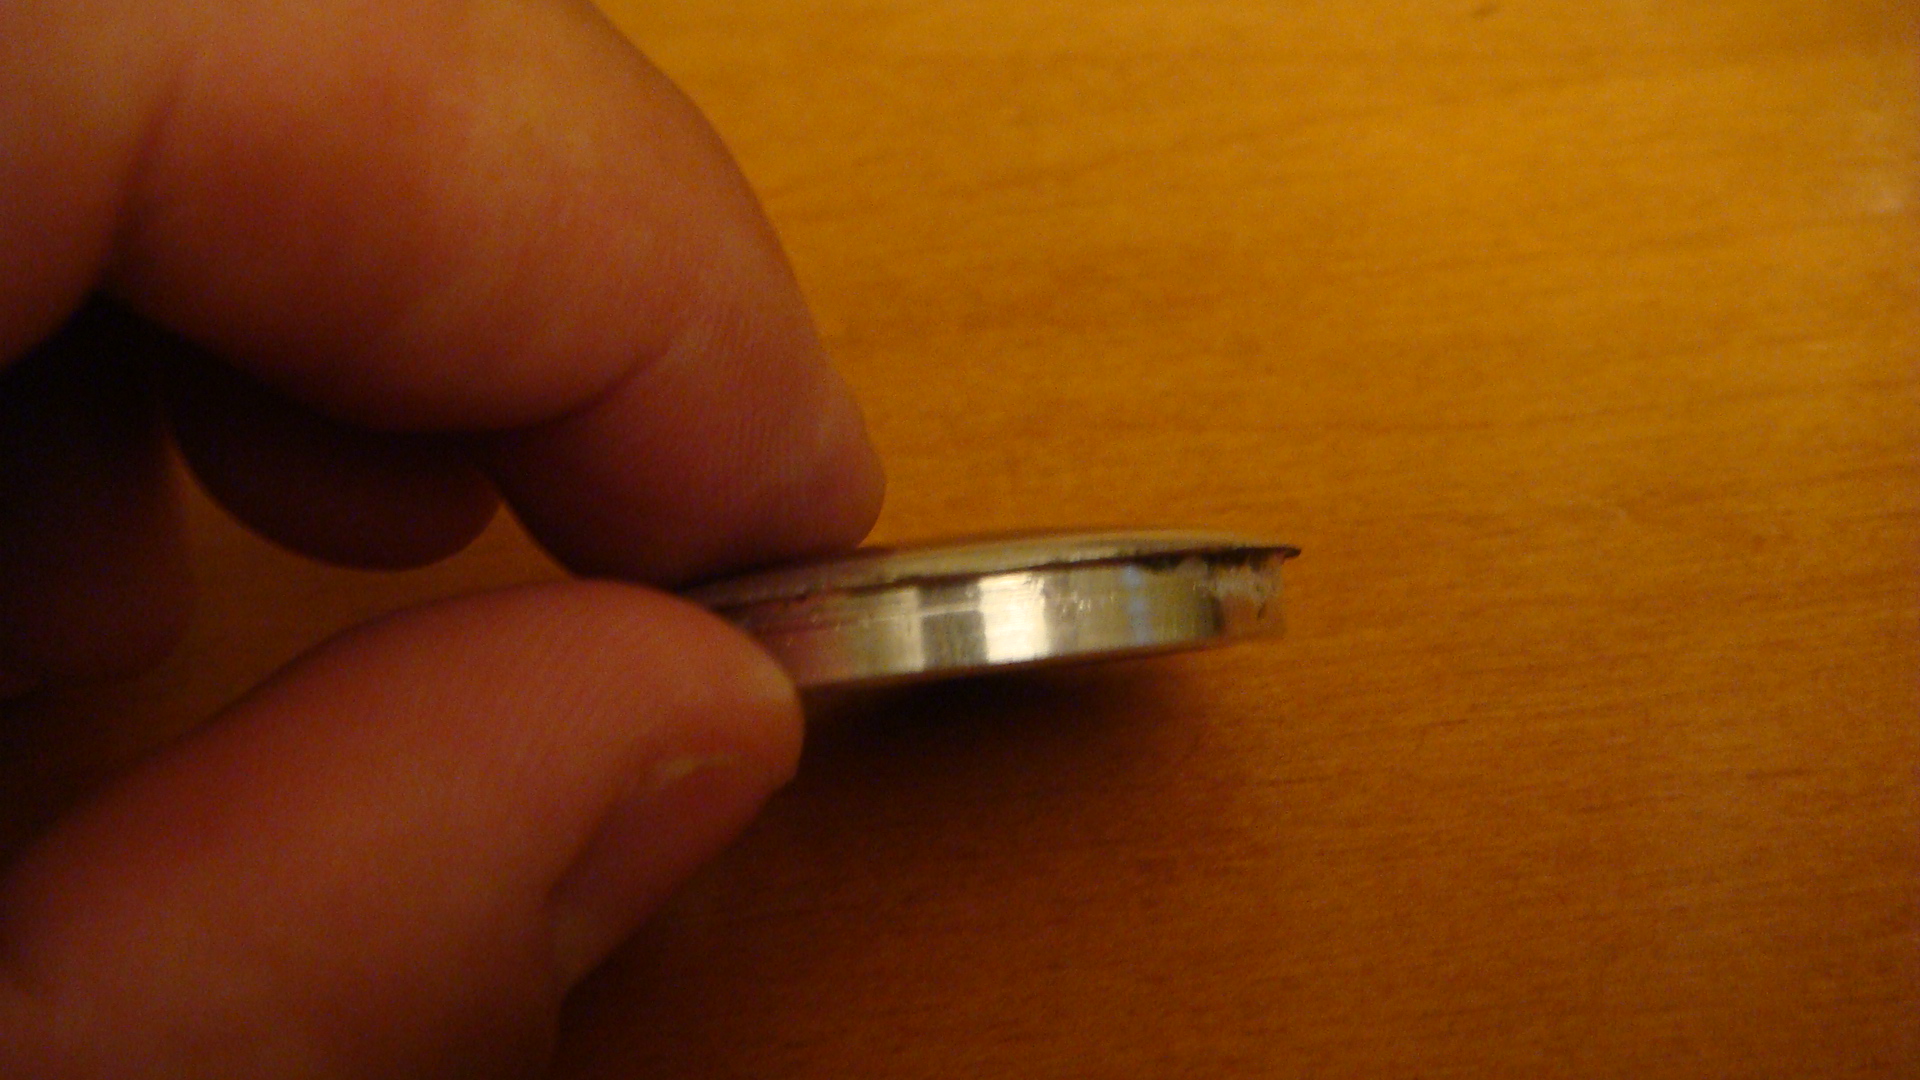
It came off the original POS shift knob. I pryed it out, used a dremel to grind the backside of the black plastic so it would fit flush. Then I glued it in place. I then paint filled the shift pattern and lacquered it. I masked off the CF knob and boot. The black shift pattern was the same diameter as the CF one, just not as nice. here is the old shift knob (donor) Halo
-
do you have a photo(s)? and where did you get it? halo
-
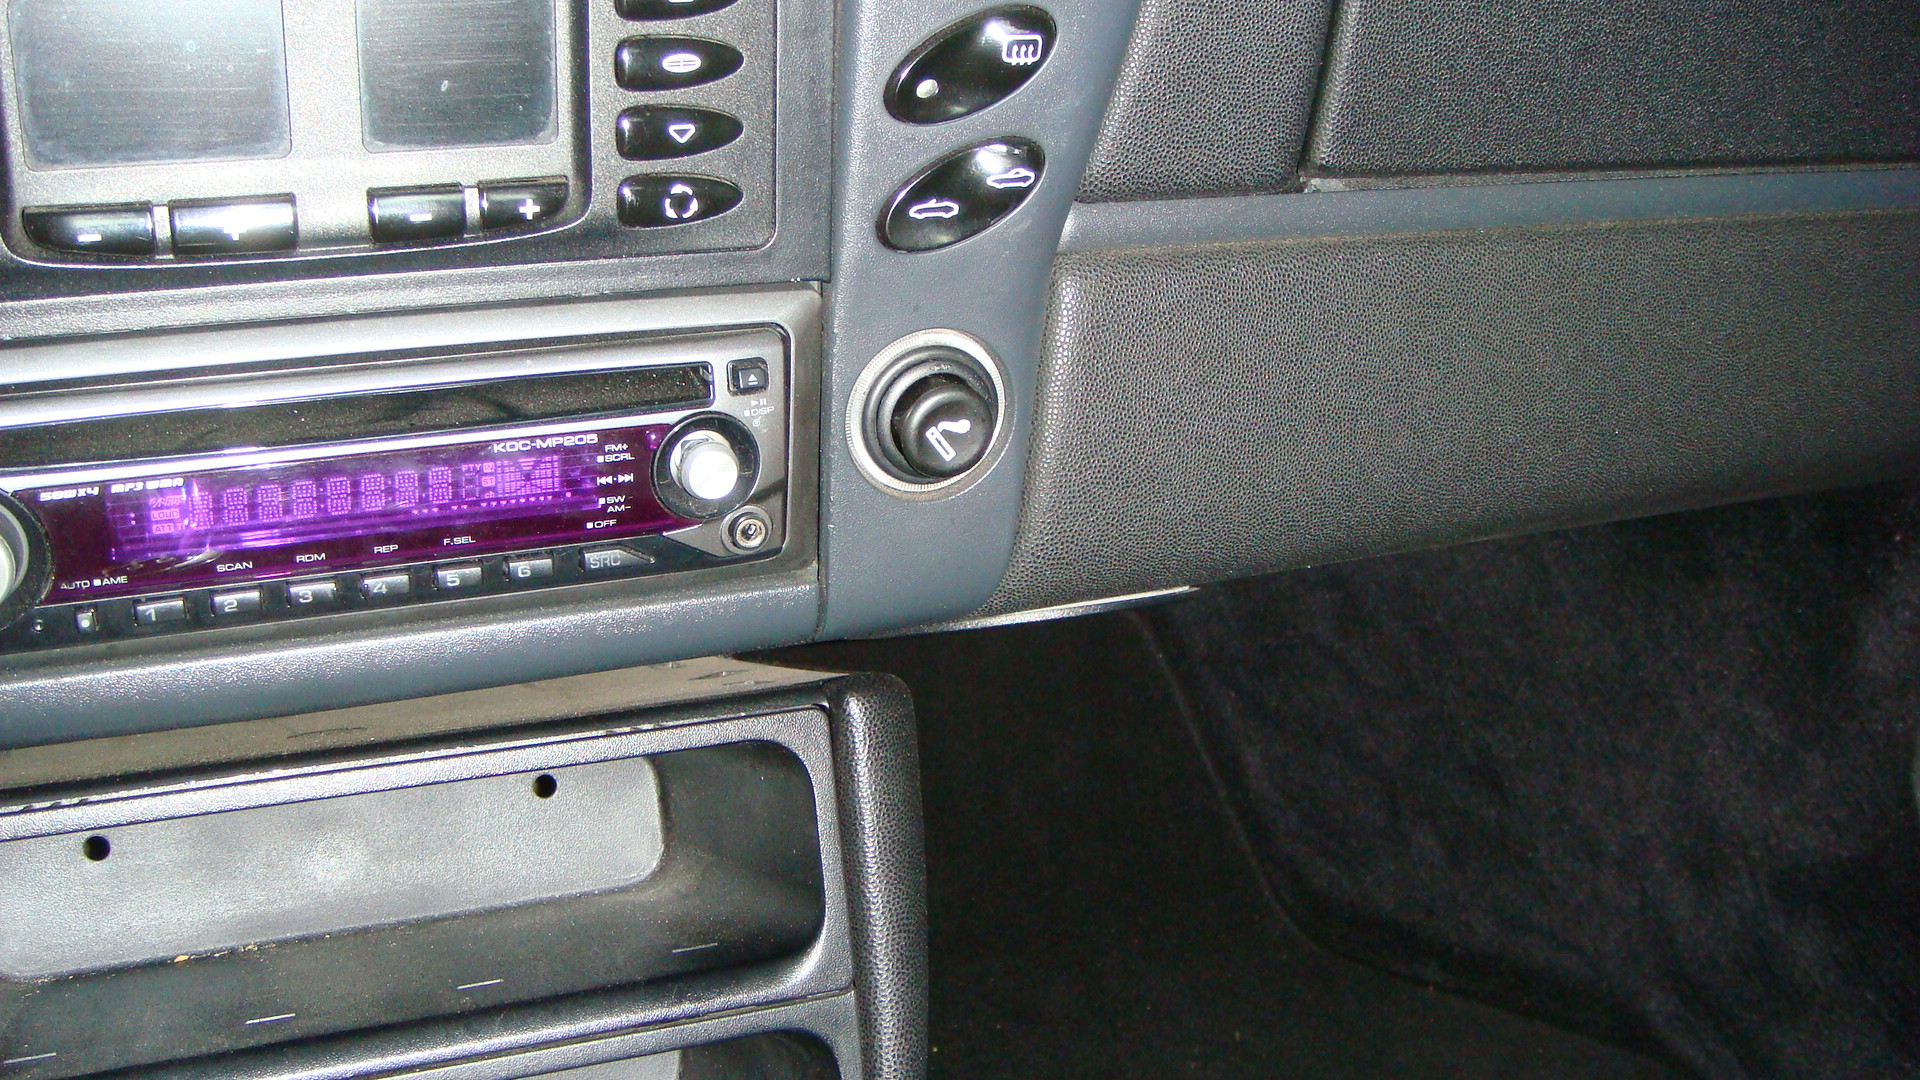
okay, I finally took some photos. from the drivers seat GPS removed for clarity. view from the under side. with GPS removed you can slightly see the mounting disk from the drivers seat. wow, looks like have to do a little dusting. I hope this help you out. Halo
-
Is the CF Shifter shift pattern a replaceable insert?
Halo replied to LVDell's topic in 986 Series (Boxster, Boxster S)
you're welcome. not sure what type of CF shift knob you are looking at but here is a pic of mine. (thanks to member Phillipj) the above pictures of the 6 speed shift pattern button can be popped out and replaced as I did, but finding a 5 speed CF shift pattern is another challange. I paint filled the standard shift knob pattern then laquered it when I put it all together. hope this helps or gives you other ideas. Halo
-
Is the CF Shifter shift pattern a replaceable insert?
Halo replied to LVDell's topic in 986 Series (Boxster, Boxster S)
Mine was glued in. but if you are careful you can pry it out. I popped mine it out from the bottom side using a long screwdriver but almost ruined it because the it was incased in the silver metal trim. The trim is screwed into the knob, the screws are under the shift pattern. I changed mine from a 6 speed to a 5 speed. I could not find the 5 speed pattern so I used the old stock one if you find a place where I can find a CF 5 sp, let me know. I still have the 6 speed pattern. looks cool. if I had to do it again, I would use a long small drill to poke a hole in the back side of the metal trim. then I would use the drill as a punch to tap out the pattern from the backside. The metal trim that holds the shift pattern is very thin on the backside. good luck, Halo edit to add photos. ps. looks like it was glued from the side.
-
I placed the circular dash disk one the bottom of the dash (upside down), in the passenger footwell and next to the console. you cannot see it because my interior is black. I also had to modify my GPS windshield mount a little by turning one of the arms upside down to match. it was no big deal with my unit, undo the bold, flip arm, replace bolt. I am going on vacation today and leaving from work or I would have taken a picture of it when I got home. I hope it helps. Halo
-
here is what I found on the web. good luck. Halo Strange as it may seem, this will work. Last year, on Halloween, my car was egged. The next morning, I THOUGHT I washed it all off, but the next time I washed the car, I realized there were still specks of egg yoke on the car -- from the size of a pinhead up to the size of a pea. Since then (about a year) I have tried everything I could think of to remove the spots -- waxes, polishes, bug removers, etc. Nothing worked. I did a Google search and found this question on several sites, but no answers. So...I decided to try to find a real solution. HERE IT IS: MATERIALS: 1. a package of enzymatic cleaner for contact lenses 2. distilled water 3. cotton balls 4. paper towels 5. a syringe (about 3 cc) or an eye dropper PROCEDURE: 1. park the car in a shady spot and let the surface cool off. 2. prepare the enzymatic cleaner (using distilled water) at TWICE the strength recommended. (In other words, 2 tables per vial instead of one.) 3. as soon as the enzymatic cleaner is dissolved, fill the syringe/eye dropper with the solution 4. for small spots, just place a drop of the solution on the spot, For larger spots, saturate a cotton ball with the solution and place it on the spot. 5. Let the solution remain on the spot for up to 10 minutes, but before the solution dries, wipe it away with paper towel. You will notice that some or all of the egg will come off with the solution 6. it may take several "cycles" to remove all of the egg, but the enzymatic cleaner will eventually break down the protien in the egg allowing you to wipe it off.
-
Pads and Rotors Price Comaprison
Halo replied to usaf-lt-g's topic in 986 Series (Boxster, Boxster S)
Prices might have gone up a bit. I paid around $660 if I remember right, a year ago or so from Sunset (great place BTW). I'll check my receipt when I get home. Kind regards, Halo edit: one big factor, I have a base Boxster not an "S". That could be the difference. -
When I was getting those it turned out to be an air leak in the AOS area. likewise, AOS had started cracking. all is good now.
-
How do I reinstall light switch and vent?
Halo replied to DavidSF's topic in 986 Series (Boxster, Boxster S)
take a look at post #12. here is a picture of what it looks like. you already may have figured it out. I ran into this problem when changing my ignition assembly. http://www.renntech.org/forums/index.php?s...st&p=113618 -
Clam Shell bent rear tine
Halo replied to Halo's topic in 986 Boxster Convertible Top Issues and Solutions
Maurice, It should only over travel in the closed position correct? when it is open, it is relaxed. I'll try to get my camera back there to see how far they stretch now in the closed position. To be honest, I really don't know how far I may be off. When I disconnected everything, I rotated the V-levers enough to put the clamshell in to the 45 deg. postion. The white top pushrods went on from there. I just matched the existing red ones. either way, I will try to take a photo. Thanks again :renntech: Halo