Welcome to RennTech.org Community, Guest
There are many great features available to you once you register at RennTech.org
You are free to view posts here, but you must log in to reply to existing posts, or to start your own new topic. Like most online communities, there are costs involved to maintain a site like this - so we encourage our members to subscribe or donate. All subscriptions and donations go to the costs operating and maintaining this site. We prefer that guests take part in our community and we offer a lot in return to those willing to join our corner of the Porsche world. This site is 99 percent member supported (less than 1 percent comes from advertising) - so please consider an annual subscription or donation to keep this site running.
Here are some of the features available - once you subscribe RennTech.org
- View Classified Ads
- DIY Tutorials
- Porsche TSB Listings (limited)
- VIN Decoder
- Special Offers
- Paint Codes
- Registry
- Videos System
- View Reviews
- and get rid of this welcome message
It takes just a few minutes to register, and it's quality Porsche information at a low cost.
Contributing Members also get these additional benefits:
(you become a Contributing Member by subscribing or donating money to the operation of this site)
- No ads - advertisements are removed
- Access the Contributors Only Forum
- Contributing Members Only Downloads
- Send attachments with PMs
- All image/file storage limits are substantially increased for all Contributing Members
- Option Codes Lookup
- VIN Option Lookups (limited)


headdead
-
Posts
8 -
Joined
-
Last visited
Content Type
Profiles
Events
Forums
Exterior Paint Colors
Downloads
Tutorials
Links Directory
Collections
Classifieds
Store
Everything posted by headdead
-
Camshaft Deviation Values...when to act
headdead replied to schwartzki's topic in 986 Series (Boxster, Boxster S)
JPF Thanks. Am I correct in thinking I will be able to time the cams without the knurled shaft tool since I will time them with the cover off after I replace the chain guides? Several threads seem to ignore this tool... -
Camshaft Deviation Values...when to act
headdead replied to schwartzki's topic in 986 Series (Boxster, Boxster S)
The tool in the upper left holds the cams prior to removing the cam cover. The tool in the upper right holds the cams after the cover is off, allowing them to turn and be timed, i think. What does the tool in the lower center do? Is it used for both 5 and 3 chain M96 engines? -
Thanks so much Loren. 2 trips to my local dealer and they still couldn't find the code; I should have come here first. BTW, did you happen to notice that the previous poster needed code 8676; I needed 8675. Weird. Thanks again.
-
Hi Loren I need the cpde for my CDROM 220 Type 4462 Serial x5031724 Thanks Bert much
-
Cigarette Lighter Removal?
headdead replied to RayGT3's topic in 996 Series (Carrera, Carrera 4, Carrera 4S, Targa)
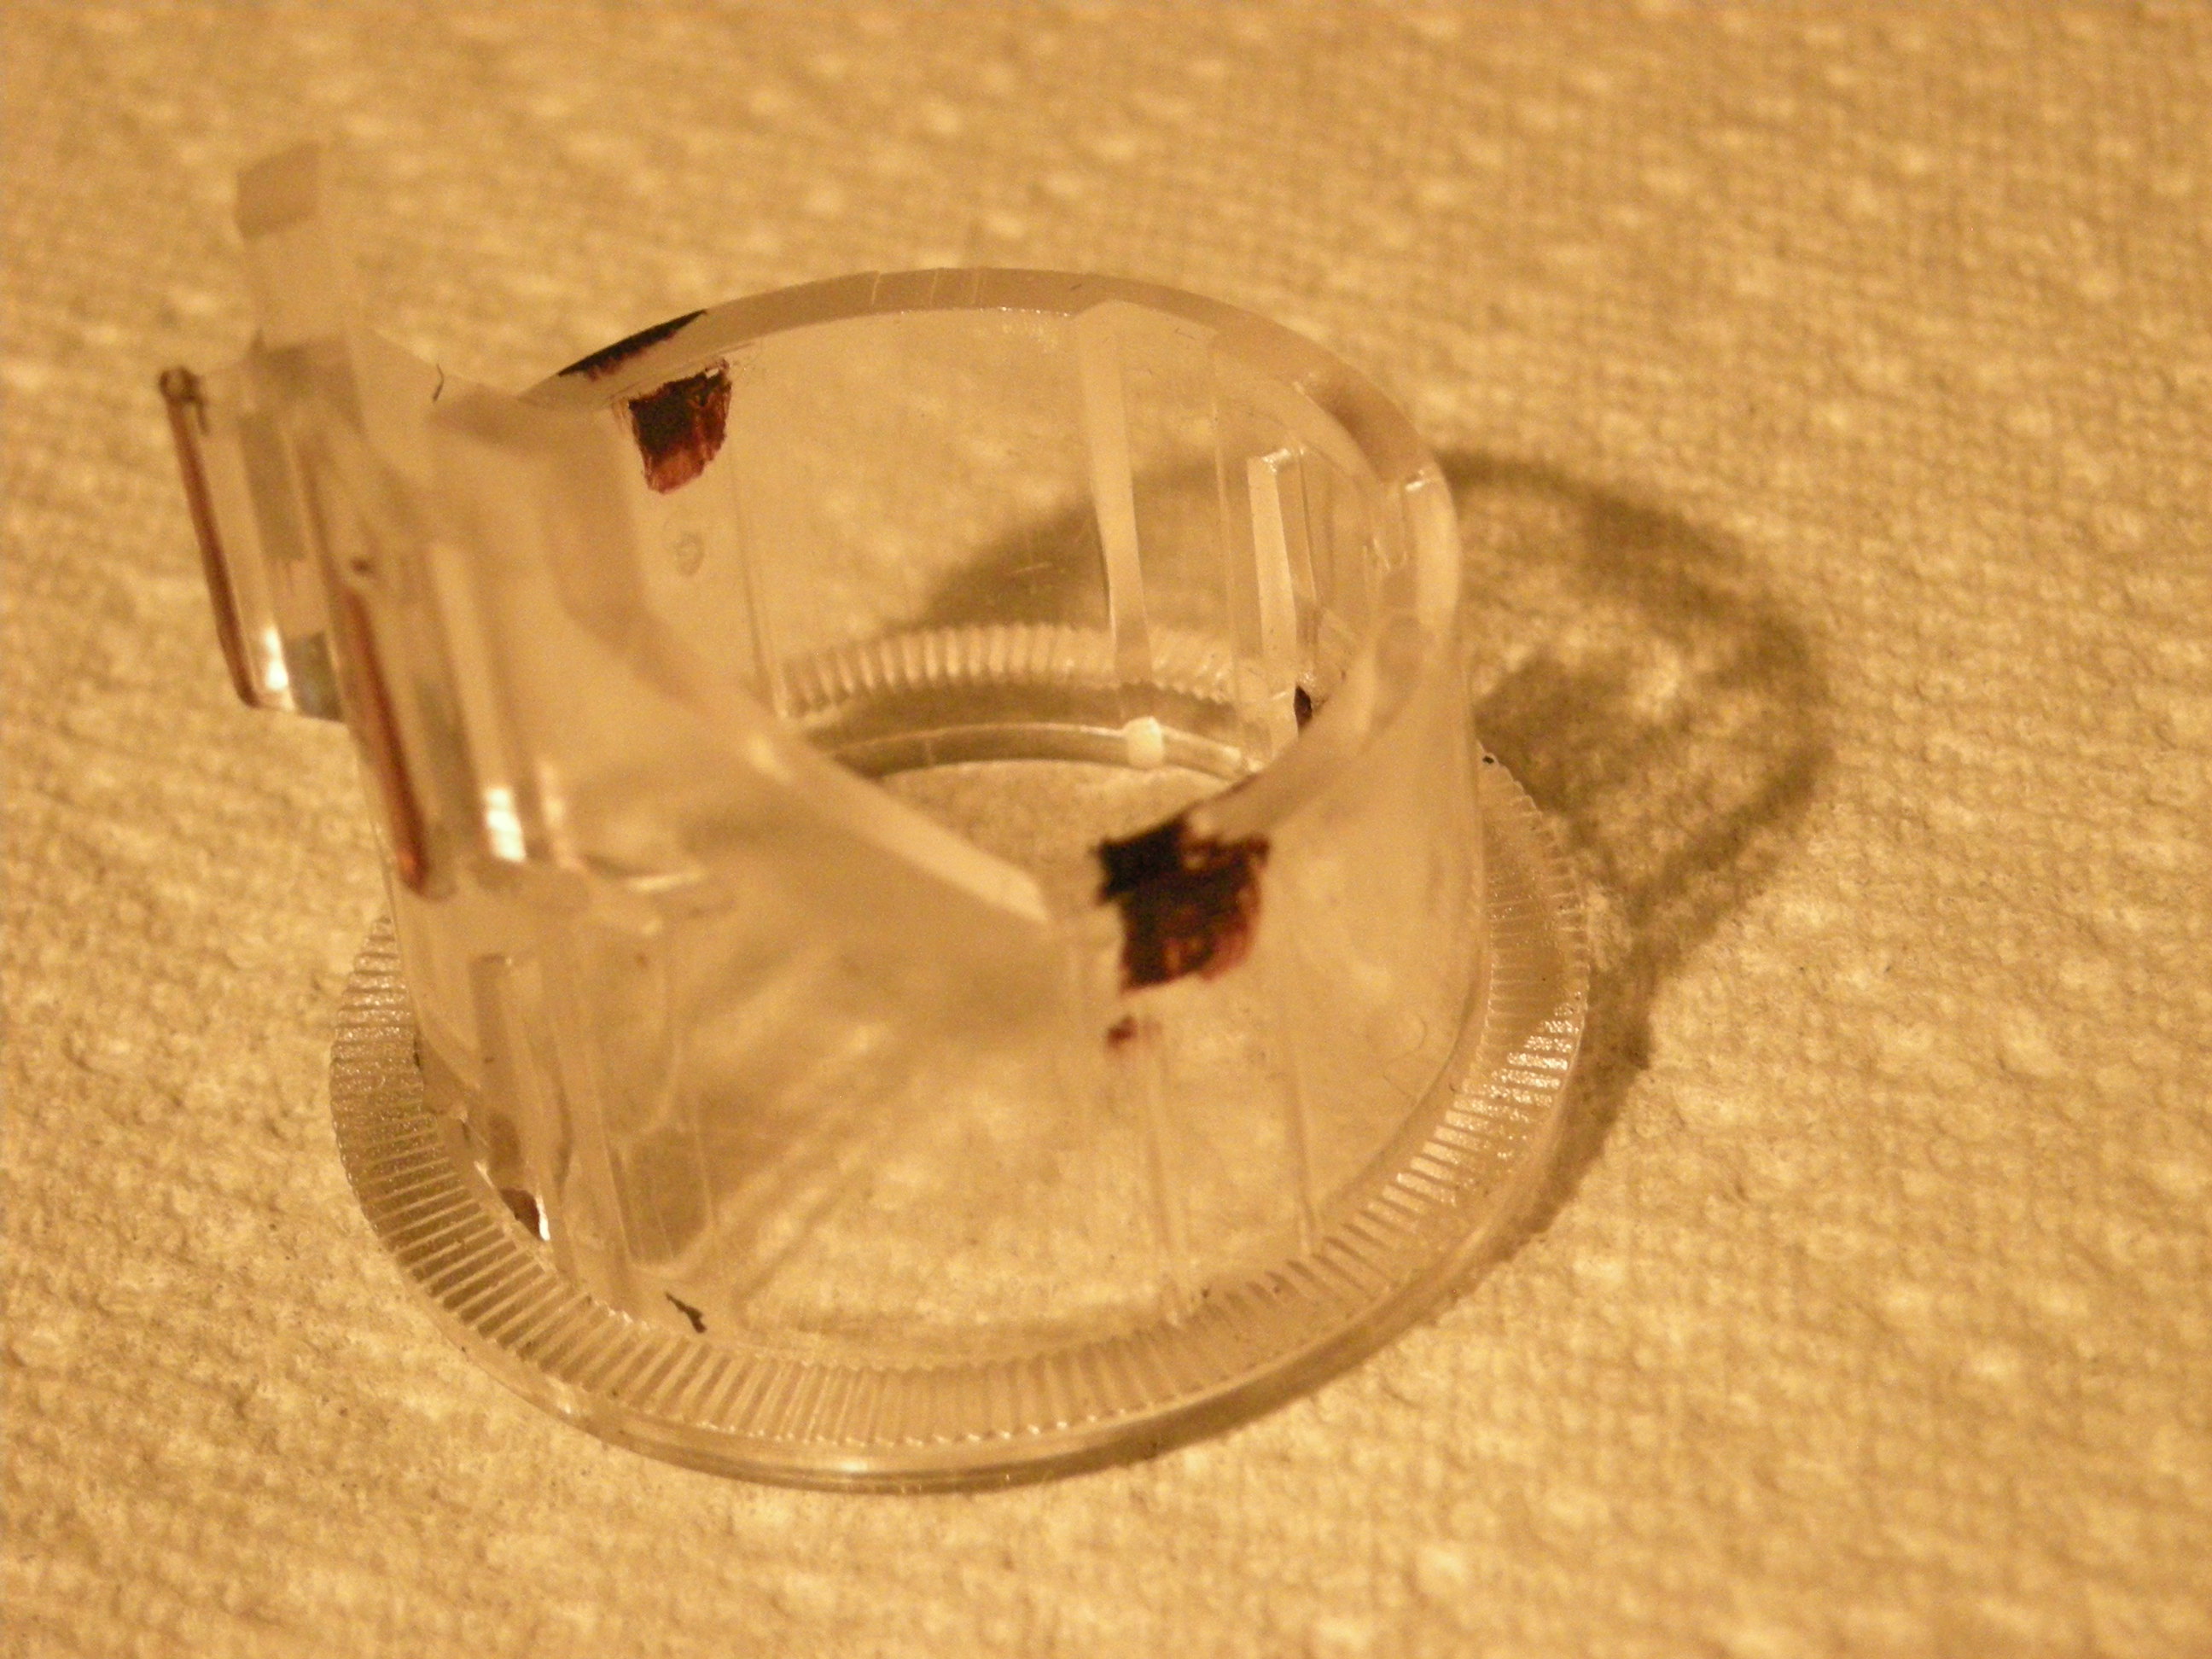
Notes from my experience removing my lighter assembly (2000 Boxster, same process for the newer, longer lighters from 2003? and newer.) - Pry off the dash trim piece with your fingers, pulling from the bottom. I did not remove any of the wire harnesses from the switches above the lighter. - The lamp assembly is on the top side of the lighter. Remove the black retainer clip (closest to the wire harness) by spreading the sides outward and simultaneously popping the retainer upward, all with a small flat screwdriver. It should not take too much force after the sides are spread. - Lever the rear (closest to the wire harness) of the green lamp assembly up with a medium screwdriver. (The copper tabs are simply spring loaded against the ring.) I thought I was going to break the lamp holder but it popped off intact. Mine needed an uncomfortable amount of force but it is actually pretty robust. - The metal tube must be pushed through the dash trim, toward the rear of the car, before the plastic ring can be removed. There is a small plastic square protrusion, approx 2mm x 2mm, molded into either SIDE of the inside surface of the plastic, which engage 2 small square holes on either side of the steel tube. (I colored the tabs black in the mediocre photo.) You can try to spread the 2 tabs away from each other, working from inside the steel tube, but this did not work for me. You can try to squeeze the sides of the steel tube away from the plastic tube with channel lock pliers. I was unable to twist the steel away from the plastic. What finally worked for me a sharp blow with my palm, from the wire harness end toward the front of the lighter. The metal tube popped out. - After the metal tube is removed you can easily insert a small screwdriver, from the front (seat side), to depress each of 2 plastic tabs on the top and bottom of the plastic trim ring. This procedure is crazy difficult compared to your expectations. Take your time, relax, and step away for a few minutes if you are tempted to use too much force.
-
I recently purchased a 2000 986, 2.7, 5speed, 70,000 miles. Loving it, even with the top down in Michigan in February. The gas gage seems stuck at 1/2 tank, even after 250 miles of driving, so either I get unbelievable fuel economy or there's a problem. I read the TSB for a stuck fuel sending unit, put out in 1999, which seems like a logical place to start the diagnosis. It suggests using zip ties to ensure the fuel sending unit is free to move. But before I tear into the gas tank, I was wondering what the Porsche policy is regarding TSB's. Can I realistically expect the dealer to pay for the TSB service, or is it my responsibility? I'm pretty sure I know the answer and what I will be doing this weekend... Nicholas
-
Remote key won't unlock door or disable alarm
headdead replied to bostonboxster's topic in 986 Series (Boxster, Boxster S)
Jeff The LED on my 2000 986 w/ Becker CR220 began flashing after I worked on the instrument panel. I don't know why it started flashing, but the radio manual says you can turn it off (if you wish): - hold the DOWN ARROW button for longer than 8 seconds. The display will read SEL USER - within 4 seconds rotate the right knob until the display reads SEL LED - push the button under the left arrow or right arrow to turn the flashing LED on or off I plan to leave mine flashing. I like flashing lights.