Welcome to RennTech.org Community, Guest
There are many great features available to you once you register at RennTech.org
You are free to view posts here, but you must log in to reply to existing posts, or to start your own new topic. Like most online communities, there are costs involved to maintain a site like this - so we encourage our members to subscribe or donate. All subscriptions and donations go to the costs operating and maintaining this site. We prefer that guests take part in our community and we offer a lot in return to those willing to join our corner of the Porsche world. This site is 99 percent member supported (less than 1 percent comes from advertising) - so please consider an annual subscription or donation to keep this site running.
Here are some of the features available - once you subscribe RennTech.org
- View Classified Ads
- DIY Tutorials
- Porsche TSB Listings (limited)
- VIN Decoder
- Special Offers
- Paint Codes
- Registry
- Videos System
- View Reviews
- and get rid of this welcome message
It takes just a few minutes to register, and it's quality Porsche information at a low cost.
Contributing Members also get these additional benefits:
(you become a Contributing Member by subscribing or donating money to the operation of this site)
- No ads - advertisements are removed
- Access the Contributors Only Forum
- Contributing Members Only Downloads
- Send attachments with PMs
- All image/file storage limits are substantially increased for all Contributing Members
- Option Codes Lookup
- VIN Option Lookups (limited)


Porsche Pilot
-
Posts
70 -
Joined
-
Last visited
Content Type
Profiles
Events
Forums
External Paint Colors
Downloads
Tutorials
Links Directory
Collections
Classifieds
Store
Everything posted by Porsche Pilot
-
Headlights dirty on the inside
Porsche Pilot replied to Lyn's topic in 986 Series (Boxster, Boxster S)
I forgot to mention one thing. If you wet the lens and the hazing disappears, it's on the outside. If it remains, it's inside. Just a quick tip to pass on. -
Headlights dirty on the inside
Porsche Pilot replied to Lyn's topic in 986 Series (Boxster, Boxster S)
As a professional luxury and sports car Detailer, it is near impossible to polish the insides of a lens effectively. Are you sure the issues are inside and not out? The lens may still be smooth to the touch but still have fogging and hazing on the outside. Porsche's are certainly prone to this over time due to the exposure angle of the lens to the sun. I ave rarely seen the insides to be the problem unless, like stated above, a higher watt bulb may have damaged the plastics inside. I recondition many Porsche lights every year...mine included. You can try an over the counter polishing kit and do some test spots. The proper method is to wet sand them and then re-coat with clear coat. These light housings aren't cheap so I would try to polish the outside first. You may be really surprised at the results. If the car s not a daily driver you could always send them to me for polishing. -
Did you drop the engine for the AOS repair?
-
I too ave the EBay LEDs and they truly were plug and play in my 2000 996 with no hyper flashing. The only wire to not plug in is the long skinny one or you will blow the fuse.
-
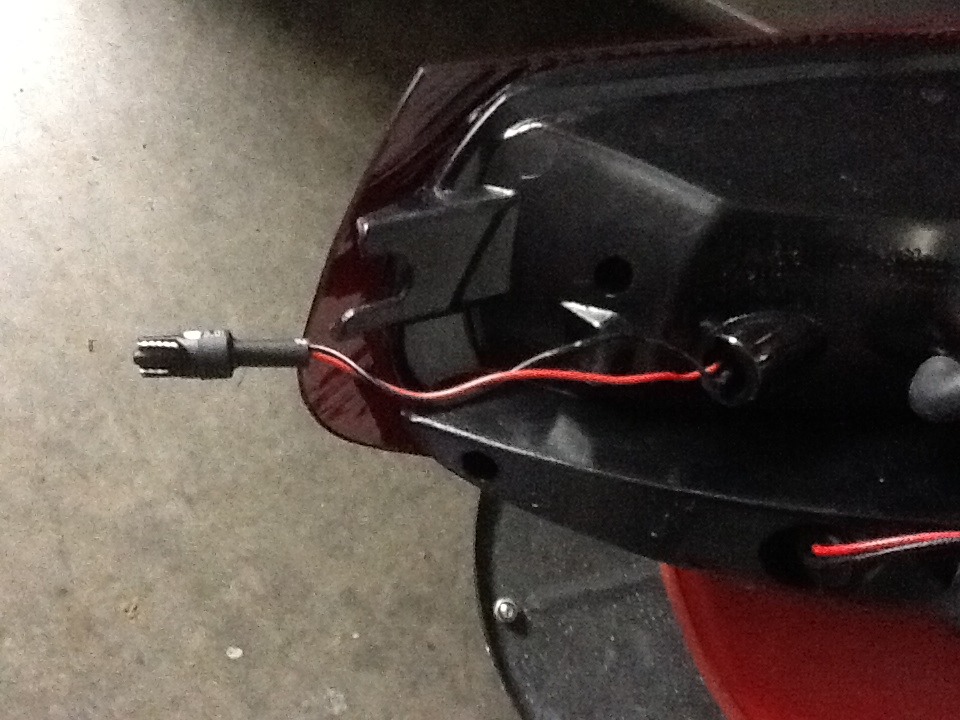
I really have no clue what the skinny wire is for. It makes no sense to me either. I assume that the skinny wire on the stock lights is the main power feed? The LEDs power through the bulb receptacles so there is no need for it.
-
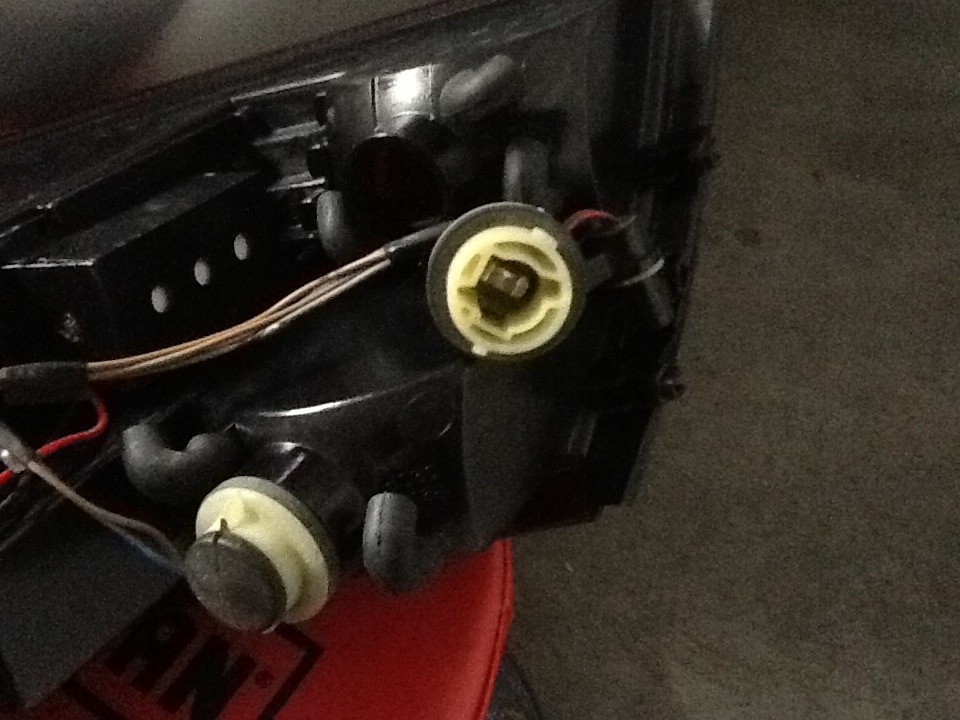
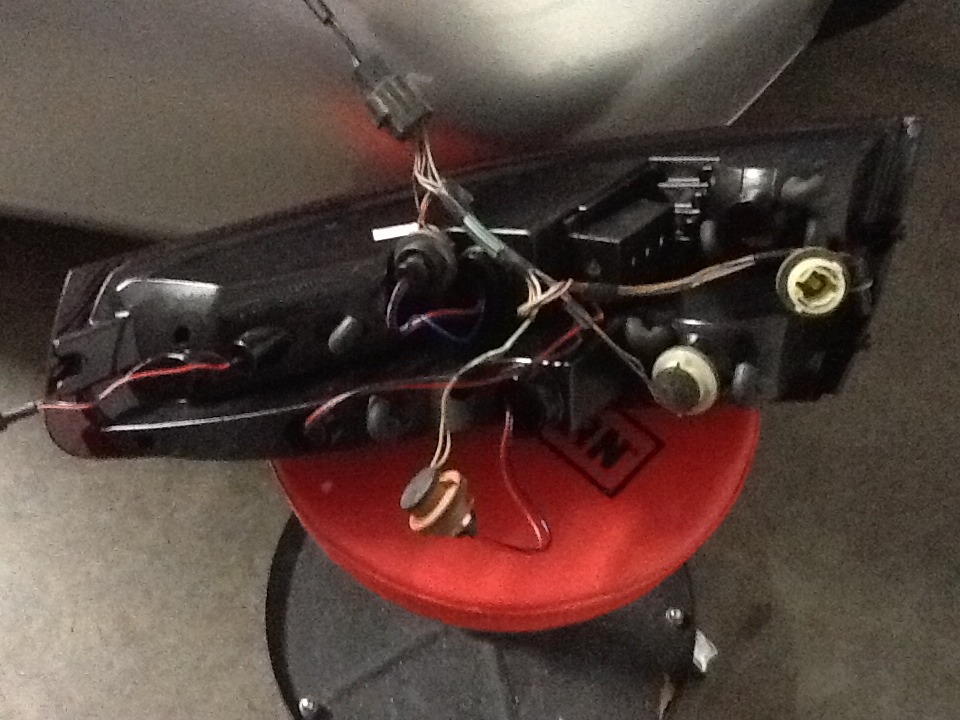
To continue, the female ends of the brake and running lights and reverse lights plug together with the silver male ends of the LEDs...I left one unplugged so you can see. The unused white female one shown is for the fog light. I dont use it so I just leave it empty.
-
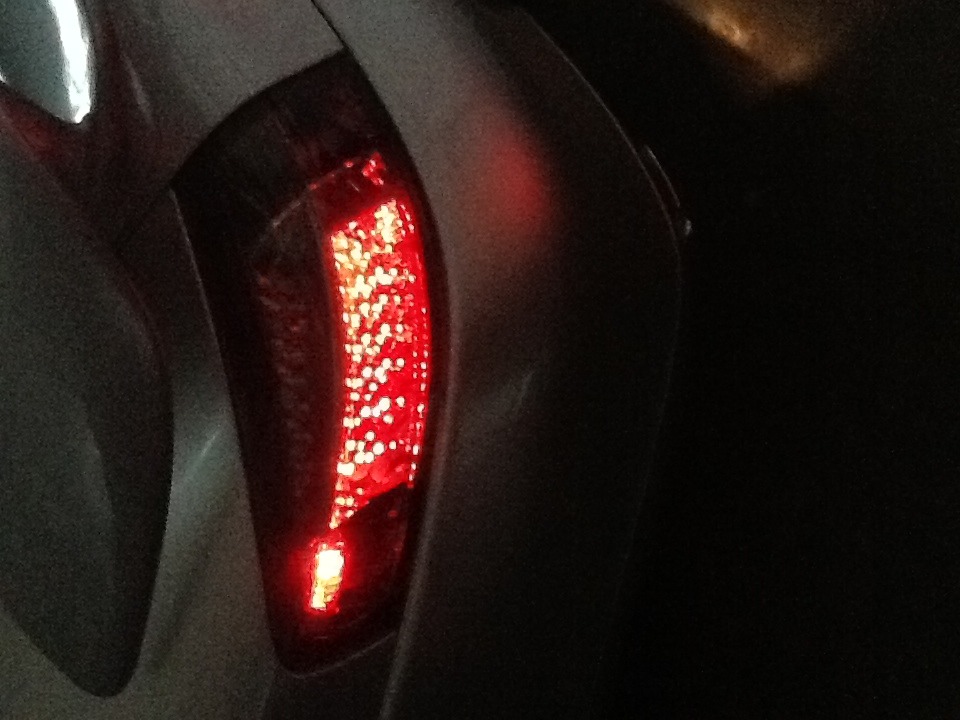
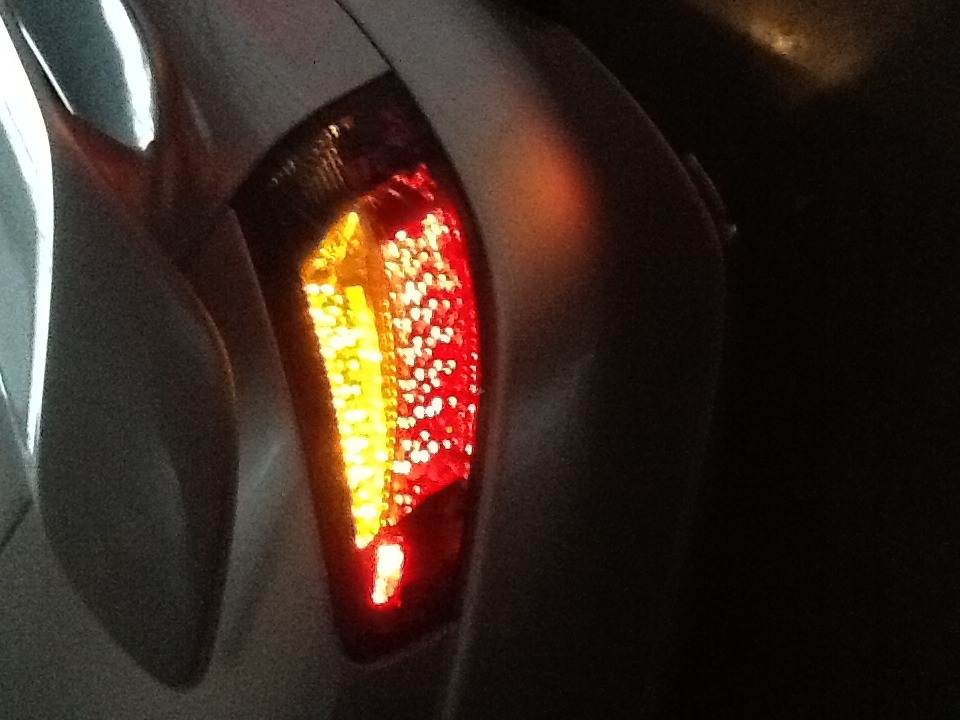
Here are a few pics I just snapped with iPad so not the best quality. Running lights on. Couldn't capture brakes by myself. Turn indicator activated. The skinny wire is the one that will blow the fuse if plugged in.

-
I can verify that all the lights will work without plugging in the fog leads on the LEDs. The fuse will blow for sure. The only bulbs I used were the backup bulbs. The empty sockets (where the rest of the bulbs would go) plug into the LEDs. I don't ever use the rear fog so I didn't really mess with that portion. I will try to get some pics posted up tomorrow unless the OP beats me to it.
-
Tapatalk also let's you post pics from the iPad. Cool.
-
2004 vs 2000
Porsche Pilot replied to Porsche Pilot's topic in 996 Series (Carrera, Carrera 4, Carrera 4S, Targa)
Thanks for the replies guys. All my questions answered! -
Greetings folks. I am looking to replace the wing on my 2000 c2 with a factory spoiler. I have a lead on one but had a few questions. Will a 2004 stock lid and spoiler fit a 2000? Second the donor car is an anniversary edition. As I understand it, those only came in one color. My car is Arctic Silver. The 04's look similar but does anyone know if the color is to the same? I would love to do a direct swap and not have to have anything repainted.
-
Tire/wheel firmest
Porsche Pilot replied to Porsche Pilot's topic in 996 Series (Carrera, Carrera 4, Carrera 4S, Targa)
That looks sweet Saif. It has a nice stance.just the look I am going for. Thanks for the pic! -
Window Regulator Replacement
Porsche Pilot replied to guinsu's topic in 996 Series (Carrera, Carrera 4, Carrera 4S, Targa)
I am having my drivers side regulator replaced at the dealer today. I know, it's an easy DIY, but the car was there for other stuff anyhow. The window did not drop the 10mm prior to the whole thing finally failing. I was going to buy the micro switch but it turned out to be a problem in the handle. Anyhow, moral of this post is: make sure you replace or reinstall the moisture barrier. Mine was gone and has been for awhile apparently. There was moisture in the door panel and the wiring for the courtesy light on the door was starting to corrode. -
Tire/wheel firmest
Porsche Pilot replied to Porsche Pilot's topic in 996 Series (Carrera, Carrera 4, Carrera 4S, Targa)
Thank you Jet. The gap explanation is spot on makes a ton sense. -
Tire/wheel firmest
Porsche Pilot replied to Porsche Pilot's topic in 996 Series (Carrera, Carrera 4, Carrera 4S, Targa)
Thanks for the repl Saif. I am indeed going back to 18's after a lot of thought. I will definitely need the suspension upgrade as well. As I understand it, the ROW is different than the MOW? Is the row the preferred? -
Tire/wheel fit not firmest...couldn't edit in time! I apologize up front if this question is über newbie. My 2000 C2 came with aftermarket 19" rims. I recently replaced the tires all around...taking the sizes directly off the old tires. There is now a small gap between the rim and tire...if that makes sense. So, I am looking at new rims since I don't like the current ones and need to figure out the offset to order based on the tire size. I don't want to have that gap. My tire sizes are: Rear: 275/30zr19 Front: 235/35zr19
-
-
Try 3650 An amazingly fast response and the code worked just great. Thank you so very much!!
-
Can I get some help with a code? Becker 1 Type 4462 Serial #: Y5038938