Welcome to RennTech.org Community, Guest
There are many great features available to you once you register at RennTech.org
You are free to view posts here, but you must log in to reply to existing posts, or to start your own new topic. Like most online communities, there are costs involved to maintain a site like this - so we encourage our members to subscribe or donate. All subscriptions and donations go to the costs operating and maintaining this site. We prefer that guests take part in our community and we offer a lot in return to those willing to join our corner of the Porsche world. This site is 99 percent member supported (less than 1 percent comes from advertising) - so please consider an annual subscription or donation to keep this site running.
Here are some of the features available - once you subscribe RennTech.org
- View Classified Ads
- DIY Tutorials
- Porsche TSB Listings (limited)
- VIN Decoder
- Special Offers
- Paint Codes
- Registry
- Videos System
- View Reviews
- and get rid of this welcome message
It takes just a few minutes to register, and it's quality Porsche information at a low cost.
Contributing Members also get these additional benefits:
(you become a Contributing Member by subscribing or donating money to the operation of this site)
- No ads - advertisements are removed
- Access the Contributors Only Forum
- Contributing Members Only Downloads
- Send attachments with PMs
- All image/file storage limits are substantially increased for all Contributing Members
- Option Codes Lookup
- VIN Option Lookups (limited)


SpawnyWhippet
-
Posts
243 -
Joined
-
Last visited
Content Type
Profiles
Events
Forums
Exterior Paint Colors
Downloads
Tutorials
Links Directory
Collections
Classifieds
Store
Everything posted by SpawnyWhippet
-
 It would be possible to get the pump fitted without the tang in the correct place, but I made very sure that I aligned them correctly before installation. It is pretty easy to do that correctly. The 'gear' in the engine side is like a large brass-coloured ring with a slot in it, and the pump tang fits in that slot. It's not too difficult to refill the coolant, and you can clamp the rubber hose part to minimize coolant loss. The best way is to buy a $50 AirLift vaccum filler that you hook to your air compressor, but you could also do it just by filling and topping up a few times after running. Like I said, I undid the hose clamps and retainers for that coolant tube and managed to move it enough without stressing the pipe to fit the pump behind it. The largest part of the job for me was undoing the rusted exhaust bolts, but all came off after soaking overnight with penetrant and a bit of heat on a couple of them.
 -
That pipe is a coolant pipe. I managed to replace mine without disconnecting it, but it would be easier to replace if you did. There is a small drive gear in the engine that turns the pump, and the pump has a small tang that engages into the drive. It was a little tricky getting those to engage correctly when the coolant pipe was in the way. It is not a difficult DIY. Unless your dealer is going to do the labor for less than $200, I would do it myself. My dealer wanted almost $2k to replace mine.
-
'02 Boxster S Does Not Pass Emissions
SpawnyWhippet replied to jmatta's topic in 986 Series (Boxster, Boxster S)
I'm suffering from Secondary Air Readiness not complete on my 07 Cayman base model with 100k miles. I replaced my faulty DMTL pump 3 weeks ago and have since driven the car around 200 miles, with about 30 cold starts. There are no codes at all in Durametric, and I have done several long drives with the speed under 3000rpm. I also scanned the car with a Snap-on Modis and it reports the same. No fault codes but SAI not ready. The only symptom I have is that the fuel tank is difficult to fill without the pump clicking off all the time. I need to pass smog so I can re-register it, but I also need to replace a failing starter motor, for which I need to disconnect the battery, which will reset the DME, so I won't pass smog... Any ideas on how to get this thing to pass Secondary Readiness.
-
Spark plug tube seal leaks
SpawnyWhippet replied to Schnell Gelb's topic in 986 Series (Boxster, Boxster S)
I also did this and got the upgraded Beru coil packs with larger heads. I used a 1" boat transom plug off ebay for $5 to pull the oil tubes and replaced all the o rings. The whole job, including the correct OEM Beru coil packs, spark plugs, oil plug tube tool and o rings (all off Amazon or ebay) cost 30% less than the Porsche dealer was going to charge just to sell me the coil packs (no labor or tax!)
-
Faults indicated by Durametric
SpawnyWhippet replied to Highlander's topic in 987-1 Series (Boxster, Boxster S)
I have the exact same codes in my 07 Cayman. Did you ever get to the bottom of it? I cleared mine and they always return. The car is stock, other than an aftermarket Pioneer headunit that often cause CAN errors. I have coded out the radio and related components, but these never go away. -
I had the same issue with my HPFP fault. Durametric hung everytime I tried to clear the code. I replaced the pump and then it worked fine. Seems like a software bug to me. I raised a trouble ticket with Durametric 2 weeks ago but they never got back to me.
-
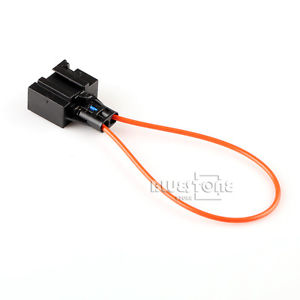
Tank Leak Diagnosis Module
SpawnyWhippet replied to njoshi's topic in 987-1 Series (Boxster, Boxster S)
Where is this unit located on a 2007 Cayman? I have pulled off the front right wheel liner, the frunk plastics and cannot locate it. I have a spare unit ready to fit, just need to find where to fit it! -
Well, I couldn't find any information at all anywhere on replacing this, so I just worked it out for myself. Bought the pump from Porsche for $850 plus $150 core charge, pulled the exhausts off, removed the pump, installed the new pump, refitted the exhausts, took it for a test run. The car is transformed, a lot more power and no fault codes for the fuel pump. Took me 3 hours, Porsche were going to charge 4 hours. However, I now have brand new fault codes of : Siemens Digital Motor Electronics SDI3 Current Fault Codes 2310: Bar ignition module, cylinder 4 - Upper limit value exceeded Transmission - PDK Current Fault Codes C418: U0418 - CAN fault, brake They could have been there before though, my Durametric always hung when reading the codes, but now I have replaced the pump it scans this car properly without hanging.
-
Thanks for the reply. Is there a procedure to check this? I have no information on how to measure the pressure or flow rate for this car, but I do have access to a comprehensively equipped pro mechanic shop.
-
Thanks, I checked already this morning, no outstanding campaigns on my VIN
-
I have a 2009 997.2 PDK Carrera 2 and am getting a loss of power and this error code: 2510: Fuel high-pressure control - adaptation. Value below lower limit value I believe this means my HPFP is dead and am looking for the workshop procedure for replacing the high pressure fuel pump HPFP. I have looked far and wide for a DIY tutorial on this, but found nothing. My local stealership will do the work for $900 labor plus parts. I have sourced the pump for $850 and want to do the work myself. The pump looks readily accessible at the back right end of the engine, facing the rear bumper. I am happy to write this up as a DIY with pics if someone can forward me the workshop manual pages or procedure?
-
DIY to drain and refill rear differential and Tiptronic transmission This DIY describes how to carry out a drain and fill of the differential and Tiptronic transmission for a 2005-2009 Porsche 987.1 Cayman or Boxster (as the minimum quote I got was for over $1000). The procedure will be similar for 1998-2005 996 and Boxster, plus 2005-2009 997. While it is not as comprehensive as a professional flush using a specialist flushing machine, it will get most of the fluid replaced. I am happy to modify the DIY with feedback or other advice. This work is done at your Author SpawnyWhippet Category Boxster/Cayman (987-1) - Maintenance Submitted 09/30/2016 08:39 PM
-
Sorry, I cannot find the part number for this unit anywhere, even my dealer parts counter and Pelican Parts doesn't know what a DTML is. Can you assist with that please? If you know the part number for the tank purge valve as well, I would appreciate it. I may as well change both out to get rid of this error, as I need to smog the car.
-
Is that somewhere in the frunk behind all the plastics and near the gas tank filler? I haven't disassembled the frunk area on a Cayman before, most of my work takes place from underneath.
-
Thanks Loren. Where is the DMTL located? Will this cause the difficulty in filling the gas tank, as none of my previous Caymans had this issue?
-
I have a 2007 Cayman base model with 100k miles, with the CEL light on for P2402. I replaced the gas cap as it had quite a lot of cracks in the rubber seal. The CEL came on shortly afterwards with the following symptoms: 1. P2402: Pump motor final stage tank leak diagnosis module in Durametric. 2. It is hard to fill the gas tank from about 1/2 full onwards without the gas pump clicking off all the time. 3. 'Check engine light' and 'Visit Workshop' messages pop up. What parts would I need to investigate and where are these located?
-
Did this ever get a resolution? I am in the same boat. A noisy whining that is worst between 40-60mph in 4-6 gear. Pushing the clutch reduces the whine a lot, but not eliminated. My car is a 1999 996 C4. A mechanic nearby has suggested differential side bearings. Can anyone recommend a shop that can repair these in the Bay Area? I can R&R the transmission myself, but I am not sure I want to get involved with shimming bearings to adjust the backlash or preload.
-
Great thanks, I haz tunez :-)
-
Thanks Loren. 4835 didn't work for the CR220. Any other options?
-
Hi, please could you post the code for my CR220 (BE 4362). Serial # is X5013304 I also tried to install a salvage yard purchased CDR23 (BE 6611) that just powers up with the message 'Protect'. Does it just need a code entering? Serial # is 35025724
-
Aftermarket Item
SpawnyWhippet replied to eric1234's topic in 987-2 Series (Boxster, Boxster S, Spyder)
Wow, that's unusual. I even did a google image search and the only hit was your post here! I am guessing it is a Chinese bluetooth module of some kind, for playing music or calls from your phone. Does anything happen when you press, or press and hold any of the buttons? -
A good way to troubleshoot is to get a MOST loop connector so you can bridge out each component in the MOST chain one by one until the error goes away. I found similar errors when I removed my factory CDR24 headunit and fitted a Pioneer AVIC-7200NEX headunit. Got loads of fault codes until I coded the radio out of the system with Durametric and fitted a MOST loop connector onto the loose MOST plug.
-
This DIY describes how to carry out a drain and fill of the differential and Tiptronic transmission for a 2005-2009 Porsche 987.1 Cayman or Boxster (as the minimum quote I got was for over $1000). The procedure will be similar for 1998-2005 996 and Boxster, plus 2005-2009 997. While it is not as comprehensive as a professional flush using a specialist flushing machine, it will get most of the fluid replaced. I am happy to modify the DIY with feedback or other advice. This work is done at your own risk, I take no responsibility for you skinning your knuckles, damaging your car or anything else by using these instructions! Total time taken to drain and refill both diff and transmission was about 3 hours and 2 beers, including taking pics and notes. Tools needed Sockets 13mm 15mm 4” extension Allen sockets 8mm (for diff fill plug) 17mm (for transmission drain plug) Torx T27 for transmission pan T40 torx socket for transmission fluid filter bolts Other tools Ratchet Torque wrench Laser temperature gauge Fluid pumps for transmission and diff fluid Jack stands Jack Drain buckets Consumables and parts Pentosin ATF 1 x 8 quarts (I bought 2x 5 quart containers from Amazon for $55 each) Differential 75W90 gear oil x 1 quart (around $20) Transmission gasket. Part number: 986-397-016-00 (around $22) Transmission oil filter. Part number: 986-307-403-00 (around $40) Transmission drain plug seal. Part number: 986-397-014-00 (around $3) Threadlock Mechanics gloves Degreasant to clean transmission pan Lots of shop towel / rags to clean up spillages Step 1 Park on flat lever ground and apply the parking brake firmly. Then jack up the car and put it securely on axle stands. Try as hard as you can to push and dislodge the car. If you can’t move it, it will be fine. The security of the jack stand positioning is important as you will need to start the car and run it through the gears while on stands later in the procedure. Remove the 2x 15mm bolts located 1 inch aft of each the rear jacking points. Remove the 8x 15mm nuts holding the aluminum diagonal braces over the transmission sump. Move the braces out of the way. Remove the 2x 13mm nuts and 2x 13mm bolts holding the transmission skid plate in place and remove the plate. Step 2 Remove the 2 bolts on either side that hold the rear sway bar in place then rotate it downwards to give clearance to remove the transmission pan. Step 3 Remove the 17mm (hex or allen) transmission drain plug at the rear of the transmission pan. Drain the fluid into a bucket or oil tray. I drained about 5 quarts from my transmission at this point. Be careful as it comes out fast and splatters a lot. You should minimize spillage so you can measure the volume of fluid you remove. Step 4 Remove the many T27 torx bolts that hold the transmission pan in place. Be careful as there will some fluid still in the pan. Try not to spill it so you can measure the volume. Step 5 Remove the 2x T40 bolts holding the transmission filter in place, then remove the filter. Be careful, there will be some fluid in the filter and above the filter. Then remove the old green gasket from the transmission. Clean the mating surface carefully and do not scratch it. Then clean the transmission pan inside and out extremely well using degreasant then a lint free cloth. Remove the magnets and clean them. Then reinstall the clean magnets to the clean pan. Step 6 Fit the new filter into place in the transmission after applying some transmission fluid to the rubber seals so allow them to seat correctly and without damage. Lightly screw in the T40 bolts to 6NM torque. Fit the new pan gasket in place then screw it back to the transmission. Torque in a crosswise manner to 11NM. Step 7 Refill the transmission using the Pentosin ATF 1. I got about 3 or 4 quarts in before it started to overflow. At this point, start the engine and go through the gears. Warm the engine until you can read 35-40C using the laser temp gauge on the base of the pan. While the car is in gear, top up the fluid again until it starts to drop out the filler. Then replace the seal on the filler plug, fit it into the pan and torque to 80NM. The transmission job is now finished. However, there is still a few quarts of old fluid in the plumbing to the cooler that I would like to try and remove or dilute further, so in about a week, I will do a quick drain and refill (no pan drop or filter change) with a further 4-5 quarts of new fluid. This should leave me with about 7.5 quarts of new fluid and about 2 quarts of old fluid, which should be fine for the next 50k miles. Step 8 (Differential fluid change) Remove fill plug from the side of the diff just forward of the transmission (passenger side in a left hand drive car). Note there is no drain plug, the fluid needs to be pumped out of the filler plug. I bought a cheap ratchet powered fluid pump for this job. Step 9 When you have drained as much out as you can get (maybe ¾ of a liter), refill using the same quantity of new 75W90 and the same pump. It is full when it starts to drip out the filler hole. Fill quite slowly as there are baffles on the inside of the hole. Allow it to settle for a few mins then try to top up again. Reinstall the filler plug and torque to 35NM.
-
CEL - Code is P0455
SpawnyWhippet replied to esymonds's topic in 996 Series (Carrera, Carrera 4, Carrera 4S, Targa)
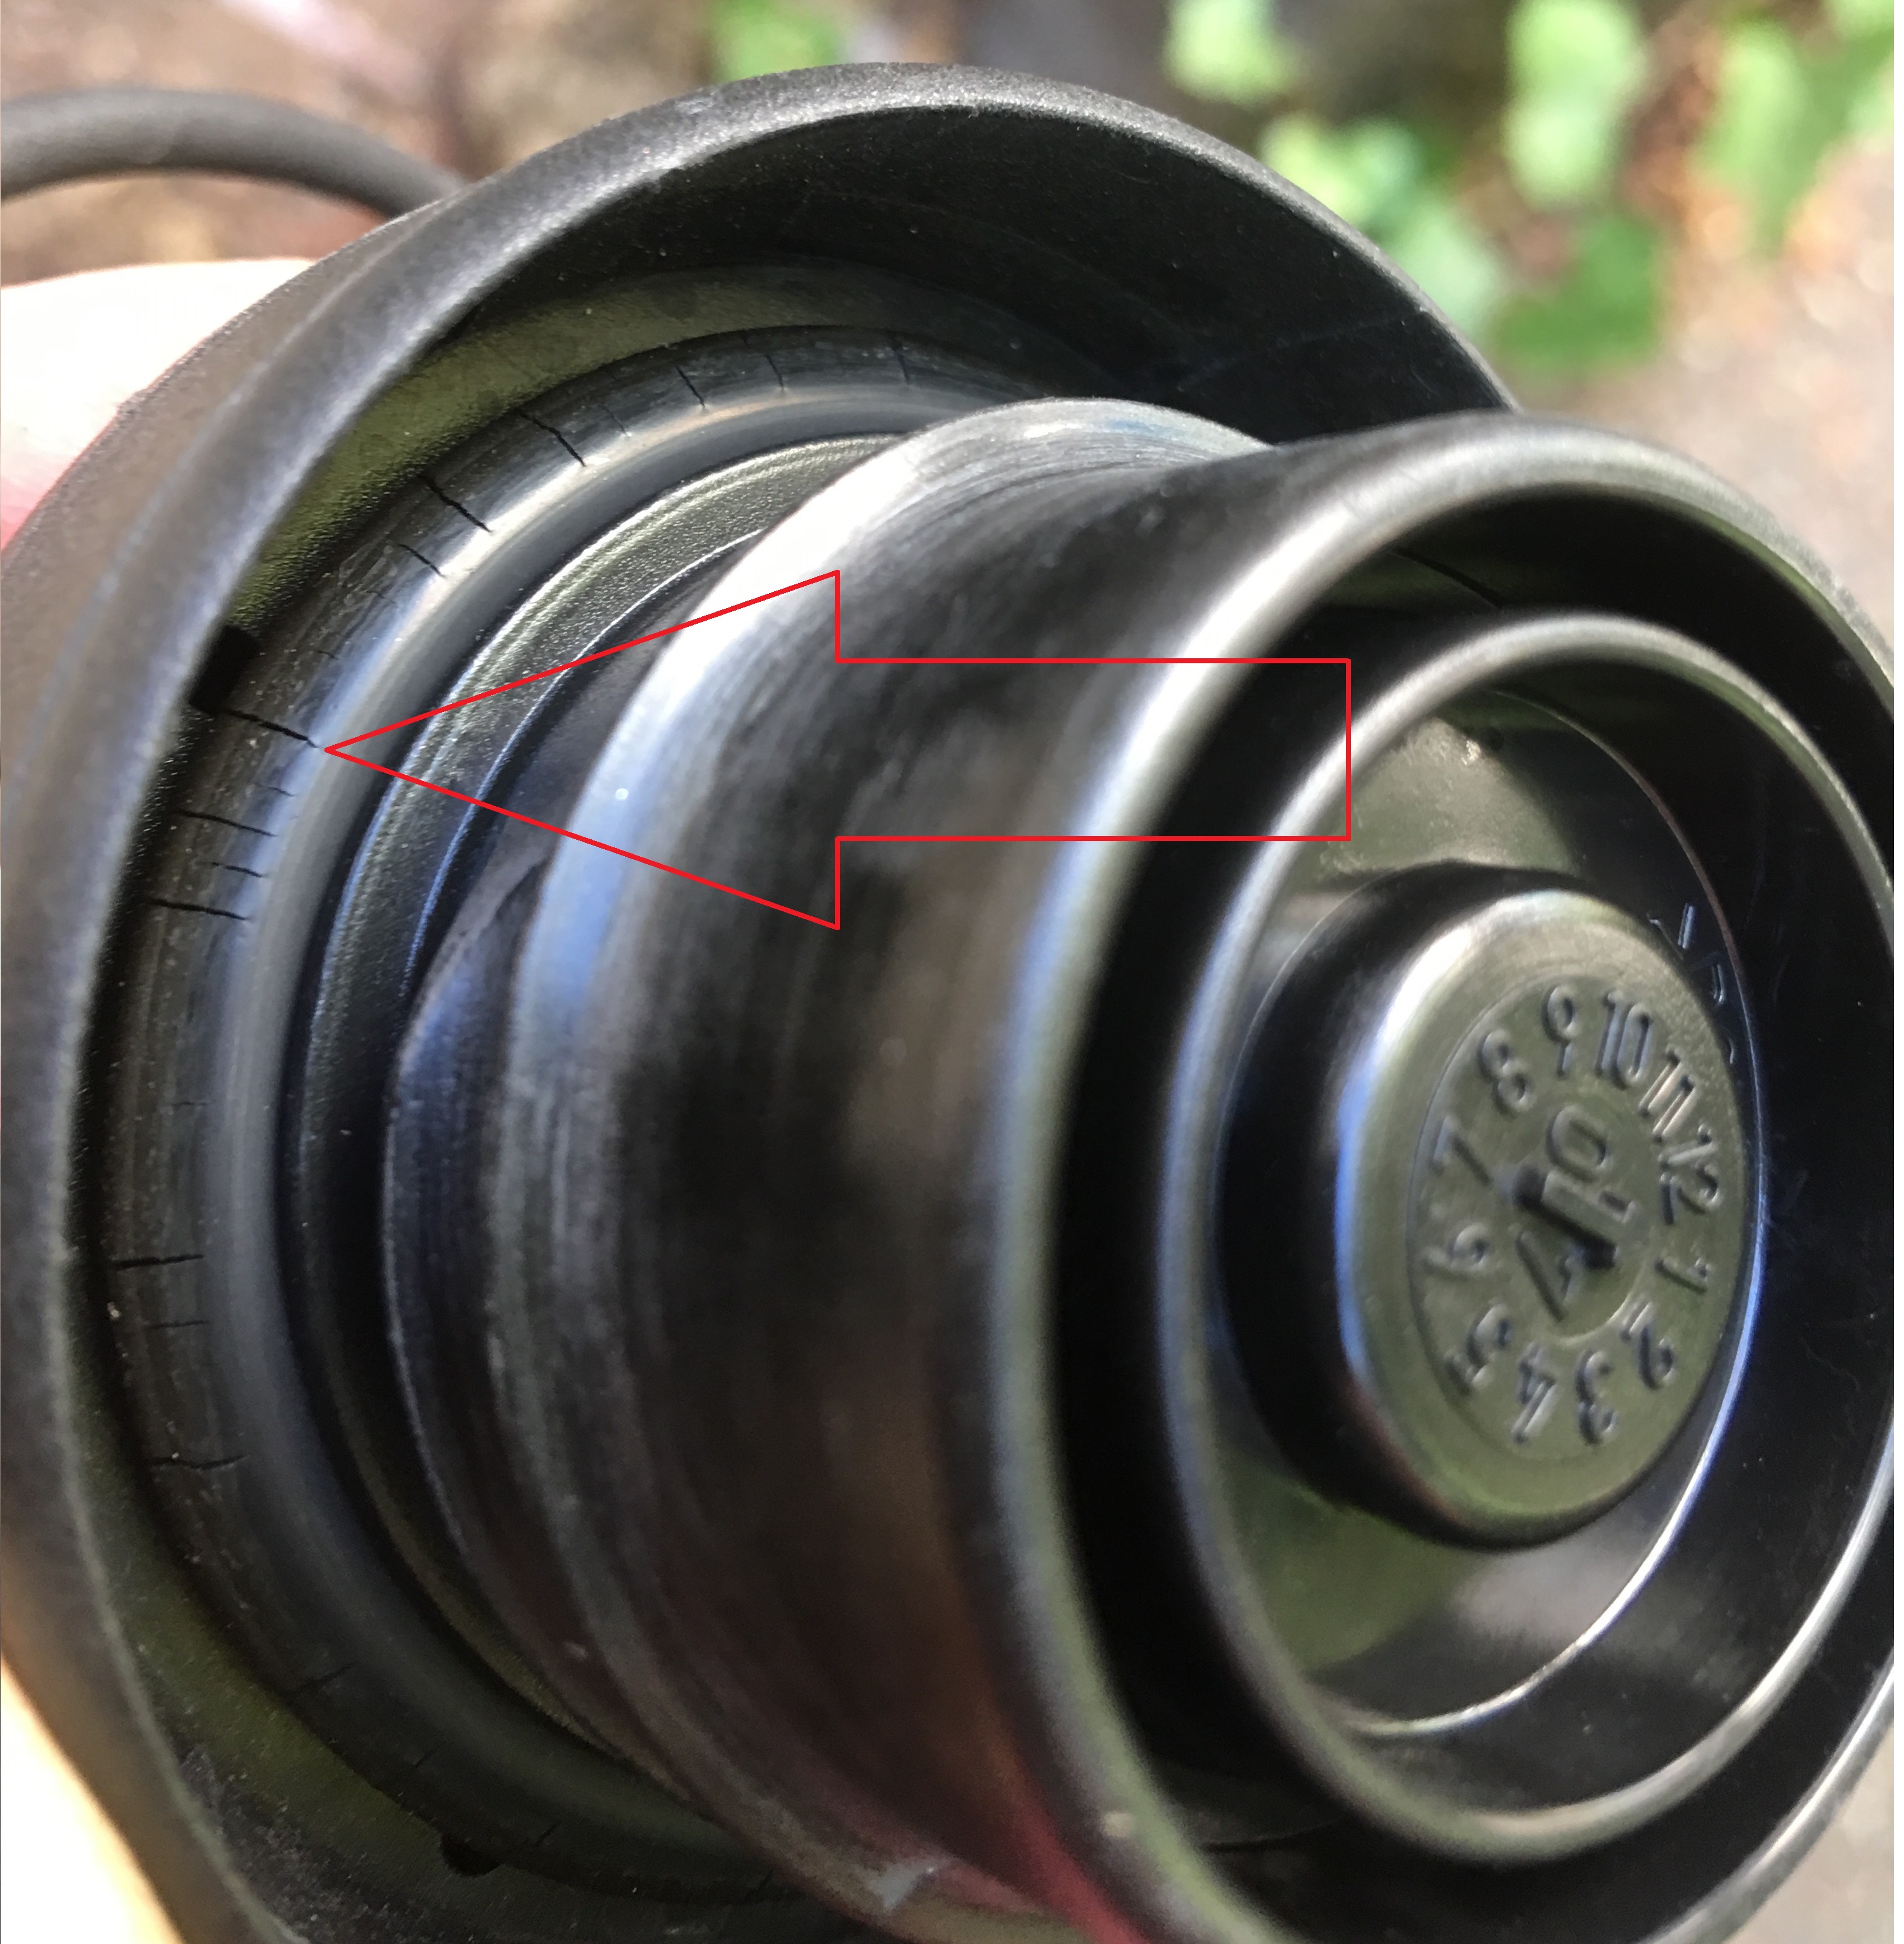
Seems like my CEL came on with codes P0445 and P0446 due to the cracks in the fuel cap seal (see arrow in pic). Amazing that such a tiny problem causes the CEL to come on. Fingers crossed that there is nothing else to fix. This was a $20 repair so far...
-
charcoal canister location
SpawnyWhippet replied to leszaj's topic in 987-1 Series (Boxster, Boxster S)
Where would I get a OBD II manual to test valves for a 2007 Cayman S that is throwing P0445 and P0446 codes?