Welcome to RennTech.org Community, Guest
There are many great features available to you once you register at RennTech.org
You are free to view posts here, but you must log in to reply to existing posts, or to start your own new topic. Like most online communities, there are costs involved to maintain a site like this - so we encourage our members to subscribe or donate. All subscriptions and donations go to the costs operating and maintaining this site. We prefer that guests take part in our community and we offer a lot in return to those willing to join our corner of the Porsche world. This site is 99 percent member supported (less than 1 percent comes from advertising) - so please consider an annual subscription or donation to keep this site running.
Here are some of the features available - once you subscribe RennTech.org
- View Classified Ads
- DIY Tutorials
- Porsche TSB Listings (limited)
- VIN Decoder
- Special Offers
- Paint Codes
- Registry
- Videos System
- View Reviews
- and get rid of this welcome message
It takes just a few minutes to register, and it's quality Porsche information at a low cost.
Contributing Members also get these additional benefits:
(you become a Contributing Member by subscribing or donating money to the operation of this site)
- No ads - advertisements are removed
- Access the Contributors Only Forum
- Contributing Members Only Downloads
- Send attachments with PMs
- All image/file storage limits are substantially increased for all Contributing Members
- Option Codes Lookup
- VIN Option Lookups (limited)

pjq
-
Posts
34 -
Joined
-
Last visited
Content Type
Profiles
Events
Forums
Exterior Paint Colors
Downloads
Tutorials
Links Directory
Collections
Classifieds
Store
Everything posted by pjq
-
2004 S As a follow up, I installed the 4 stalk controller I purchased from Oklahoma Foreign and yesterday had the OBC and Cruise switched on at an indy shop in Gardiner Maine (european auto surgeons). It only took them 15-20 minutes and a test ride to insure all was working properly. Both functions work well and I was impressed how well the cruise control worked with little fluctuation from the speed as set. Thanks to all in this thread. Pat.
-
OK, I just looked at a pic from another web site and I'm over thinking it. I'll just follow Richards Post 47. Pat.
-
Help with OBC connector. My car is a 2004 Boxster S. I'm getting ready to install a 4 stalk controller to enable OBC and cruise. I've read the previous post and thought I had it all figured out with Richard Hamiltons Post 47: 2003-4 Boxster Cruise: Plug C (Grey) on the Instrument Cluster Pin 17 - Stalk Connector Pin 1 Plug C (Grey) on the Instrument Cluster Pin 4 - Stalk Connector Pin 3 Plug C (Grey) on the Instrument Cluster Pin 1 - Stalk Connector Pin 4 Fuse B7 - Stalk Connector Pin 2 2003-4 Boxster OBC: Plug C (Grey) on the Instrument Cluster Pin 23 - Stalk Connector Pin 2 Plug C (Grey) on the Instrument Cluster Pin 22 - Stalk Connector Pin 3 Plug C (Grey) on the Instrument Cluster Pin 21 - Stalk Connector Pin 4 Plug C (Grey) on the Instrument Cluster Pin 24 - Stalk Connector Pin 5 Plug C (Grey) on the Instrument Cluster Pin 25 - Stalk Connector Pin 6 Earth (ground) - Stalk Connector Pin 1 Then I read petermunns Post 123 and Lorens Post 124 with the wiring diagram, and I started wondering??? it shows: A1(BN/BU,ground) // A5(Bu/BN) // A4(GY/BN) // A6(BK/BN, not needed) // A2(WH/BN) // A3(YE/BN) Then I looked at my OBC stalk connector and the wire to Pin allocation is: Pin 1(wh/blk) // Pin2(wh) // Pin3(gn) // Pin4(bu) // Pin5(gy) // Pin6(empty). This wire color and pin allocation does not match the wiring diagram Loren attached. So now I'm confused. Do I just go with Richards "Cluster Pin to Stalk Pin connection" and forget about wire color or do I follow Lorens wiring diagram paying attention to color of wire? Pat.
-
Happy New Year to All! Back in early December I bought a second hand 4 stalk controller for my 2004 Boxster S. I presently don't have cruise or access to my OBC and thought the upgrade would be a good winter project. I purchased the controller from Oklahoma Foreign who informed me it would work with my car. When I received it I had a quick look at it and all looked in good order. I'm just starting to make a list of the different parts I'm going to need for this project and after a closer look at the controller stalk I noticed the sticker number is 99661321710 KLS 203231. My car has the headlight washers which this stalk also has. If I recall, this stalk came out of a carrera. With the two electrical connectors, one has 4 pins and the other has 5 pins but is capable of 6. Do you foresee a problem with this controller stalk in my car?
-
Porsche (unfindable) extra special tool 9599
pjq replied to NewArt1's topic in 986 Series (Boxster, Boxster S)
NewArt, good to hear your moving along with the project. I had a chuckle reading your working in the cold temperatures. I did the same thing with layers of warm clothing and at the time there were other forum members who were complaining about working on their cars outside in the heat and high humidity! Just a note for you, if your removing any plastic pieces be patient with these cold temps. Plastic breaks easily with the cold especially small tabs, I learn't the hard way. I think I would try a hair drier next time. -
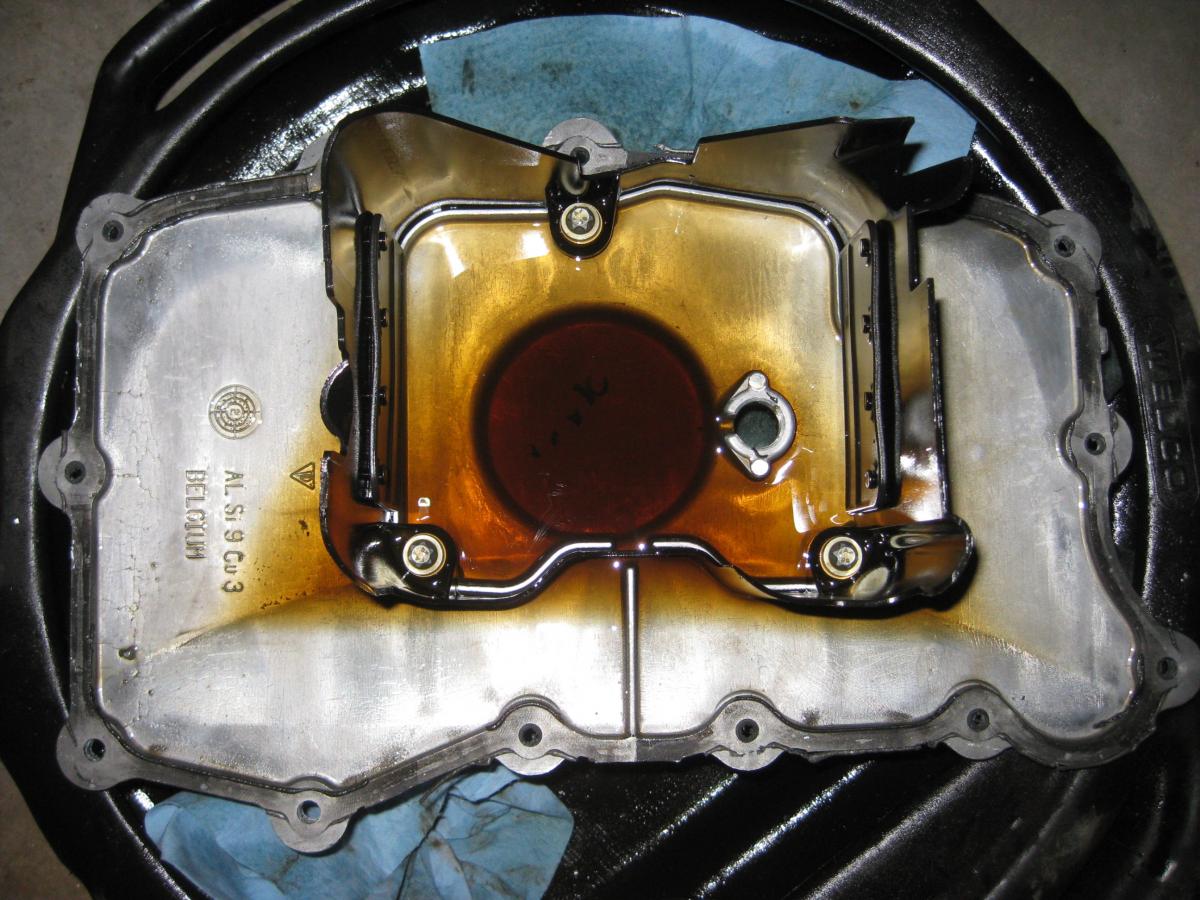
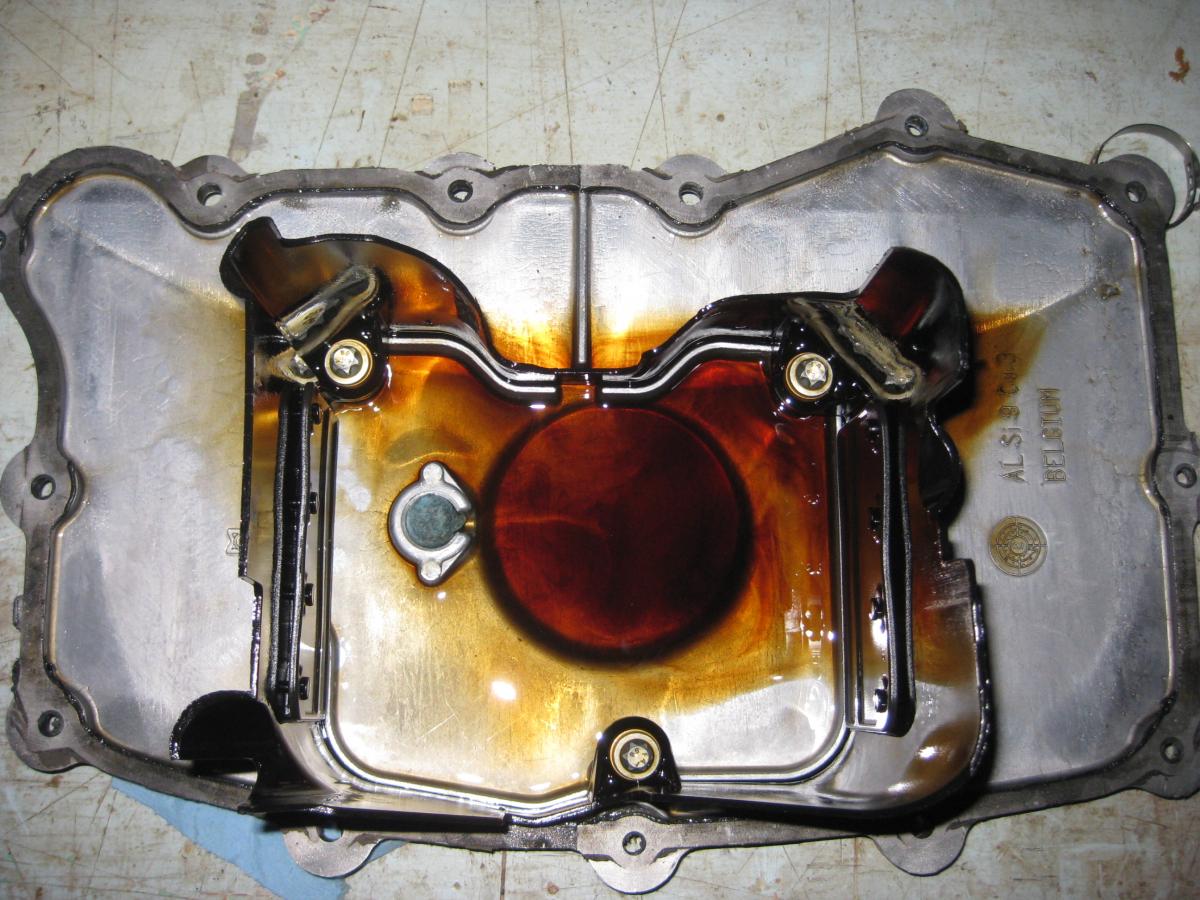
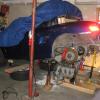
Time for a follow up for those who helped. Sept 16 - As stated earlier after rebuild I started the breakin process with Joe Gibbs BR 30 (conventional oil). Sept 20 - After 610km (385 miles) on JG BR 30 I changed oil to Castrol GTX 10W40 (conventional) with Delco EOS additive. Pics of first 385 miles: Oct 05 - with 1230km (765 miles) on Castrol GTX 10w40 and Delco EOS it was time for another oil change. Pics of next 765 miles: Nov 18,2013 - with 3367 km (2092 miles) on this batch of castrol GTX 10W40 and Delco EOS it was time for another oil change. This time if I used full synthetic Joe Gibbs DT 5W40. I went for a 20 min. ride and the car is garaged for the winter. Pics of 2092 miles:

-
Car height for removing transmission
pjq replied to zodman's topic in 986 Series (Boxster, Boxster S)
zodman I'm glad your finding these pic's helpful, your really dissecting them, haaa! thats what I had to do putting my engine back together, digital cameras are great. The red rag is in the fill opening of the steering reservoir. Yes I can remember cleaning that area and yes I agree with your idea that it is old powersteering fluid. It's consistency was like cold molasses. Its possible the steering fluid reservoir overflow tube was routed there, I can't remember. All that being said I paid closer attention when I put things back together and I purposely routed the tube alittle more towards the front and center. When I refilled the steering fluid (new pentosin) system I slightly overfilled the marks on the reservoir, I can now literally see the errors of my ways. Don't add any more steering fluid than the directions tell you. From underneath the car or through the front inspection panel I see a slight green line running down the front of my nice silver clean engine. This relatively fresh overflow (1.5 month)is sticky and doesn't wipe off easily. It wouldn't be a tablespoon. Old oil would wipe off easier than this stuff. Pat. -
Thanks JFP, got it. For others here it is from Durametric - Version 6 is only compatible with our second generation diagnostic interface cables. If you purchased your kit after February 2008, then it is a second generation kit. If you aren't sure, check this list: The cables with a box in the middle of the wire are first generation cables and not compatible. Cables with the electronics in the connector can be either first or second generation.If the cable has the light on the side that reads "Durametric," then it is a second generation interface cable and it is compatible. If the cable has the light on the side that reads "Enthusiast" or "Professional," then it is a first generation interface cable and not compatible. Customers with first generation interfaces can upgrade to the second generation interface for $150 USD. For more information about why we are not supporting the first generation interfaces and details about upgrades, please see our Upgrade FAQ Durametric version 5 and version 6 can be installed at the same time on the same computer.
-
I'm not sure where to post this question so Admin please move if necessary. Durametric - I'm considering buying a used Durametric reader, I don't want a knock off and i do want to be able to upgrade the software to latest version. So questions is, How can I tell if its an original Durametric and it is upgradeable? Do the non pro originals come with three licenses? Thanks, Pat.
-
Car height for removing transmission
pjq replied to zodman's topic in 986 Series (Boxster, Boxster S)
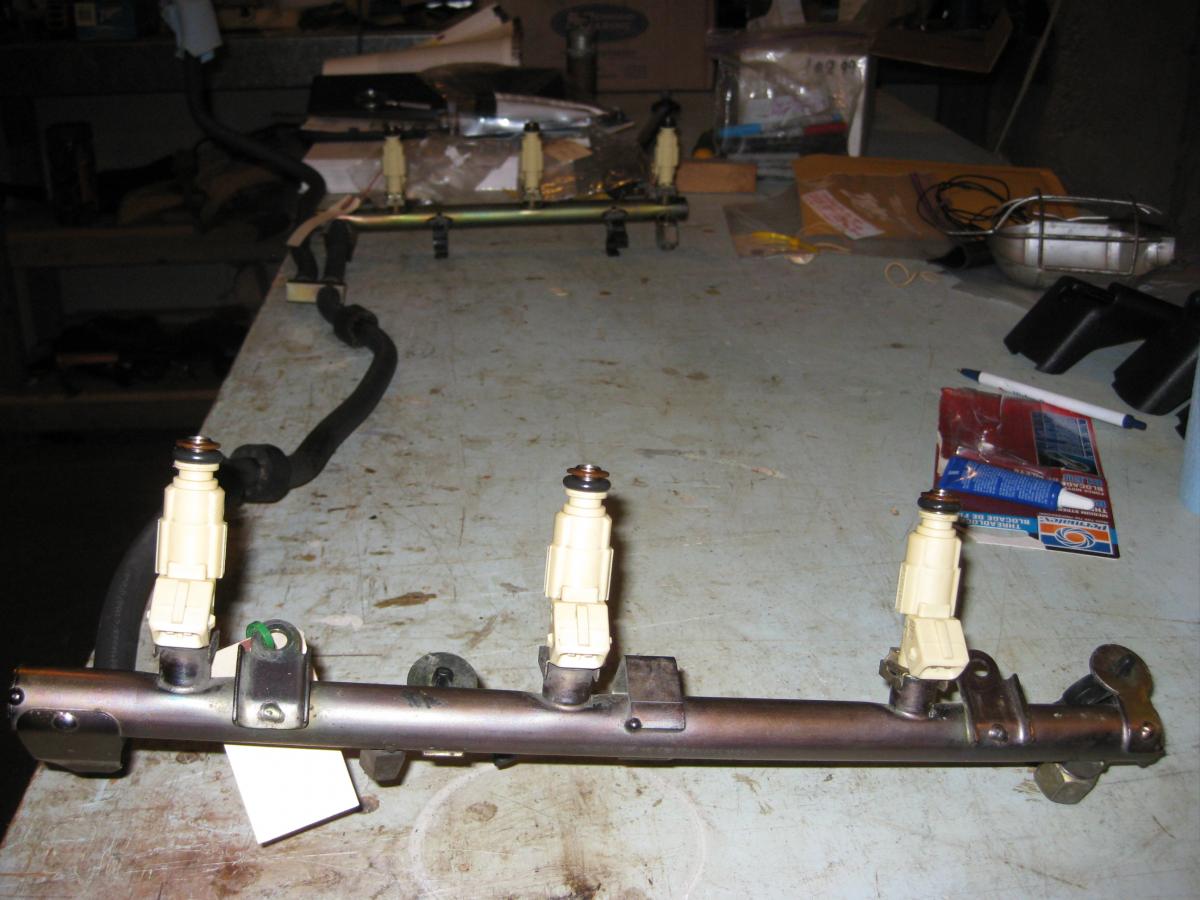
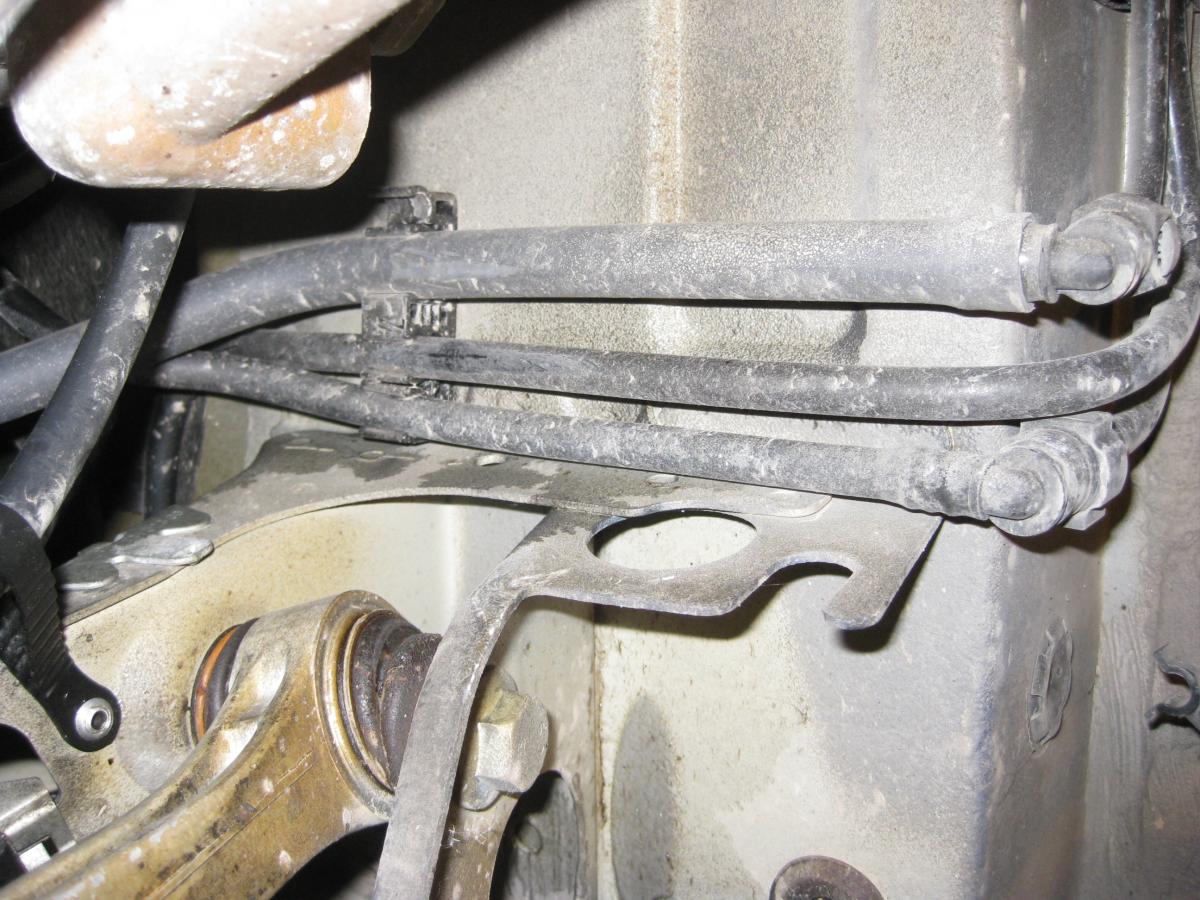
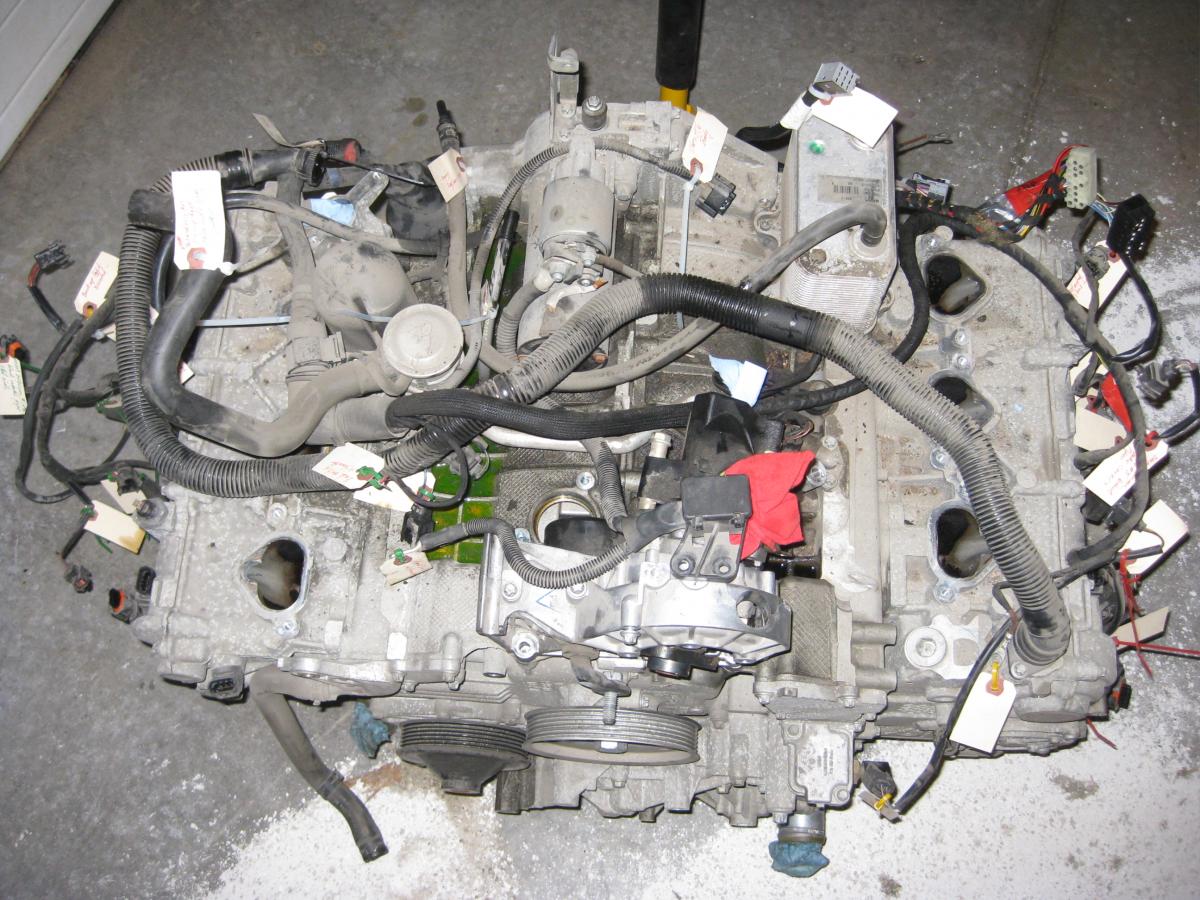
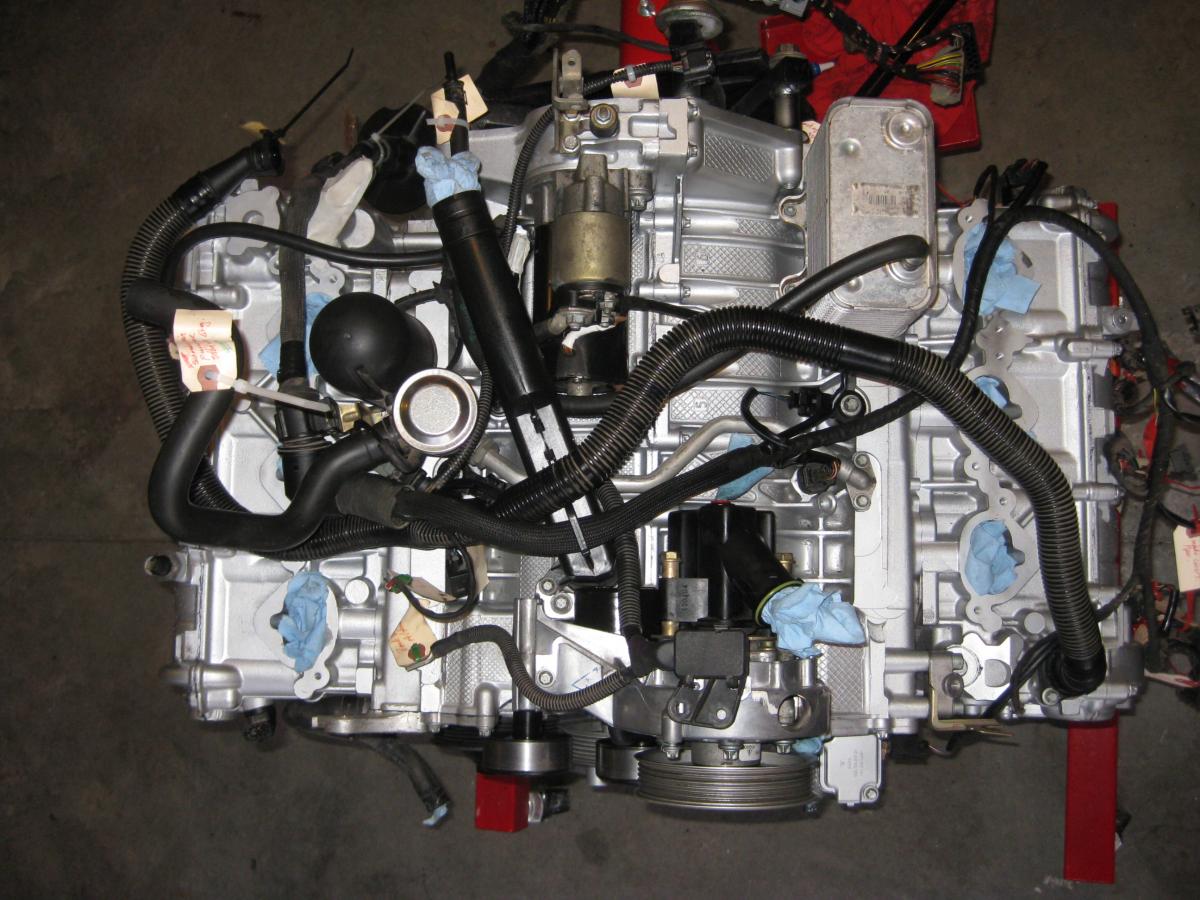
What about the oil filler tube? It is just a plastic to plastic sleeve with a spring clamp, no seals or O rings, it is the black pipe about 1.25" going from center front towards rear #3 cylinder in rebuilt pic. When I did my fuel rack I first disconnected it under the car, driver side just forward of the rear wheel well if I recall. Fuel return connection and fuel vent line connection. When I took the rack and injectors out I had to pull more than I thought I would, likewise for putting them back in. Did you check out "101 projects for your porsche boxster", pelican parts. I bought both books 101 projects and the Bentley bible, they compliment each other. If you don't have a great memory take lots of pics before you take something apart because EVERYTHING has to go back in its original place in its original orientation. Here some more pics for the fuel injection. My car is a 2004 S.
-
Part numbers needed near restraining cable
pjq replied to crwarren11's topic in 986 Series Part Number Requests
Did you do the rebuild yourself? did you do more than the seal? -
Car height for removing transmission
pjq replied to zodman's topic in 986 Series (Boxster, Boxster S)
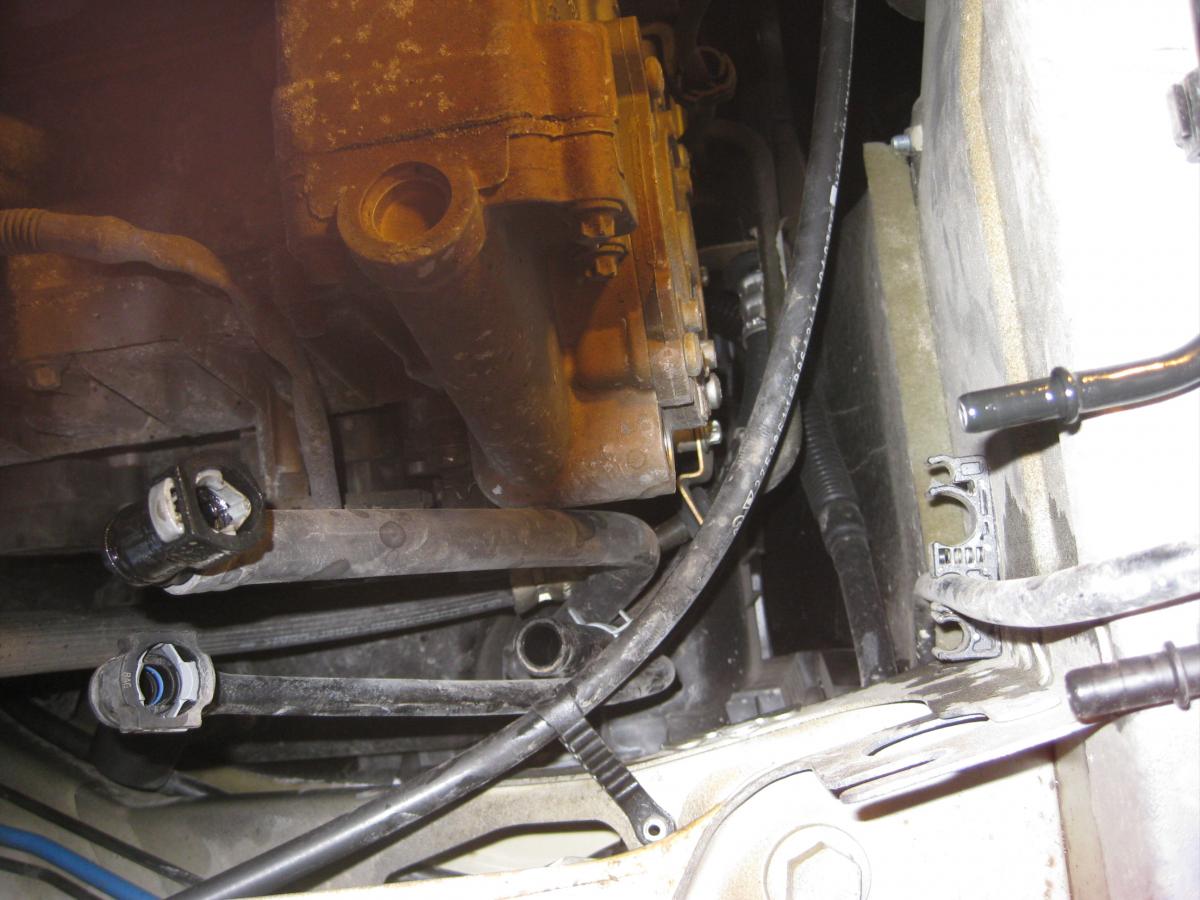
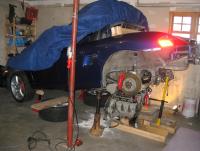
Haaaha, NewArt I think I've scarred you for life with the pic of my car ready for downhill skiing! Zodman i uesd a web ratchet to pull the exhaust system back into place (worked well) as well as using the web ratchet for replacing the large triangular reinforcement plate that ties the left to right suspension together (worked well), forgot to mention that prior NewArt. One or two of these web ratchets would probably do the job for pulling your crossmember back into place. Note on car jacked height - I've been under the car a couple times recentley and have only used the 3 ton car stands with a height of approx. 18 inches - what a PITA, you don't have much room to manouver and turn. Its just ok for oil change and inspection. I think 21 inches plus would be a good height to start with. Realistically you want to be able to roll under your car so what ever your shoulder width is would make a good minimum car height. Regarding the wet spot on your engine around #1 cylinder area, I don't think it could be the steering reservoir, that is more on the other side of the engine center line. Attached are a couple pics that might help solve your problem. The red rag is stuck in the steering pump tube where the reservoir will mount to. The first pic is before rebuild, the second is after rebuild.
-
Part numbers needed near restraining cable
pjq replied to crwarren11's topic in 986 Series Part Number Requests
the head of the bolt you snapped off may have size on it as well as hardness marks. send sunset import parts the picture they will be able to tell you the bolt. -
I just finished first break in oil, Joe Gibbs BR 30 (375miles). I hope to replace it today with conventional Castrol GTX 10w40 and GM additive EOS (more zinc). I'll run that for about 700 miles. For this first stage I limited my upper revs to 5000. It was mainly highway miles but alot of gear shifting and some braking, always pushing the revs.. Average Rev's about 4000. Probably 30% of the miles were city. Its a tough job "driving your car like you stole it", can't wait to do it again! Any advice?
-
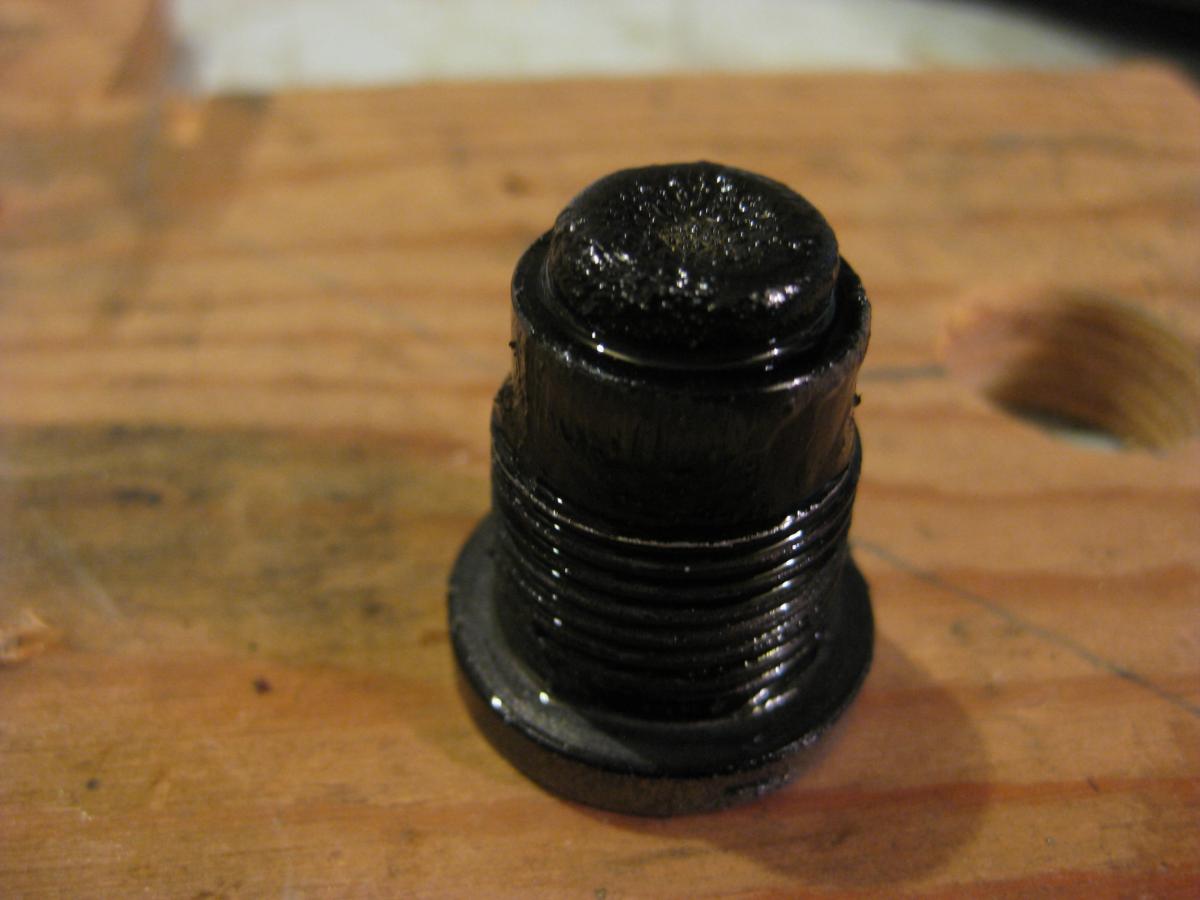
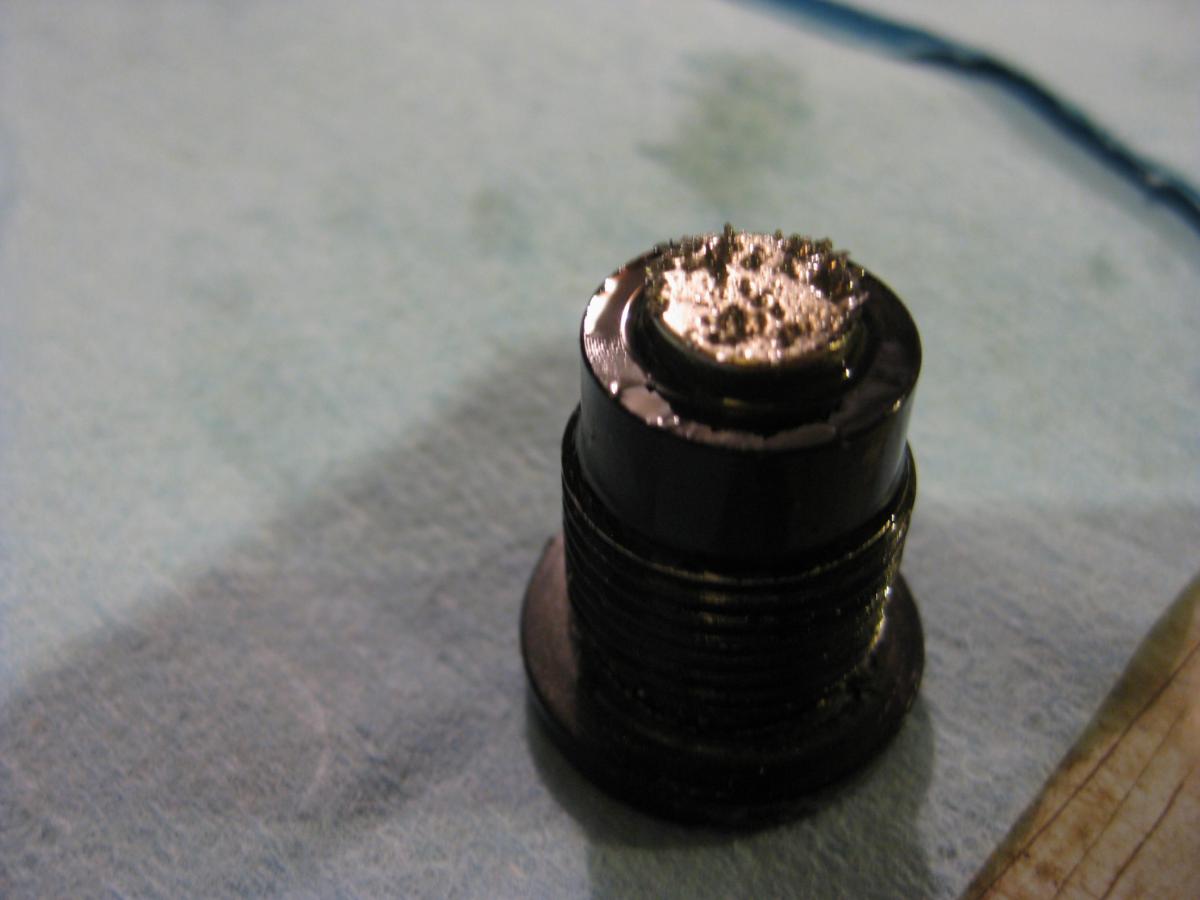
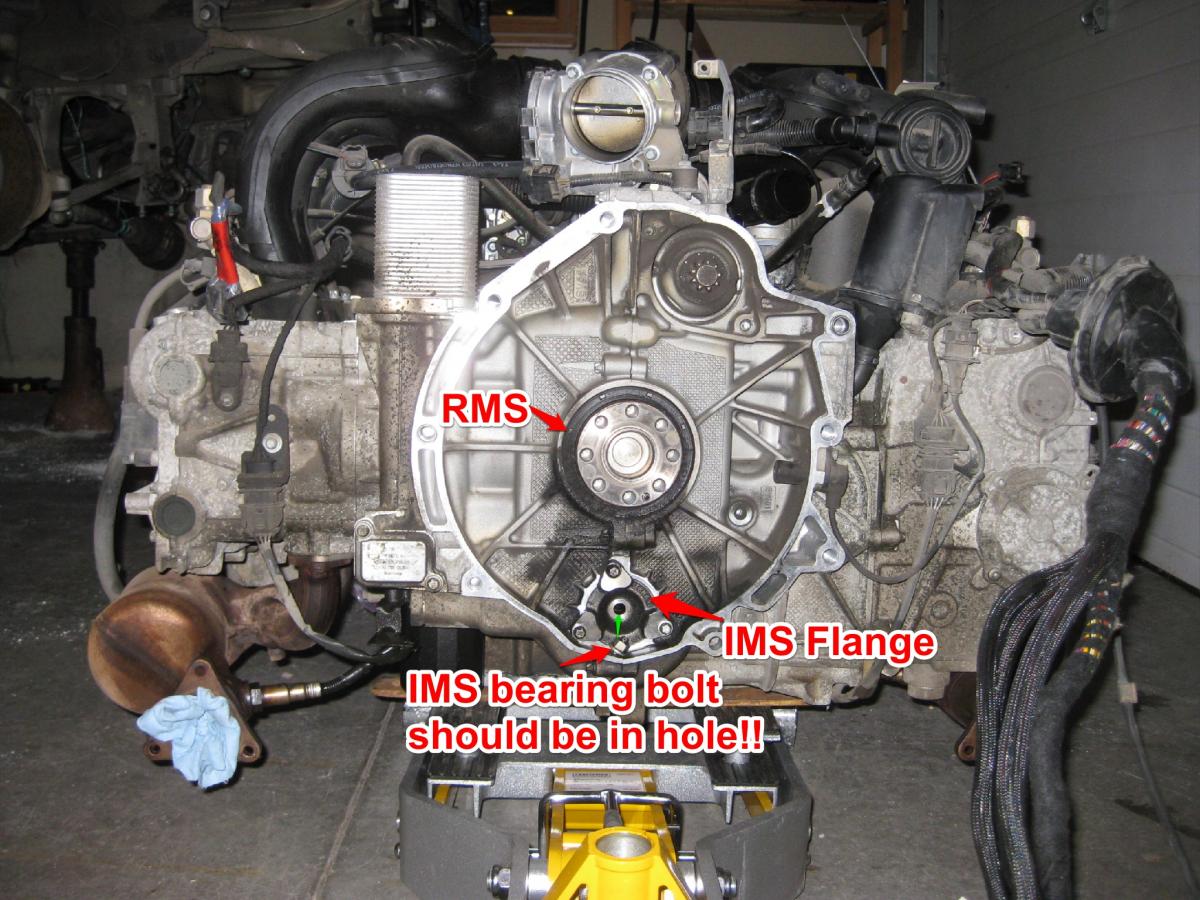
This picture shows what is inside the connection between the transmission housing and the engine housing. What is not shown, because it was removed, is the flywheel and clutch assembly which would attach to the center round disk with holes. I am in no way a mechanic but if oil is coming from this flanged area it is possibly the RMS or IMS, which you have to remove the clutch to gain access too. For your sake I hope it is the RMS. In this photo my IMS bearing has suffered a failure and that is why the bolt is not where it should be. That is now rectified. If there is a part or section you want a photo of I probably have it, let me know.
-
what engine oil should I use for initial start up of a rebuilt boxtser engine? using original cam's,tappets, cylinders, pistons. New piston rings,IMS, chain guides.
-
2004 Boxster S Any suggstion what type of bolts to use in this area or what not to use? I was able to come up with some copper nuts now I'd like to find the correct bolts for the exhaust flange. The exhaust is stainless steel.
-
Thanks all, I don't have it.
-
Looks like a great work around but why would the "inserter" get stuck? The insertion tube with the cir clip inside it is long (26 inch) can't you just pull alittle harder if it is stuck?
-
BoxsterS02, what was the process of getting your car over to Germany and licensed to drive on their roads?
-
Thanks, That was the back up plan but we were hopping for actual specs and tolerances to start from. Pat.
-
I turned a bearing. The rest of the crankshaft and housing looks good its just to check measurements. The case doesn't show any signs of heating but one main journal bearing is questionable.
-
2004 boxster s 3.2l what is crankshaft housing bore and tolerance? What is crankshaft main journal specs and tolerance? I finally got onto the Porsche Tech info website today. I can find torque values but nothing on the original sizing.
-
Thanks guys. Pat
-
I'll keep an eye out for that JFP. Logan, I've tried setting up an account at the Porsche website, I can't get in. I've been trying through the USA link, I'm in Canada, it won't let me in. I've even tried on two different computers thinking the security settings might be holding me back but no luck. They don't have a link for Canadians so Porsche must not need our buisness. I haven't forgotten about Jakes course, time for me will be a factor, his book would be great if it could be had now.